
SSL certificates require a CSR to exist before the SSL certificate can be issued or installed. In this section, we’ll show you how to generate a new CSR inside Atomic.
- Begin by logging into Atomic.
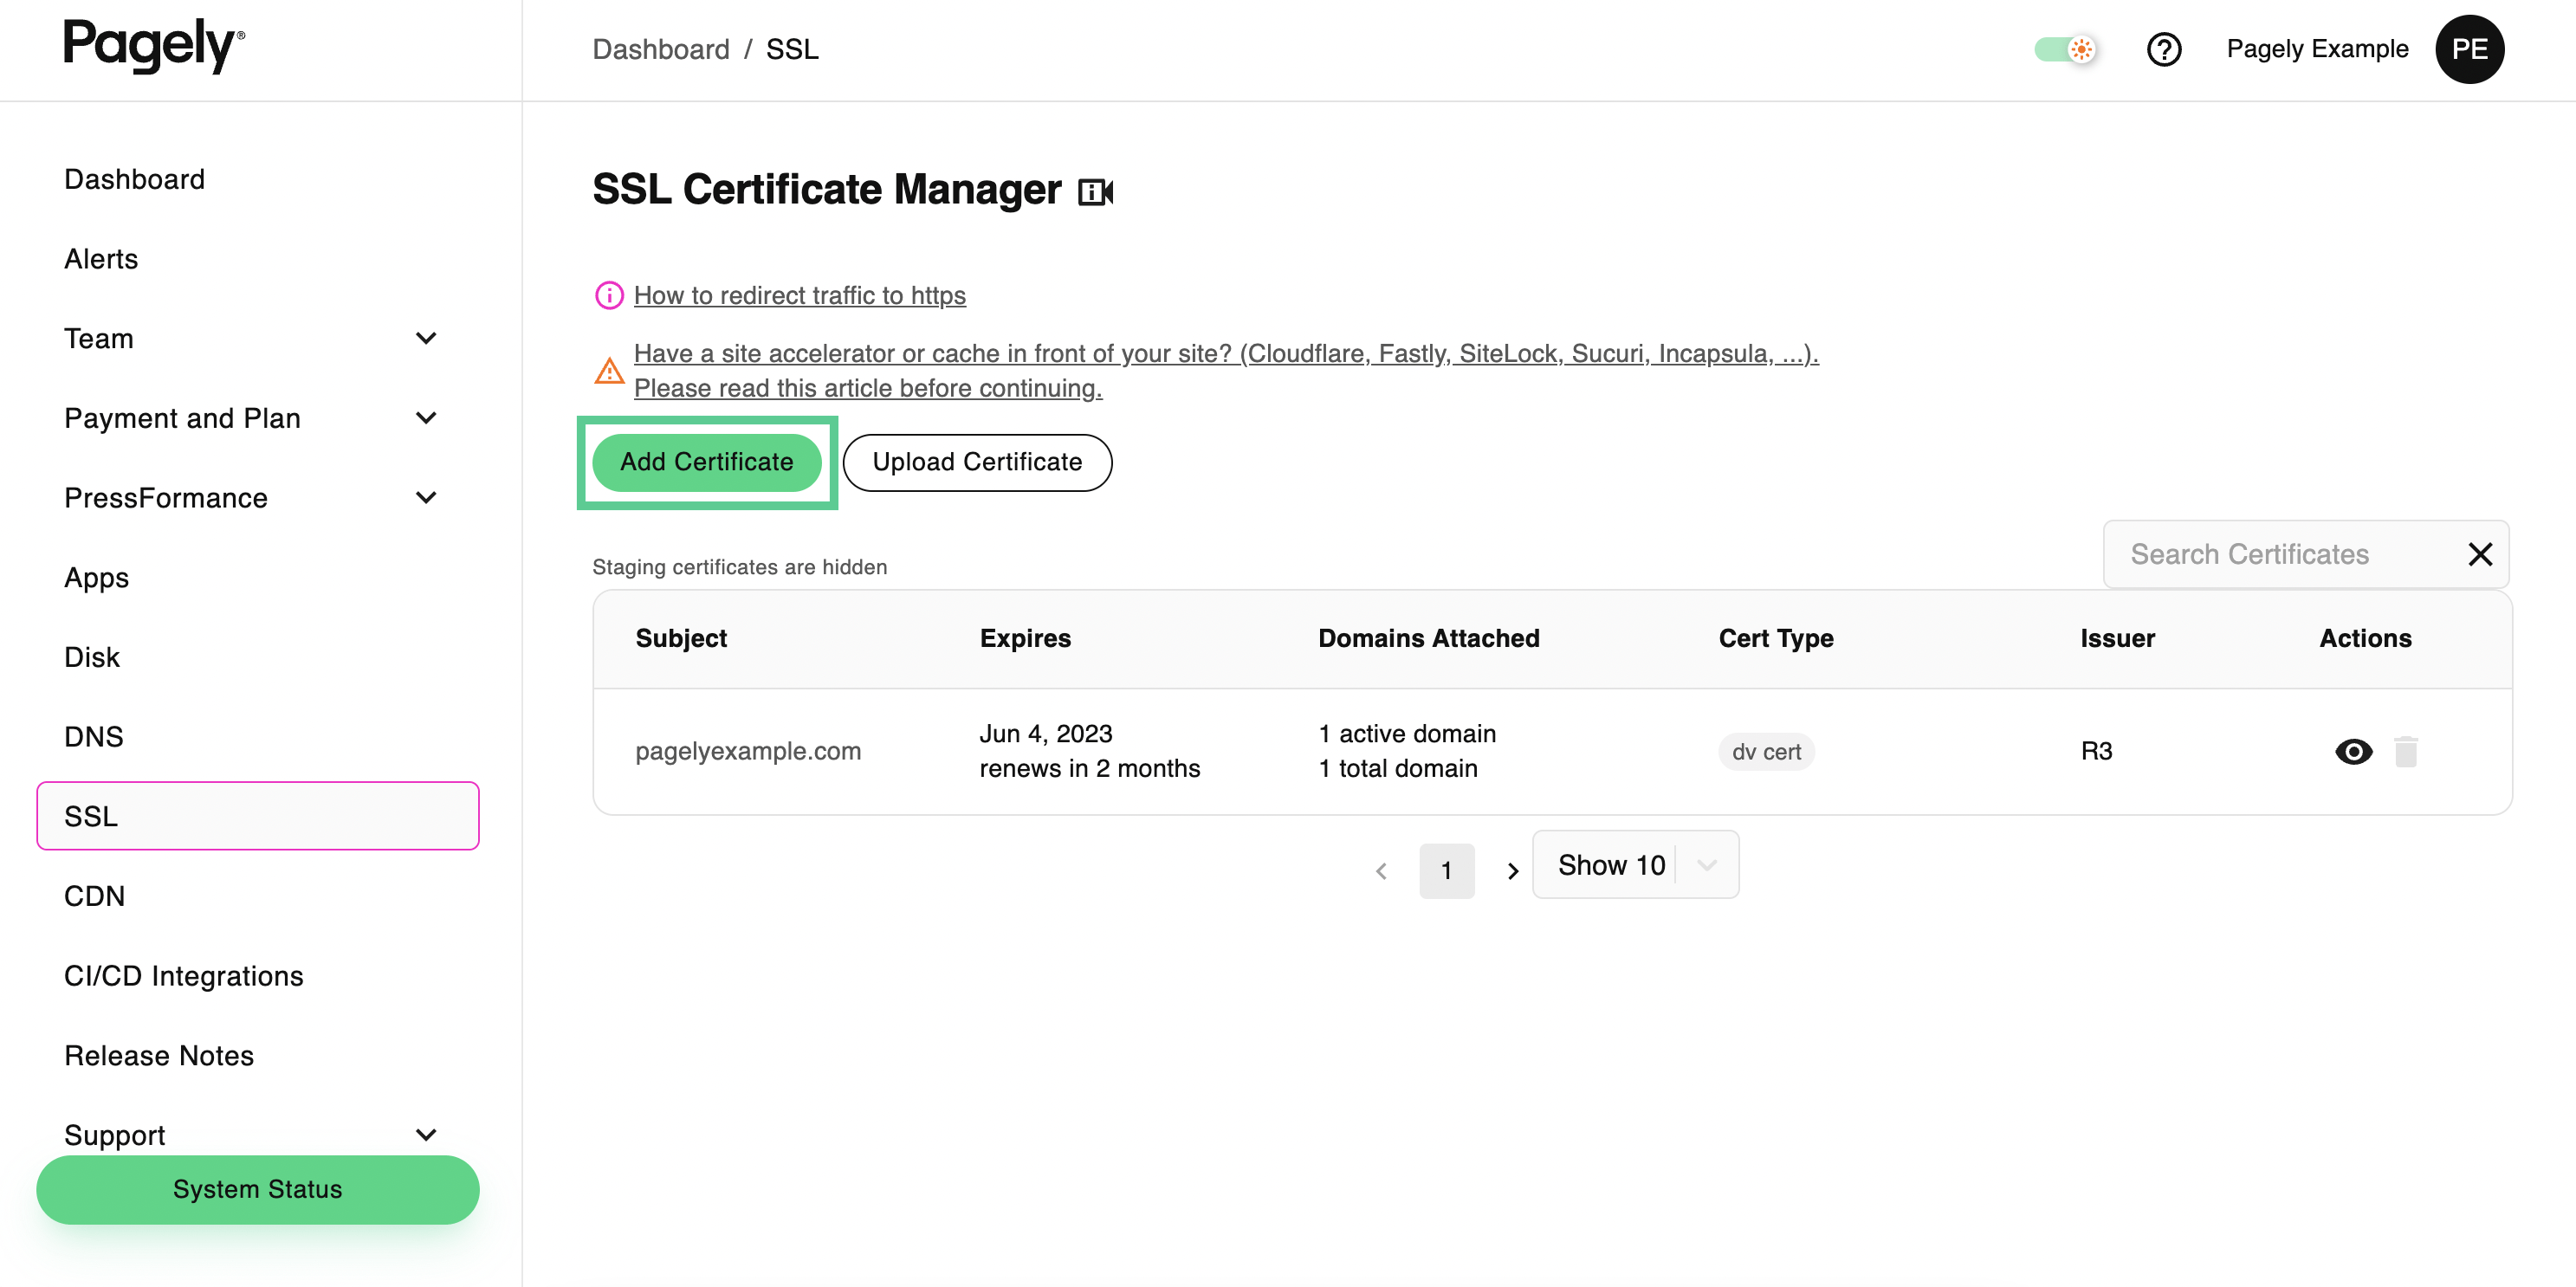
- Once inside Atomic, access the SSL Certificate Manager by clicking on SSL within the left side menu.

- Next, click on the Add Certificate button.
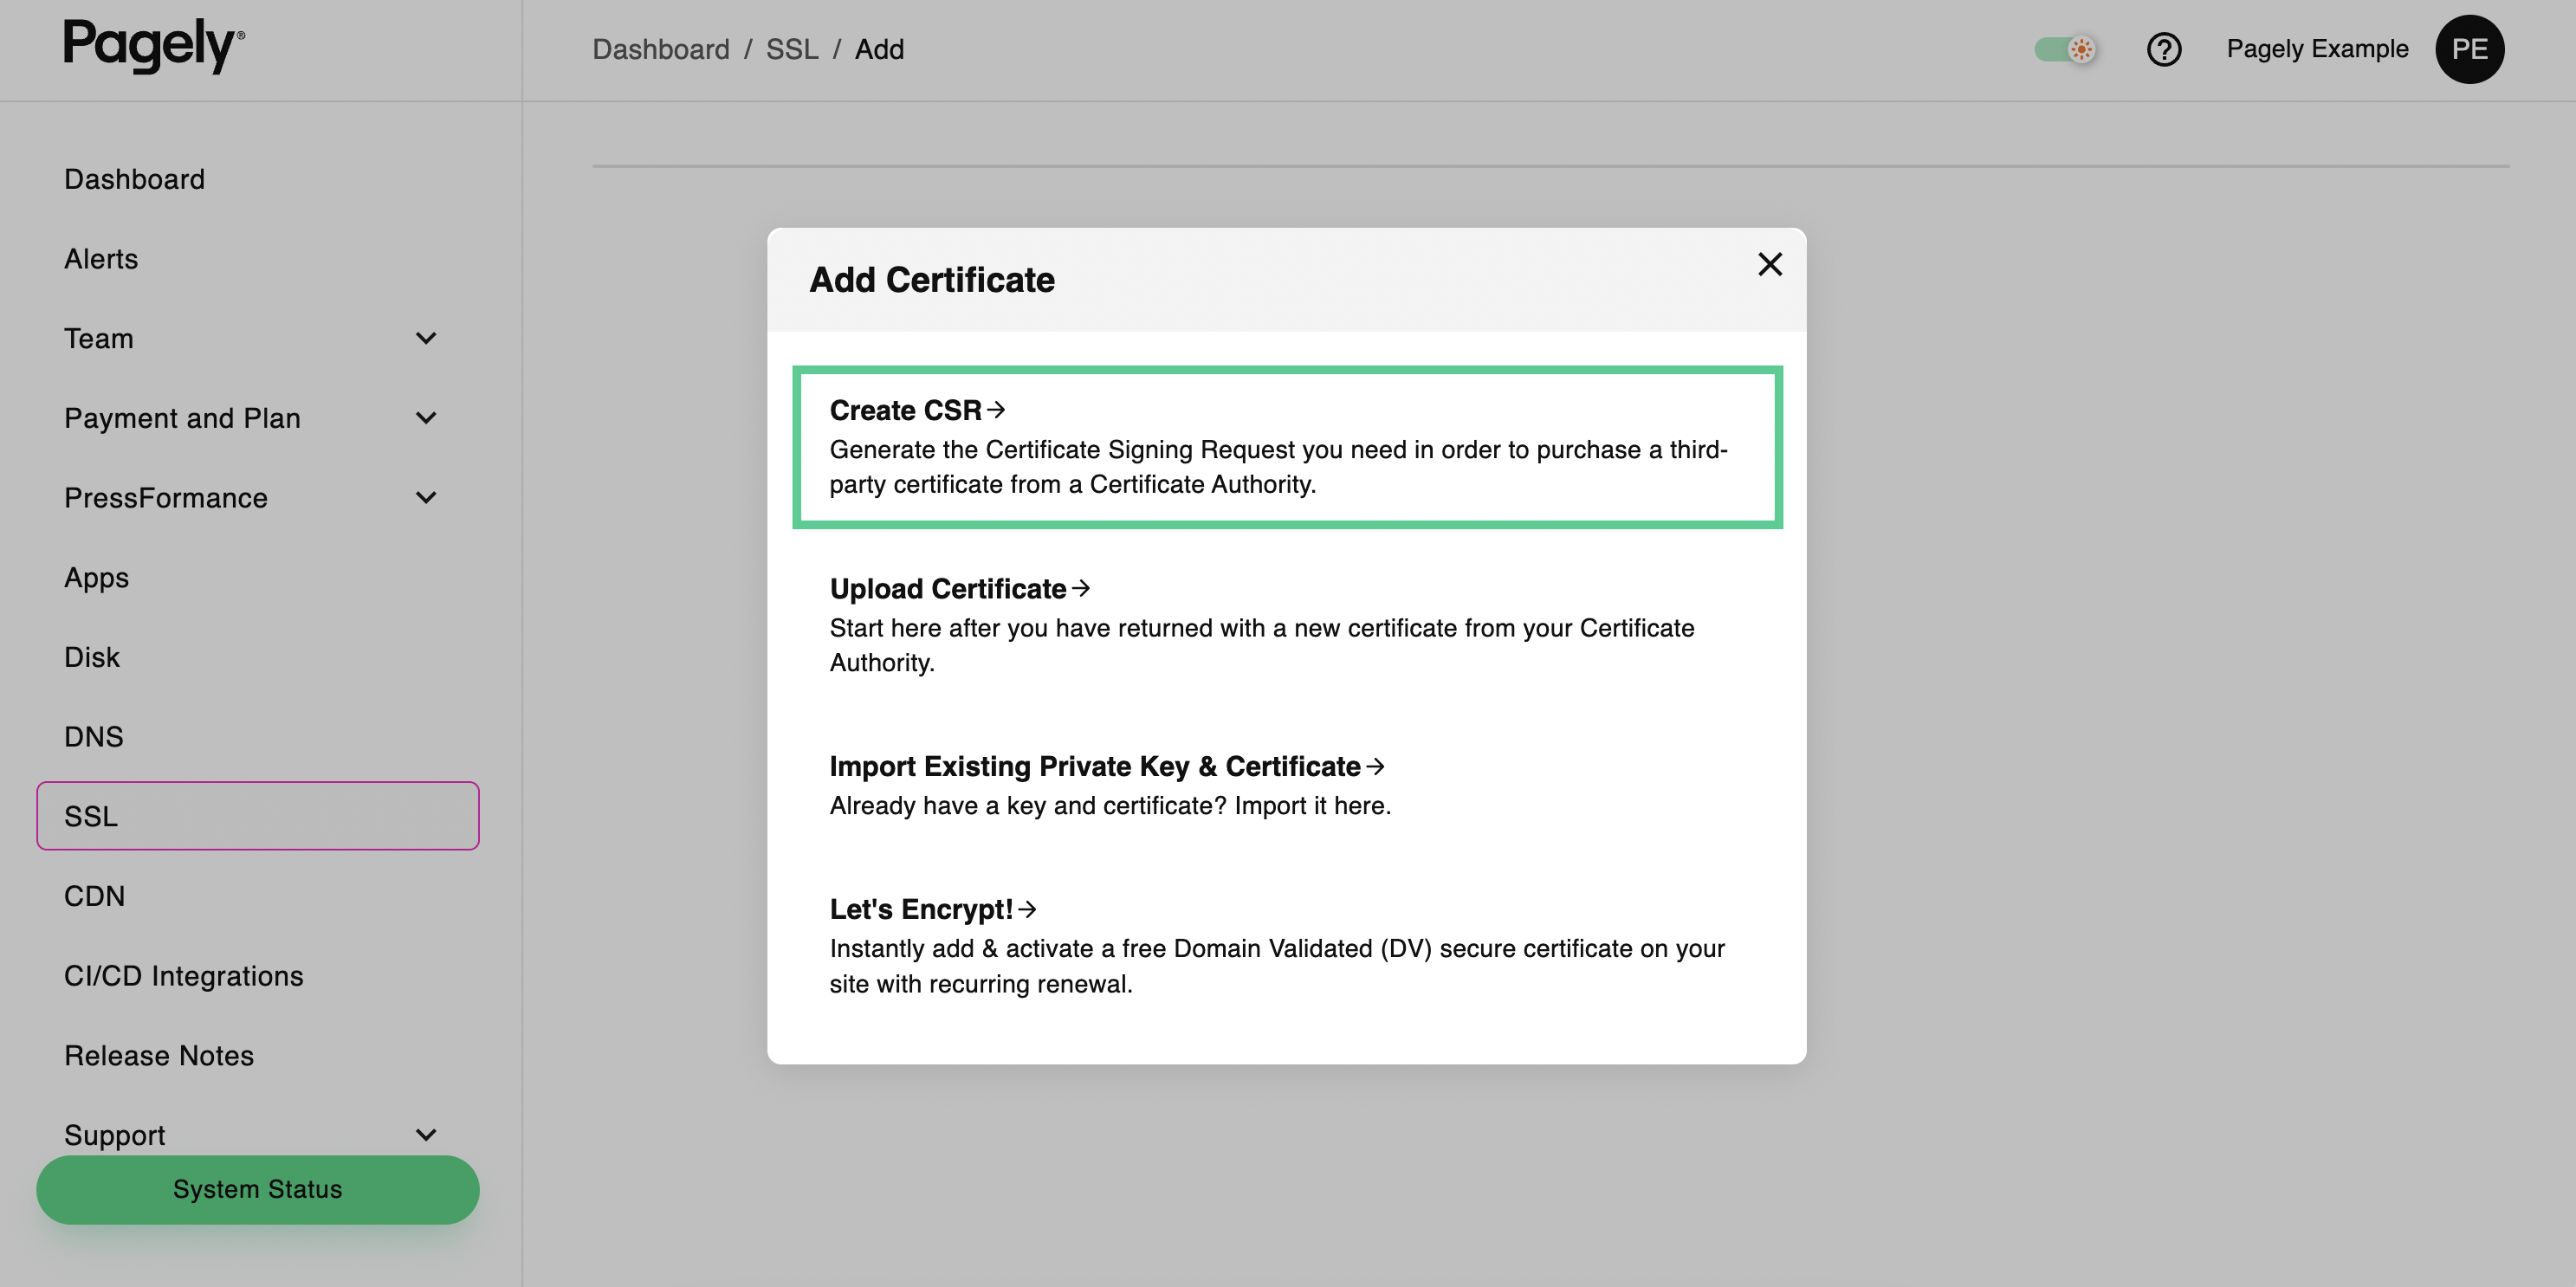
- A new window will open up. To create a CSR, click on the Create a CSR option.
- You’ll now be prompted to select the domain that will be used for this CSR. Simply use the drop down to select your domain, then click Continue.
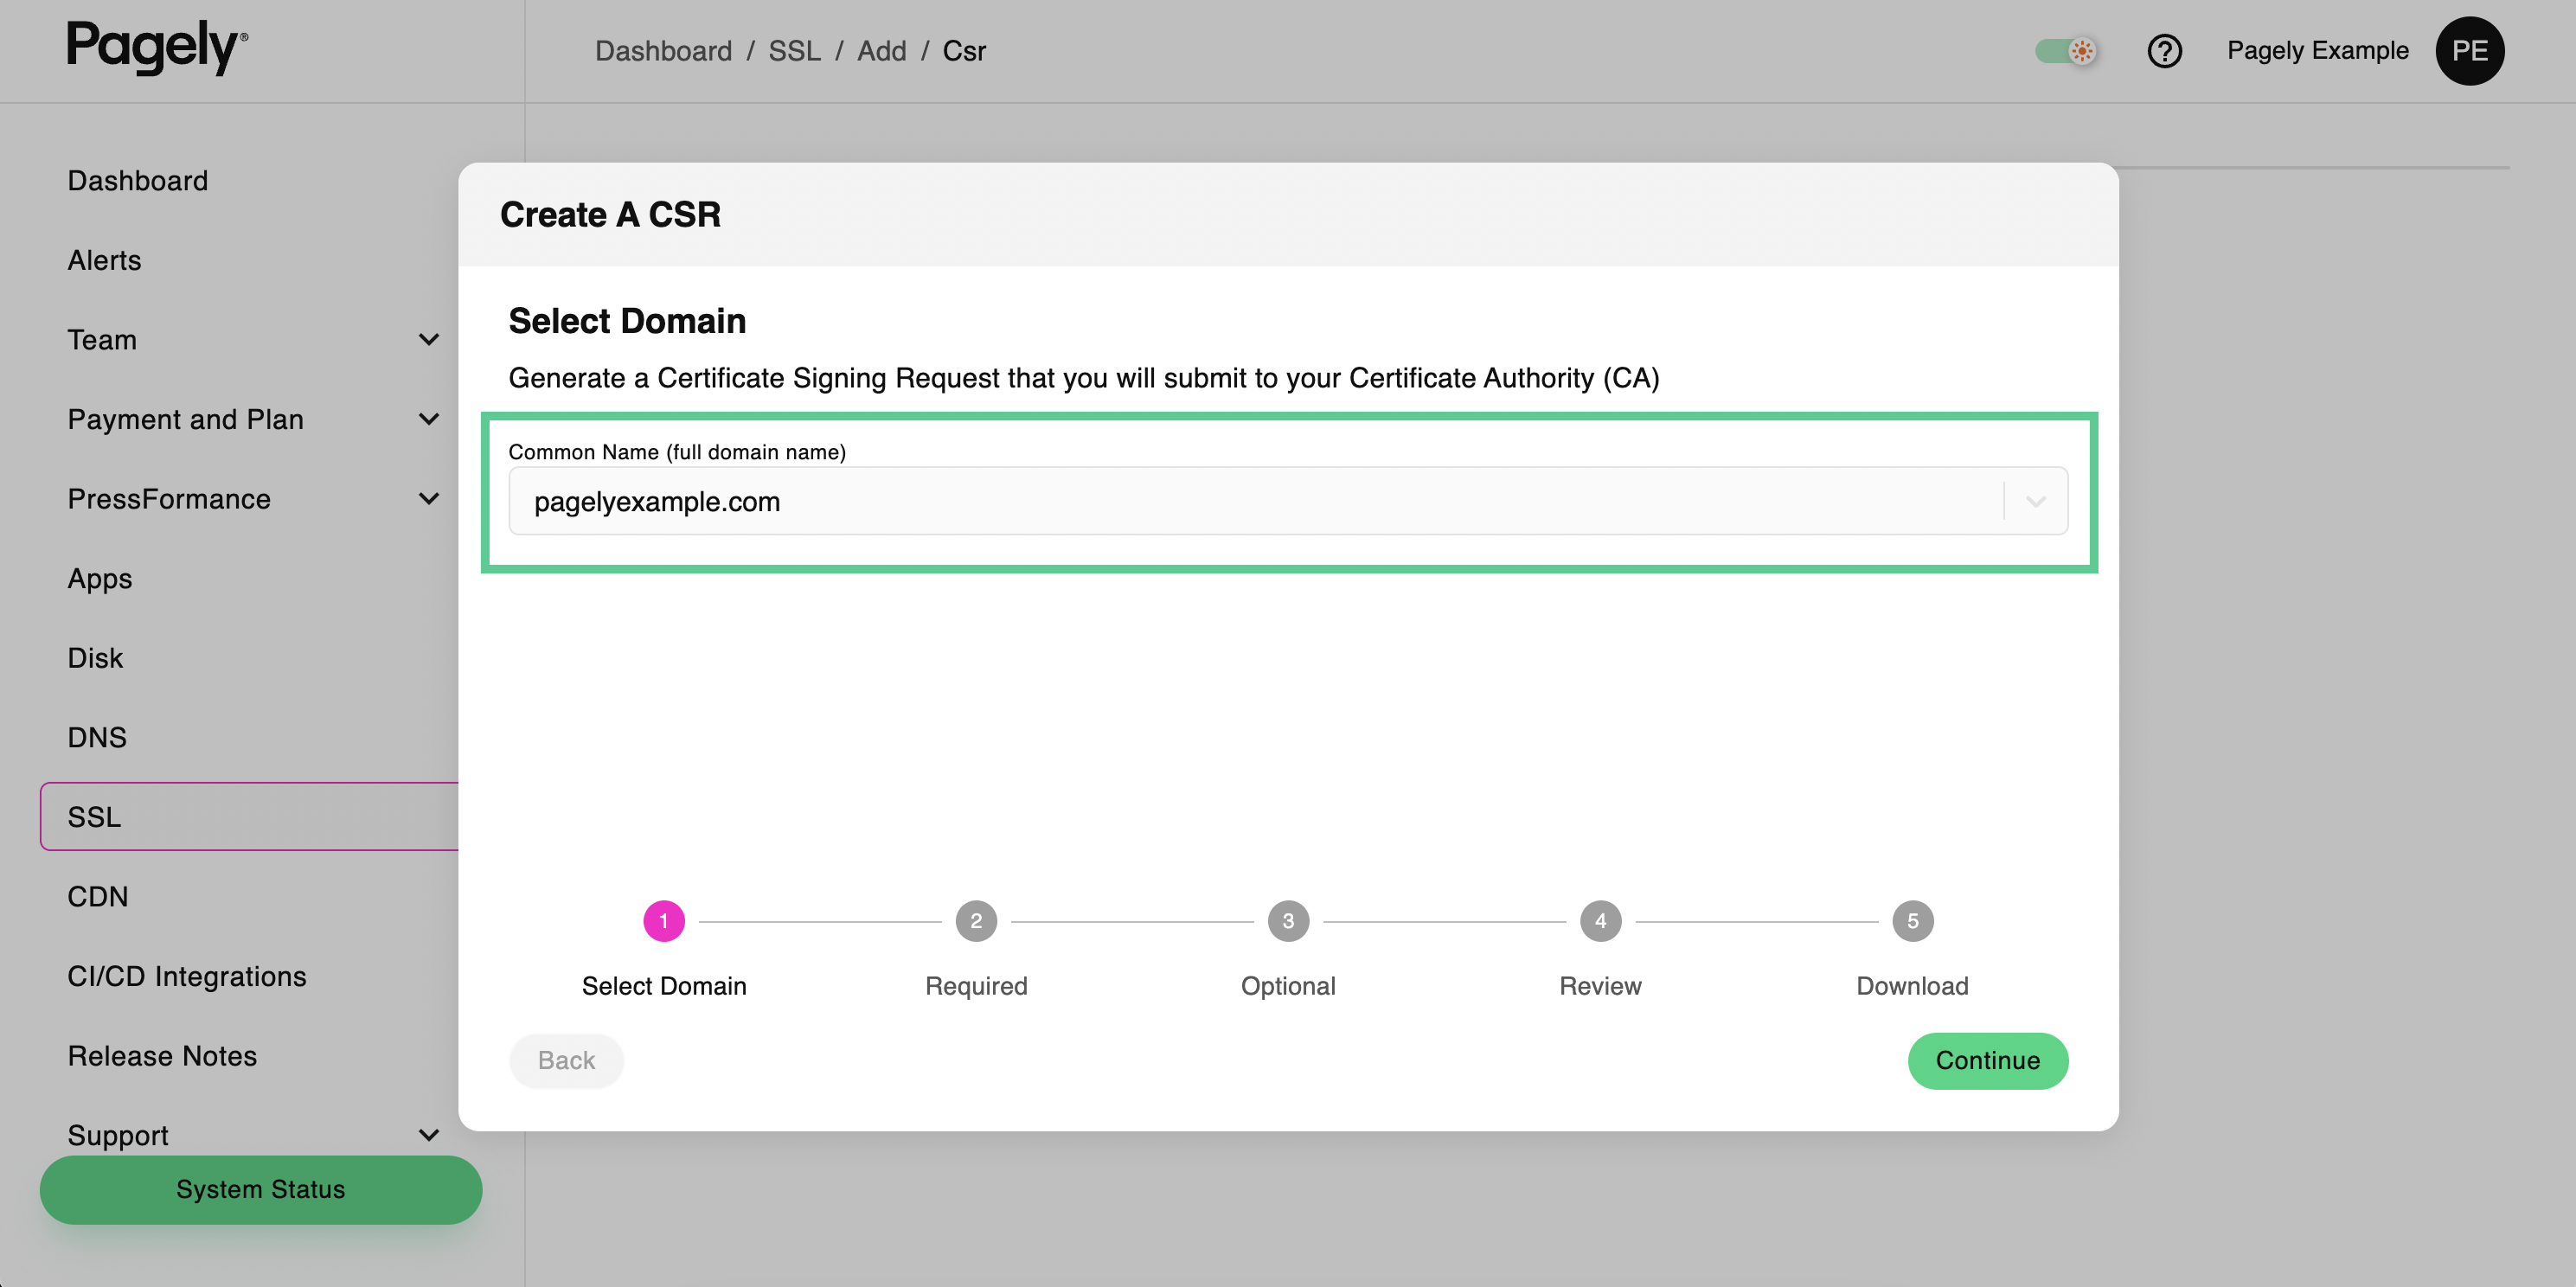
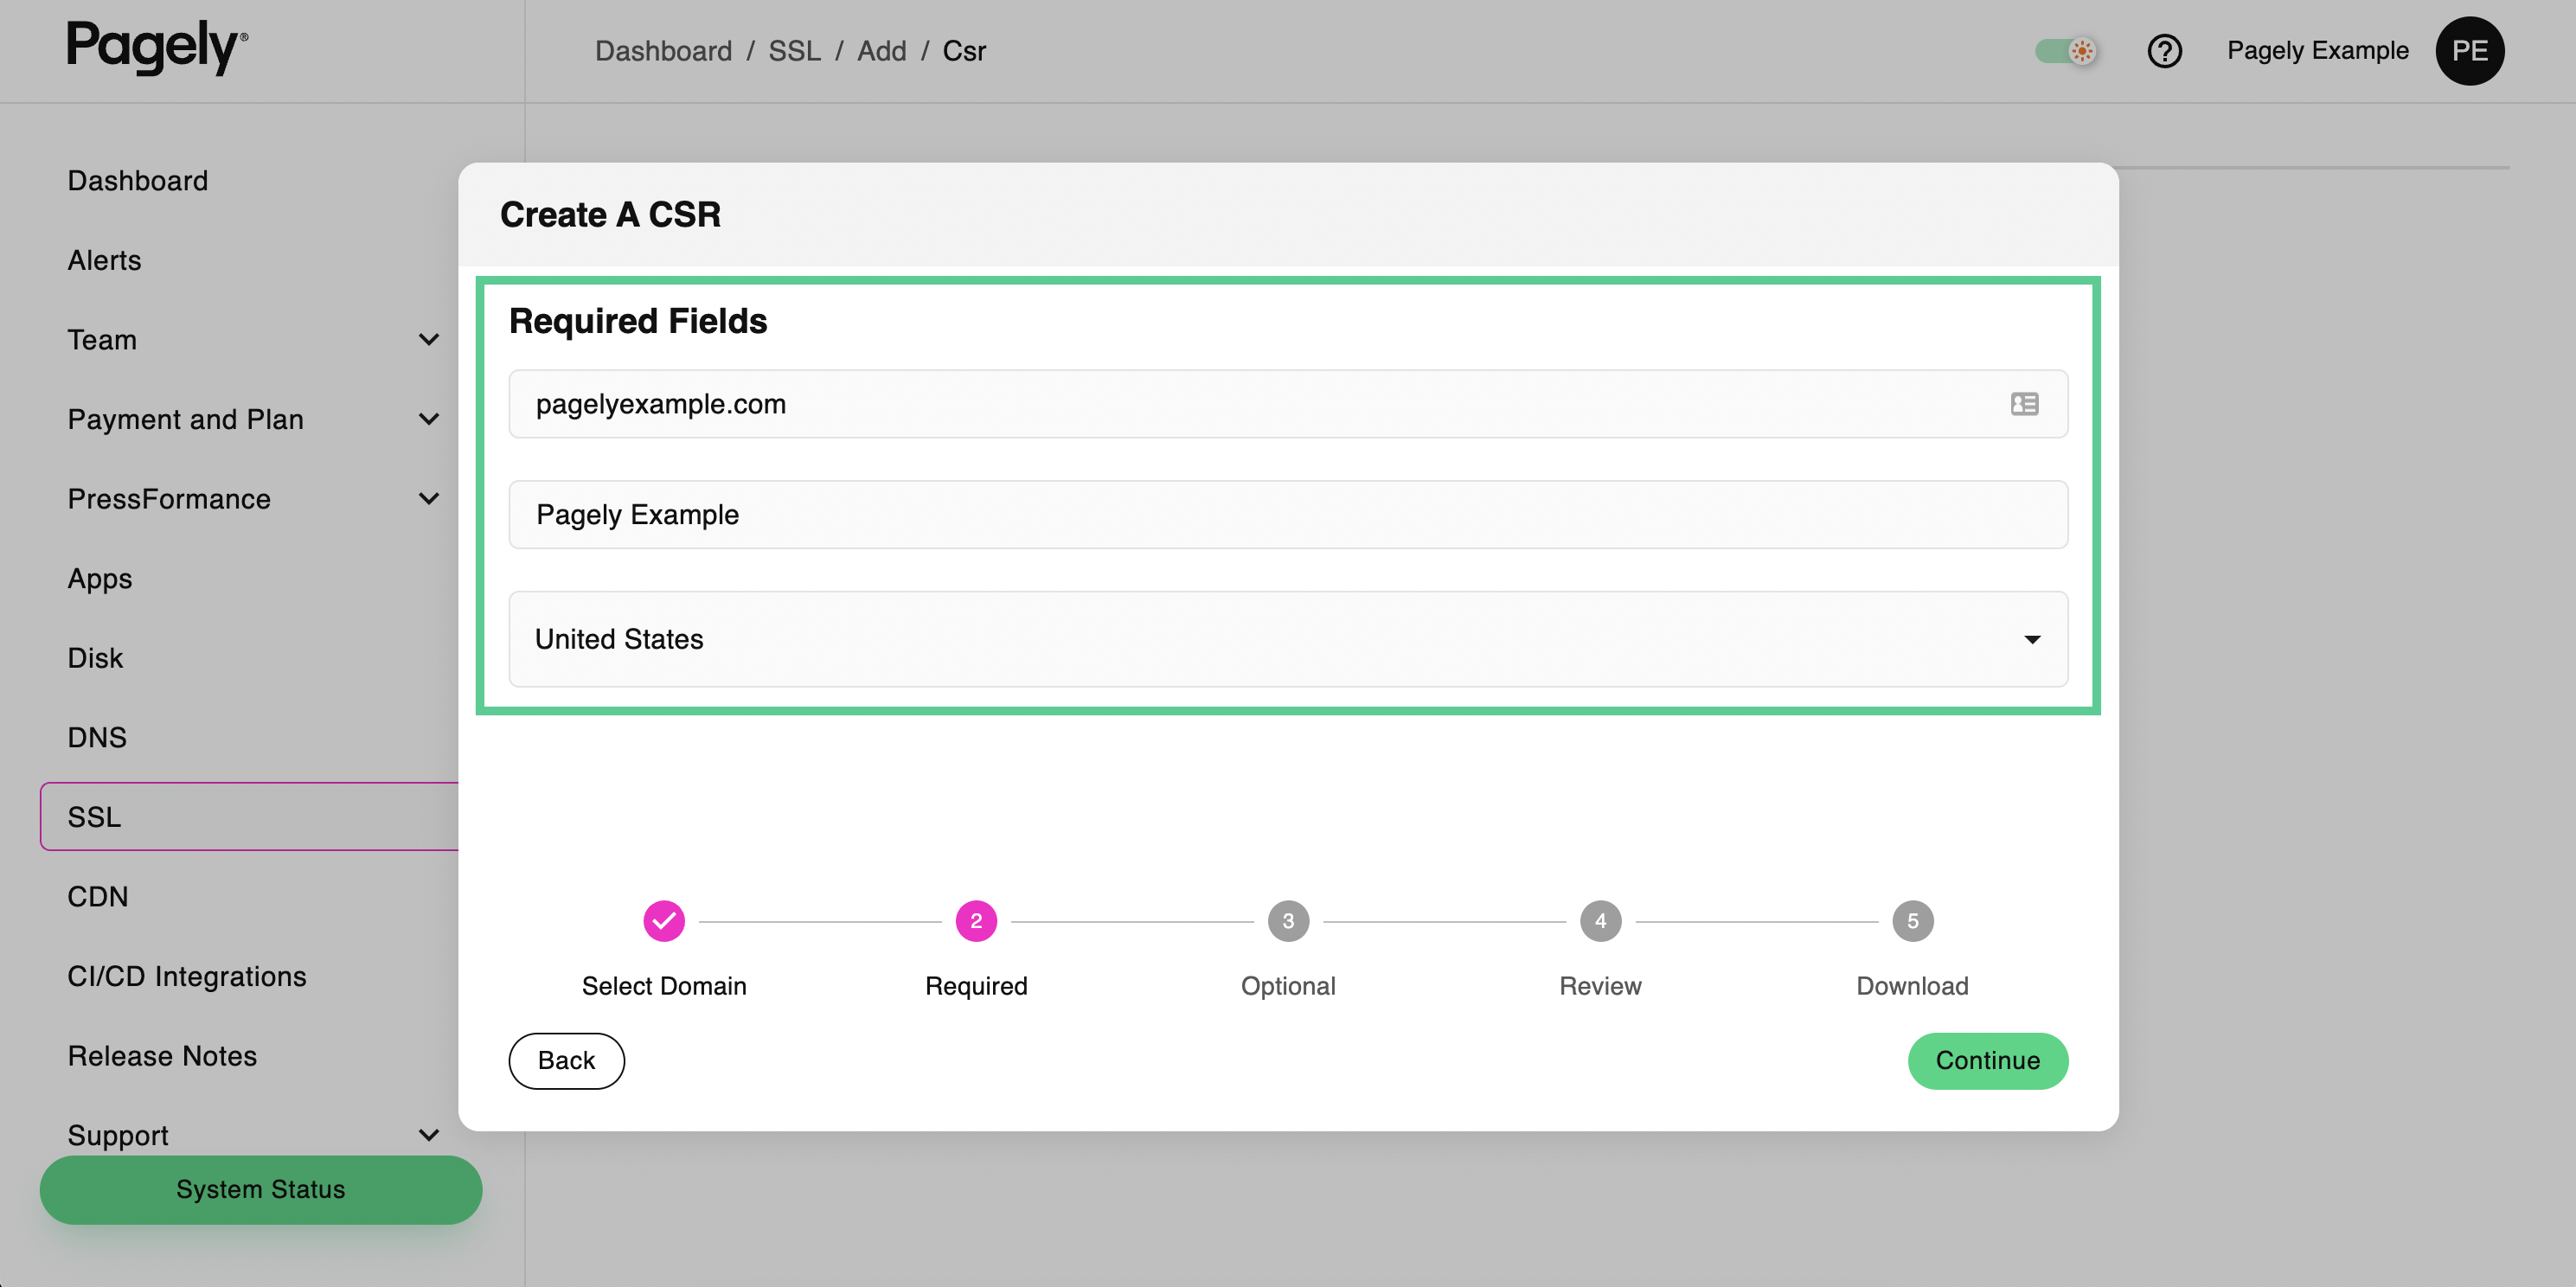
Note: If you don’t see your domain here, make sure it’s been added to one of your apps inside Atomic. - Next, you’ll be prompted with fields that are required for generating your CSR. Inside this window, fill out your Organization and Country.
(If you're generating a CSR for a wildcard certificate, change the Common Name field to reflect this. For example, *.pagelyexample.com)
After filling out these fields, click the Continue button.
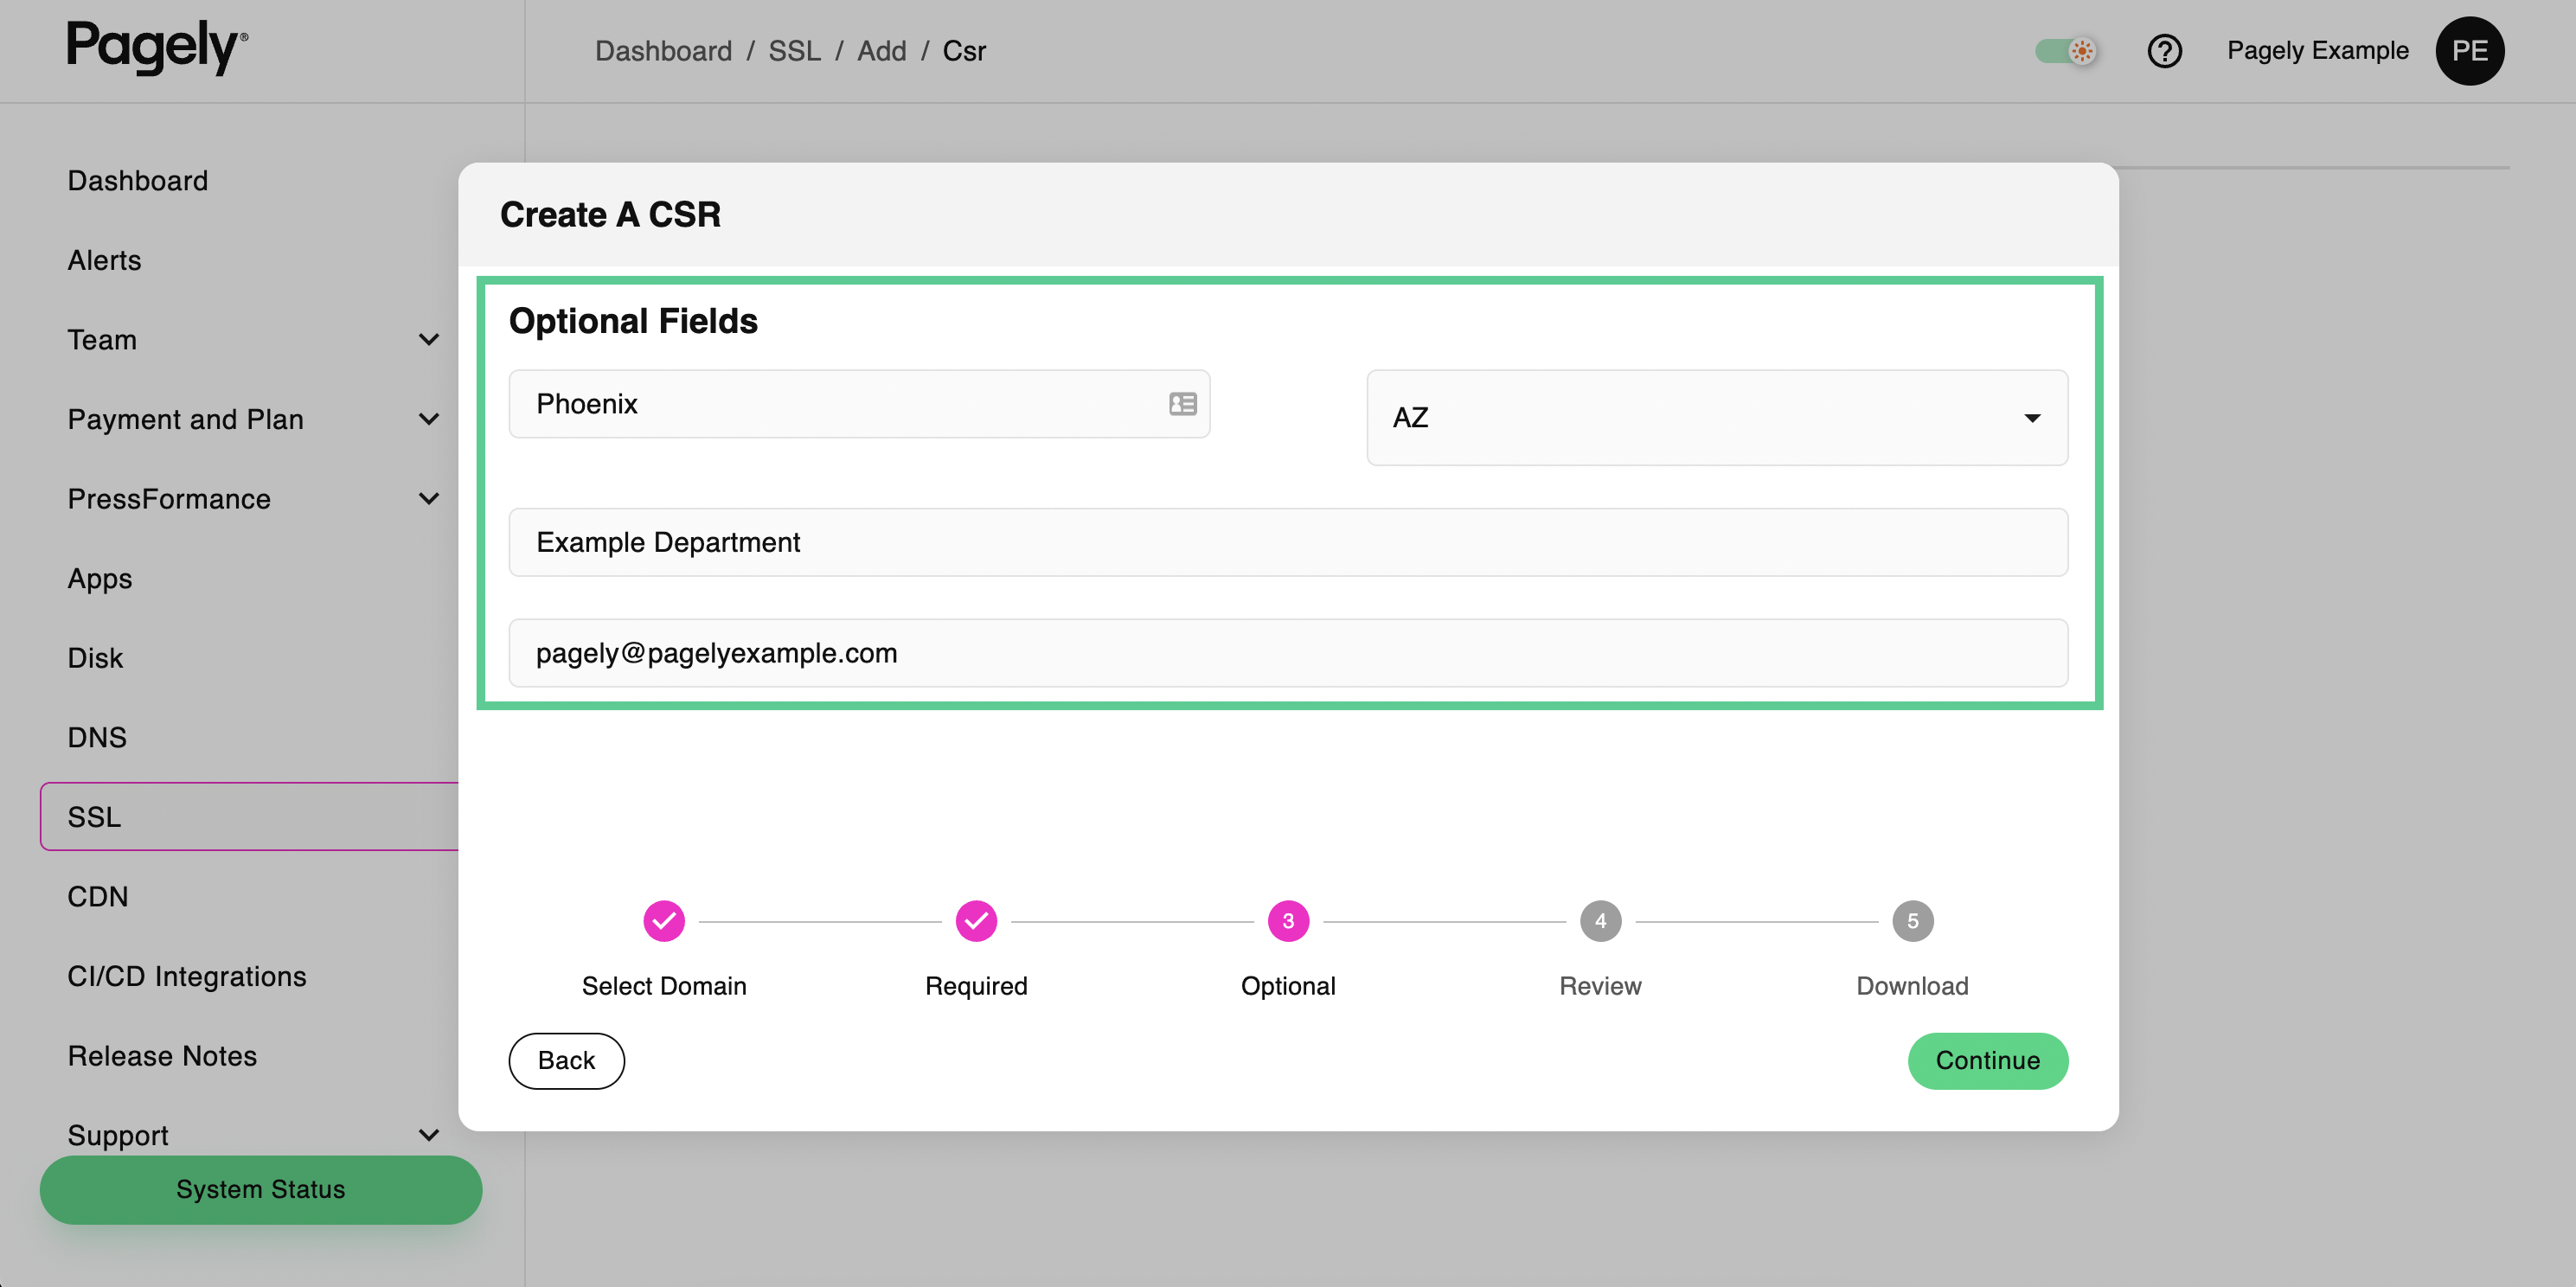
- After submitting the required fields, you’ll be presented with additional optional fields to include inside your CSR. Depending on your SSL issuer and certificate type, you might need these.
Fill out any of these optional fields that you need, then click on Continue.
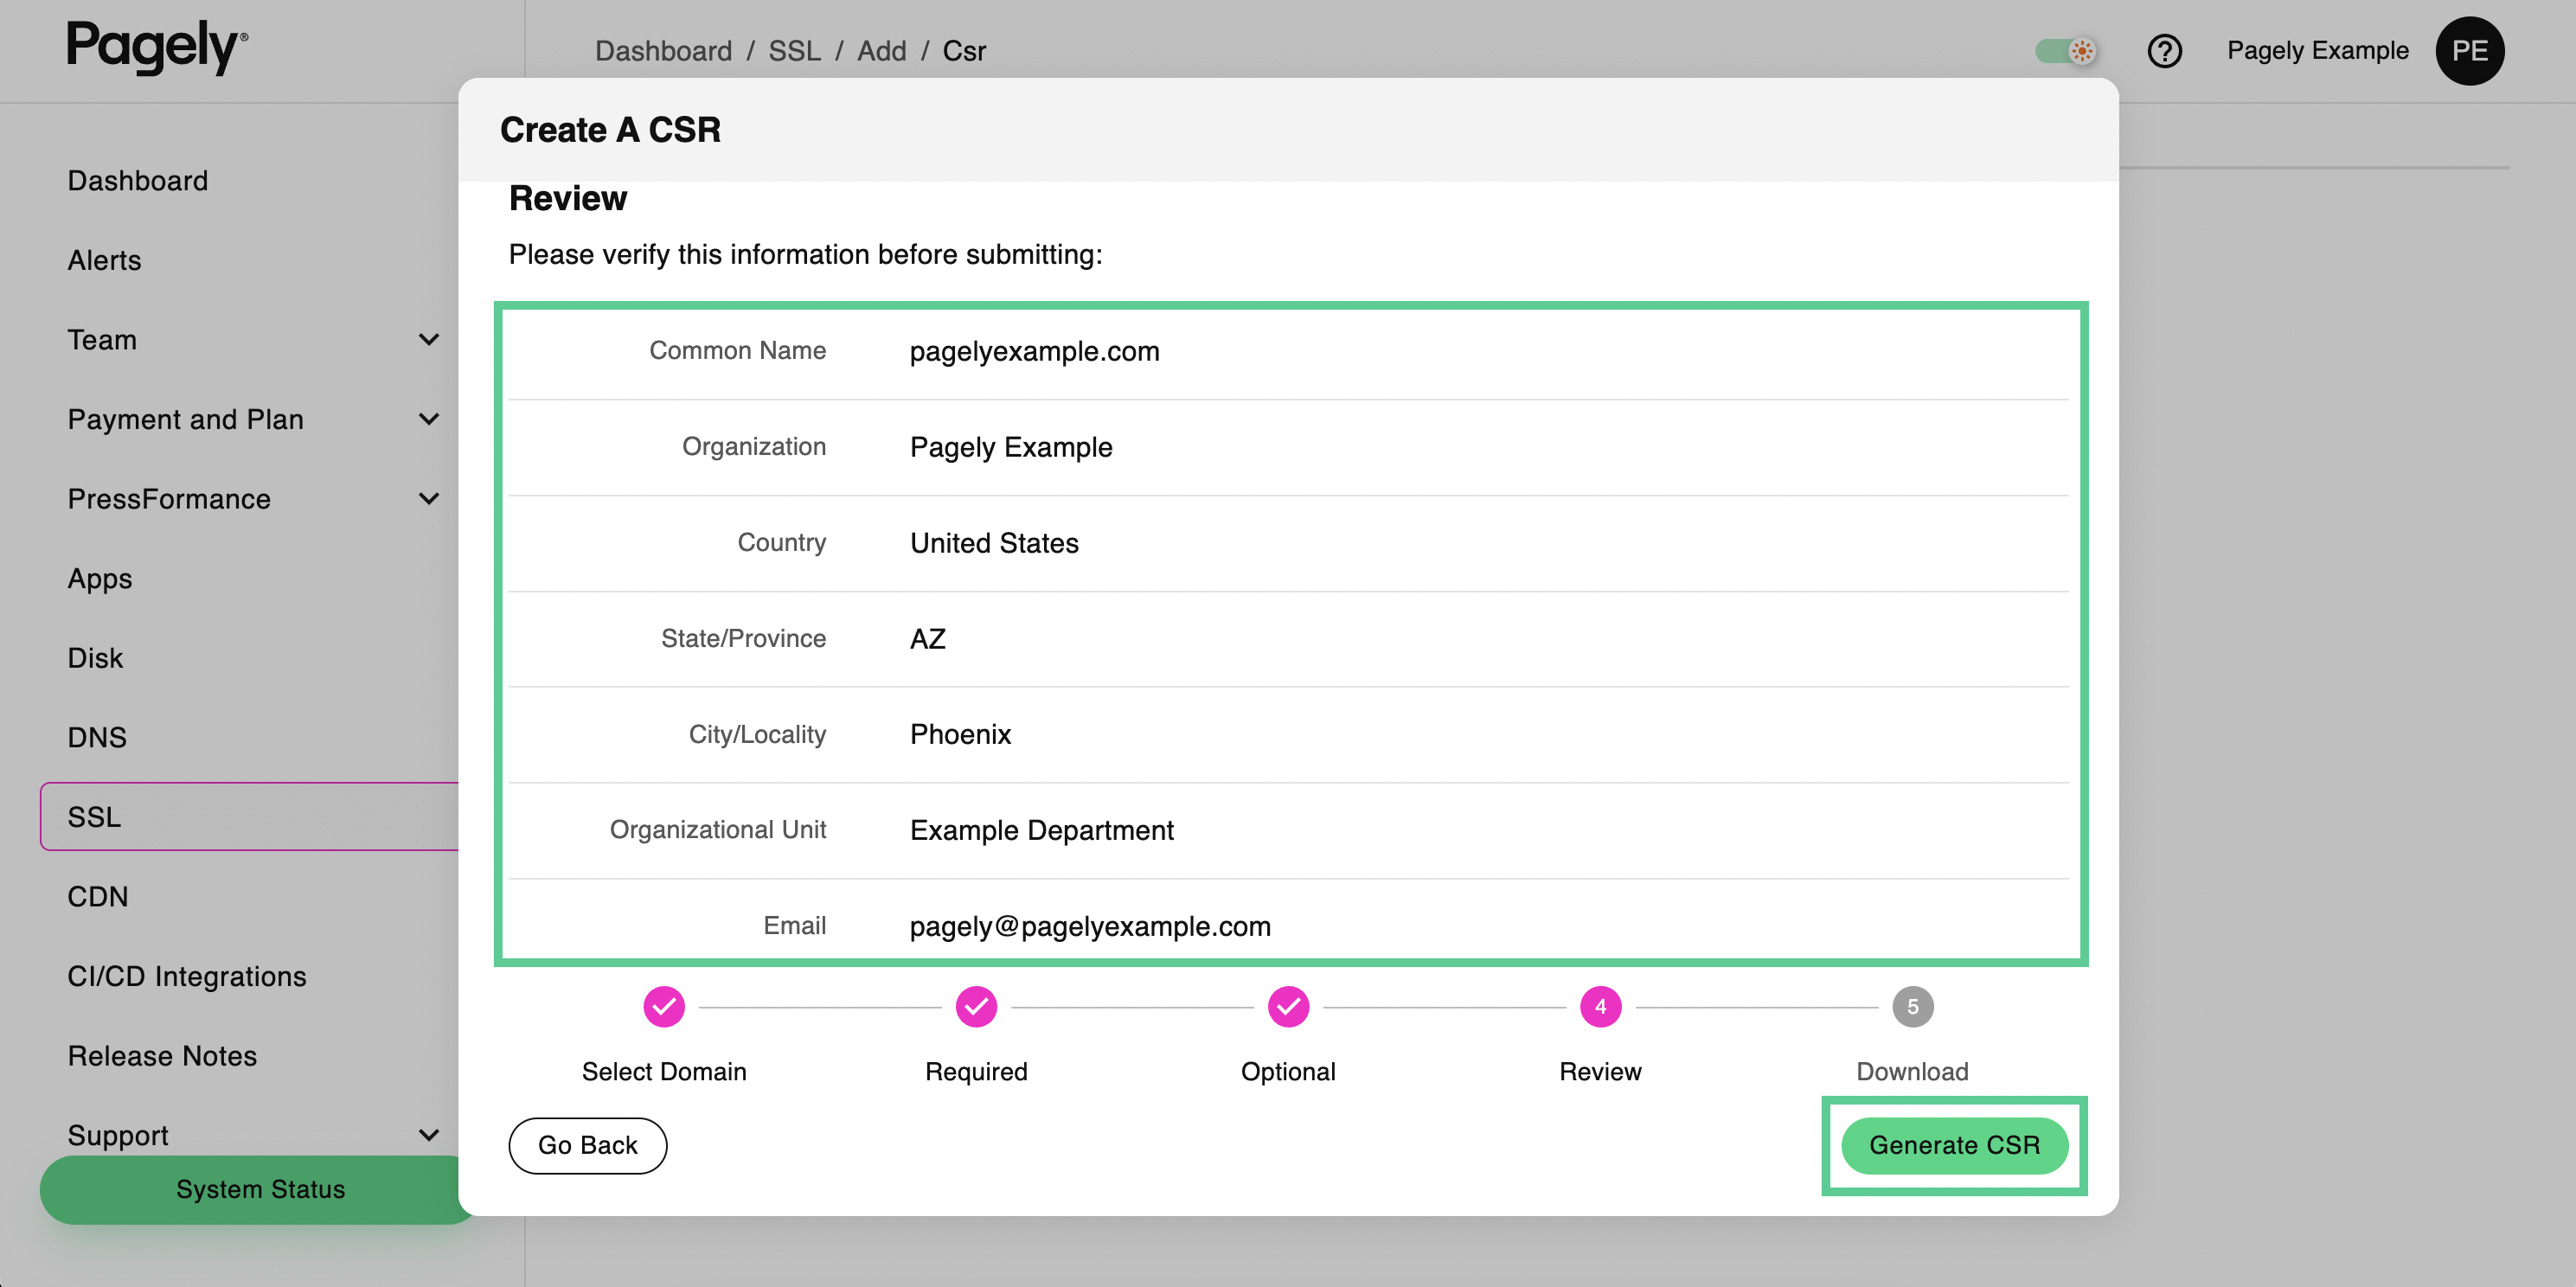
- You’ll now want to verify the information that you’ve submitted. If everything looks right, click on the Generate CSR button.
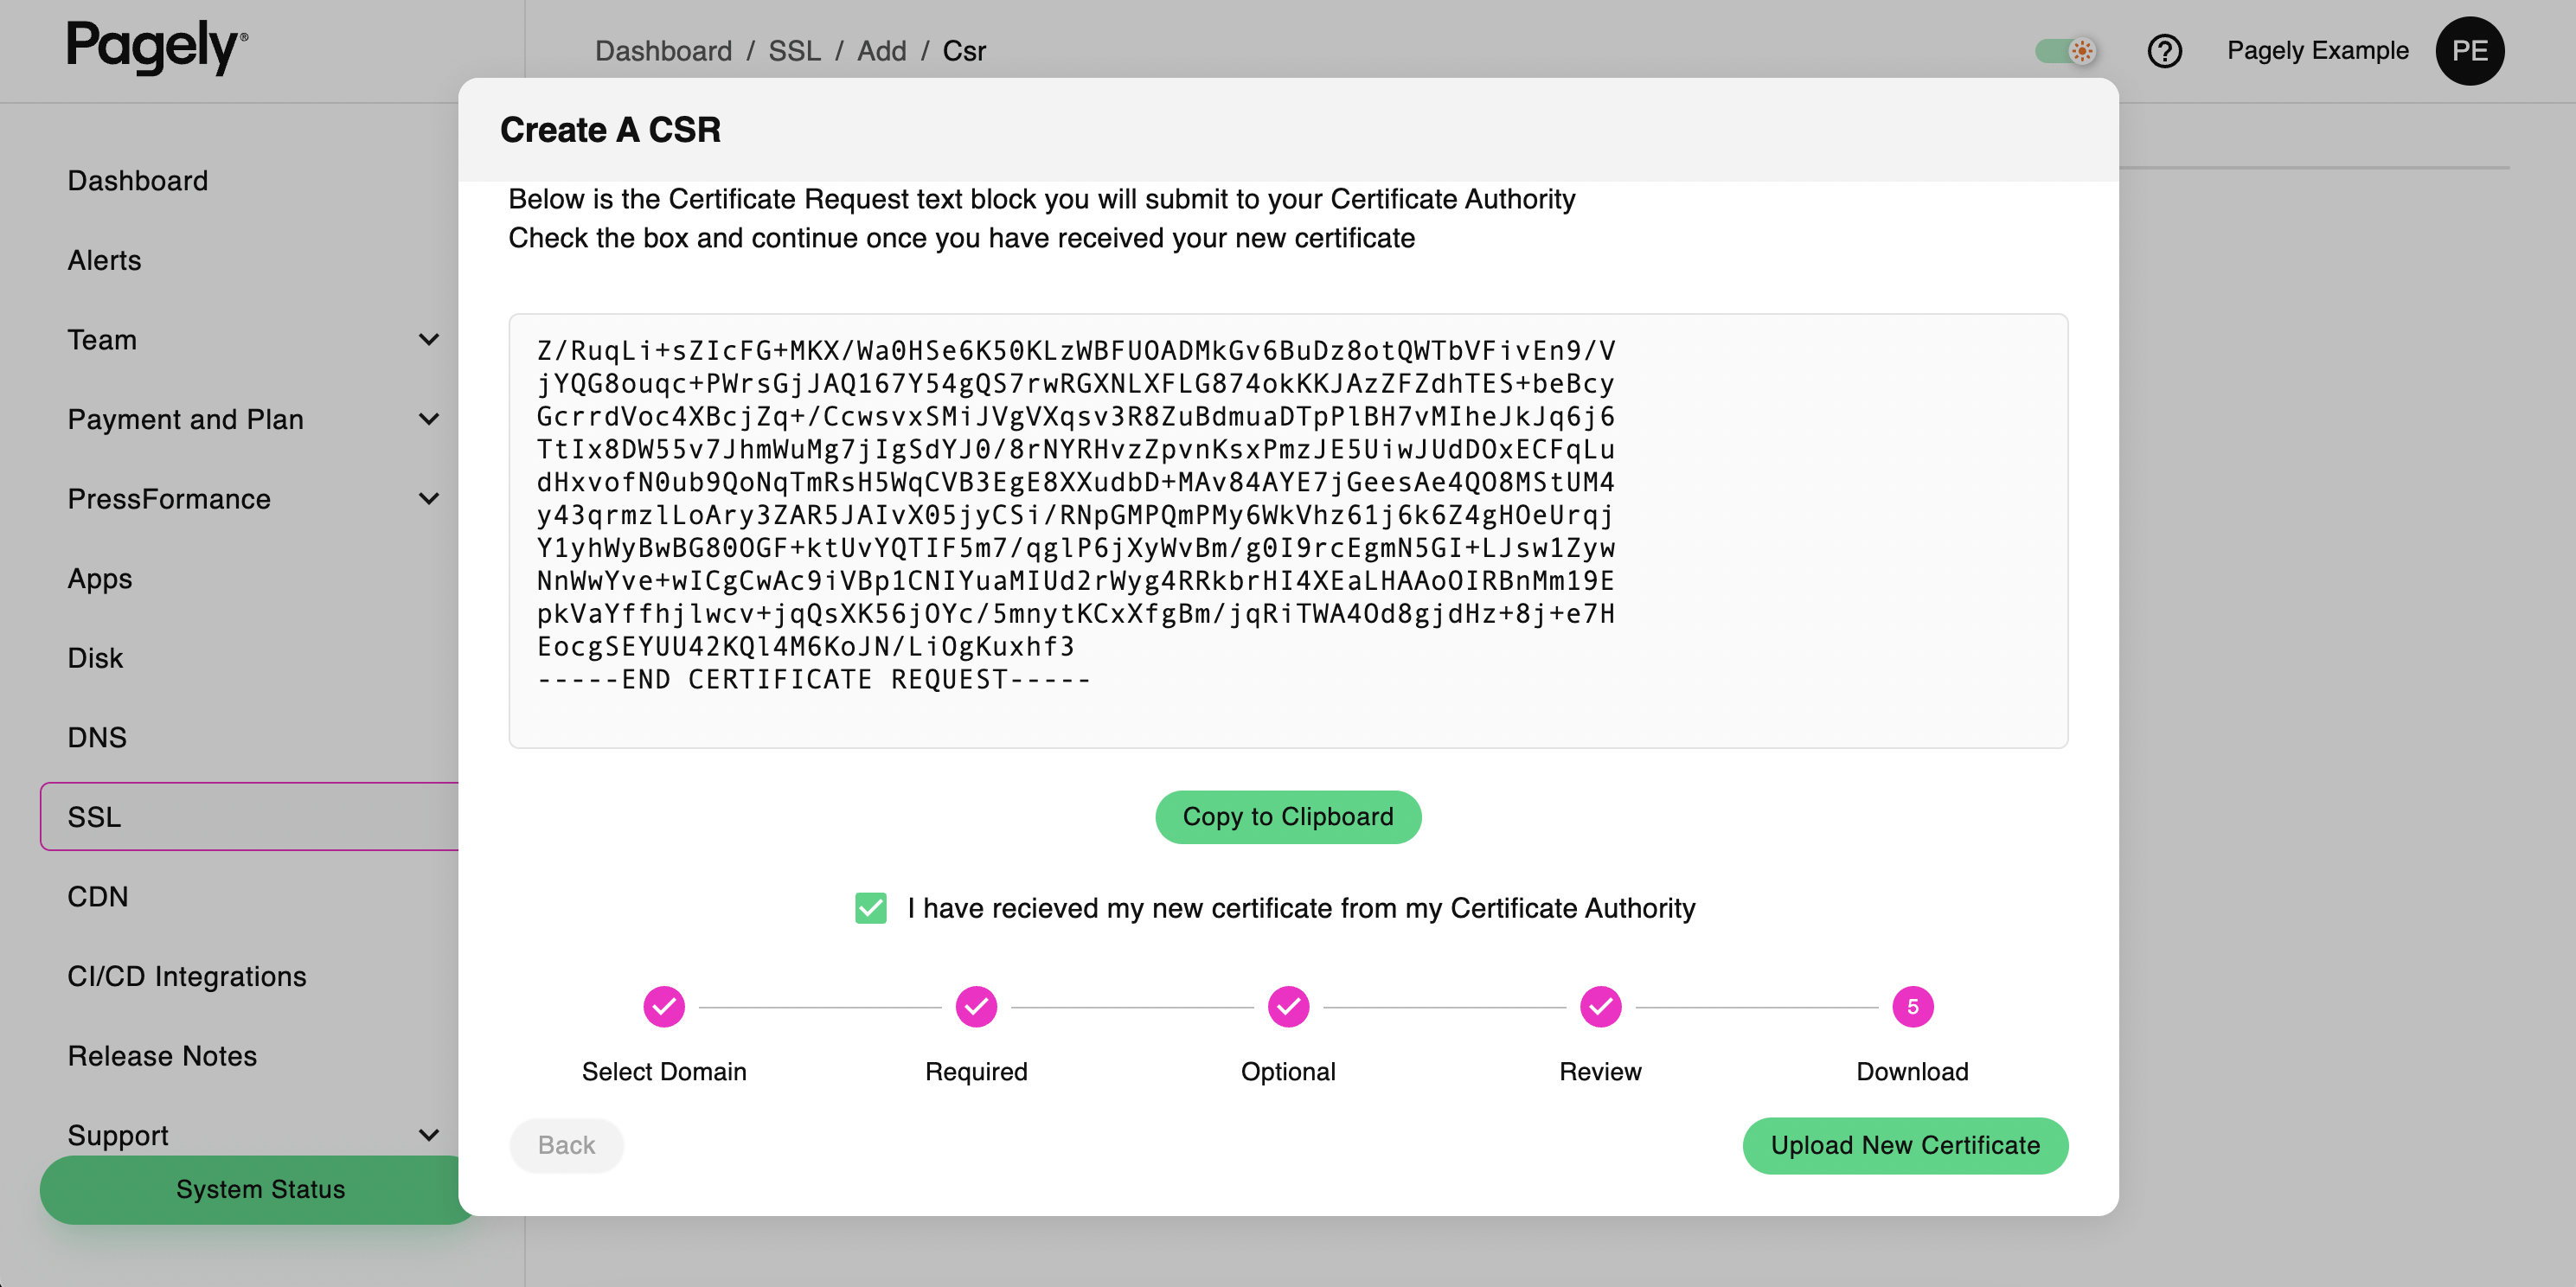
- Your CSR will now be generated and you’ll be able to copy it’s contents. Simply click on the Copy to Clipboard button to copy it.
Once it’s copied, provide it to your SSL issuer, click the checkbox to verify that you’ve copied the information, then click Continue.
- Finally, you’ll be prompted to upload your SSL certificate. If you were able to obtain your SSL certificate from your SSL provider within this same session, simply upload your certificate here.

If you don’t yet have your certificate, you can always come back later and follow the instructions within the Installing an SSL Certificate article.