DeployBot is a tool you can easily utilize with your environments - allowing you to quickly deploy changes from your repository, directly to your Pagely environment.
In this article we'll walk you through how to set up DeployBot to deploy your WordPress site to Pagely.
What You'll Need
- SSH/SFTP access set up on your Pagely account.
- A DeployBot account
- A git repository that your WordPress site will be deployed from.
Connecting DeployBot to your Repository
- Start by logging into your DeployBot account.
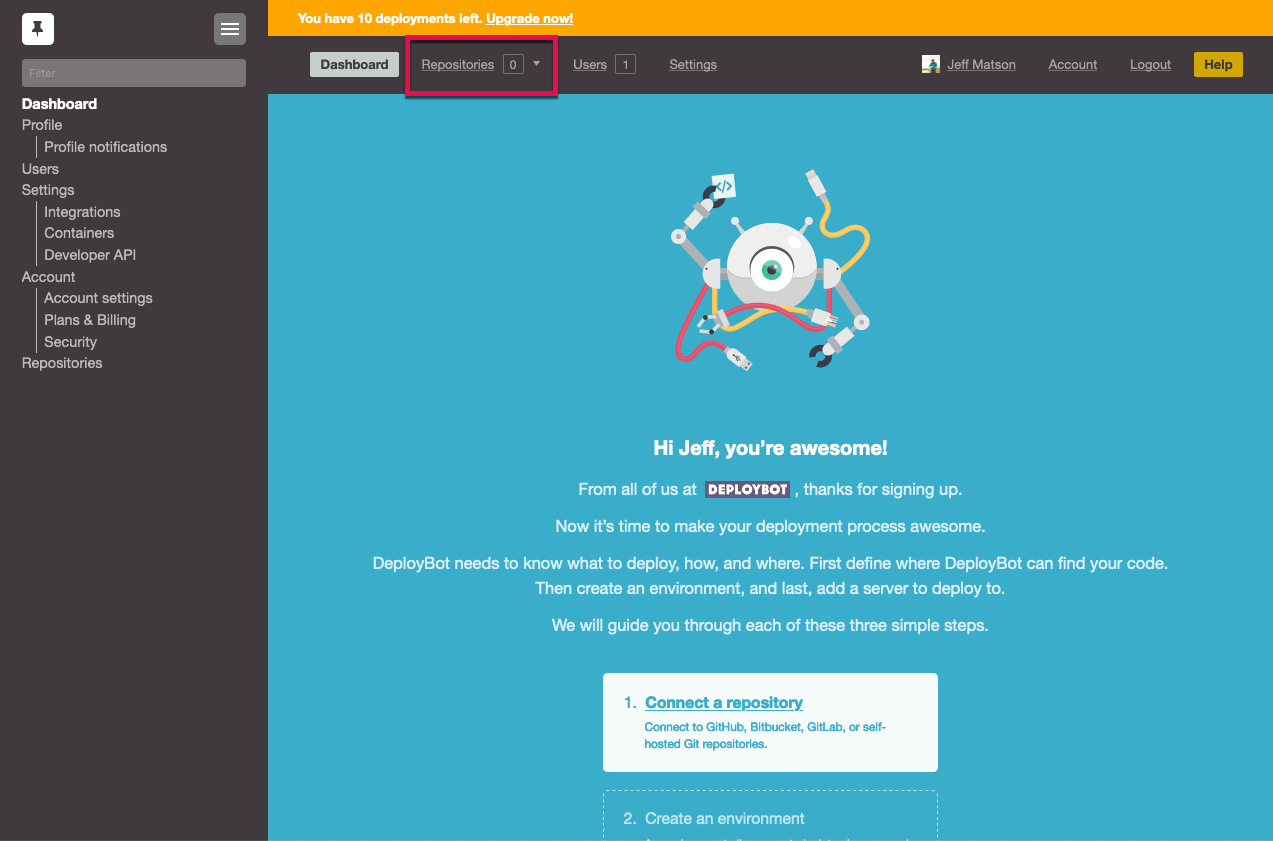
- At the top of the screen, click on Repositories.
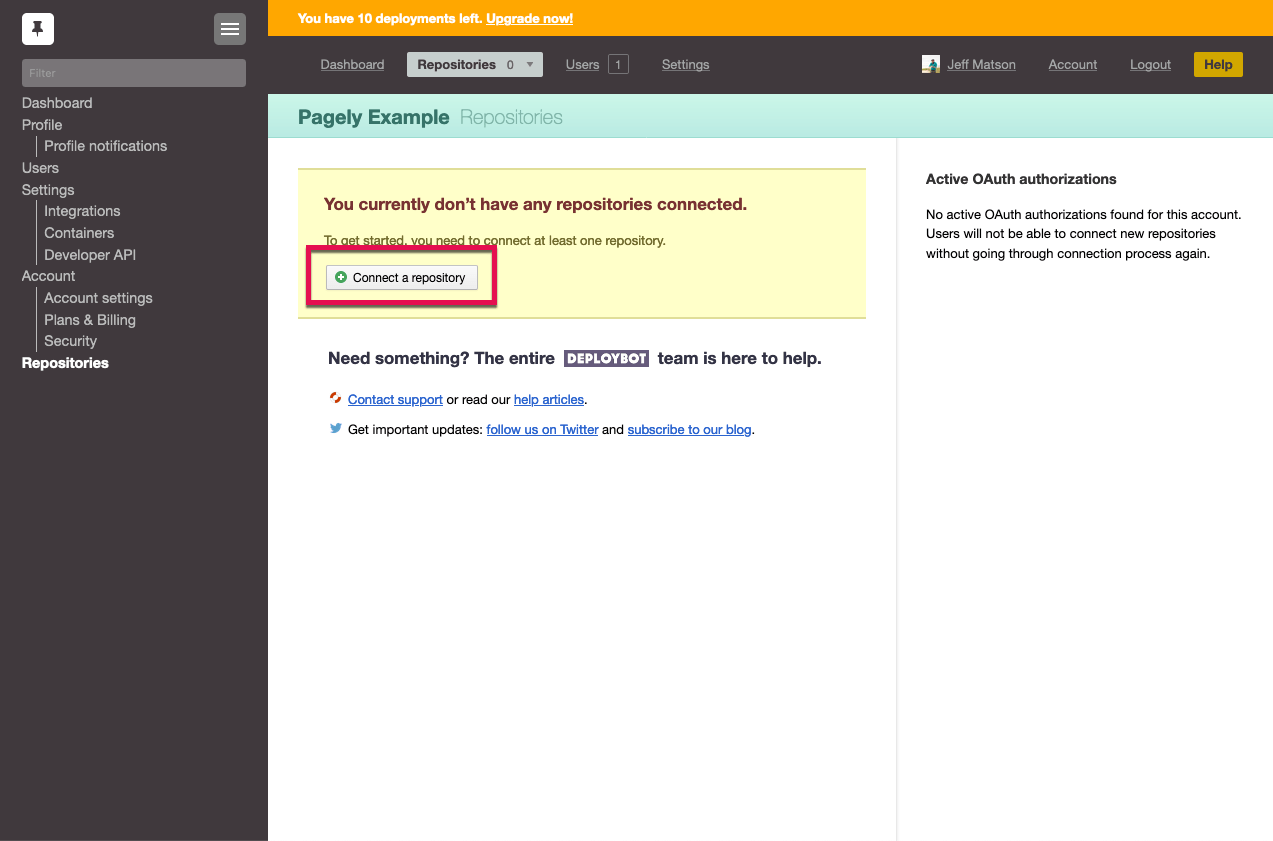
- Next, click on the Connect a Repository button.
- You'll now be taken to a new interface where you can connect a repository.
(If your GitHub account is already connected, you should have the option to select your repository from the dropdown menu.)
Select your version control provider, then click on the Connect a new account button to authenticate your account.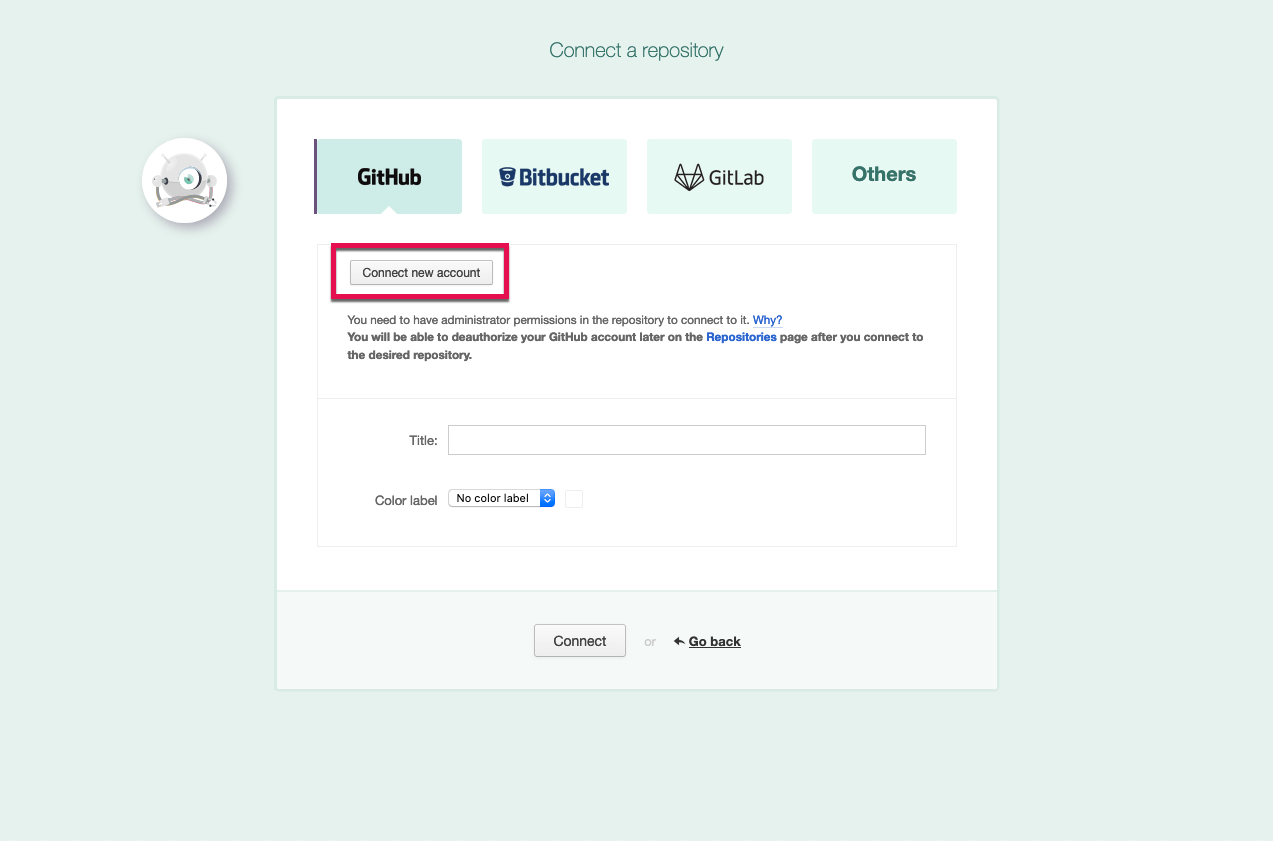
- After you've authenticated your account, the Title field should automatically fill with the name of your repository. Of course, you're welcome to change this if you'd prefer a different name.
Once your settings are in place, just click on the Connect button.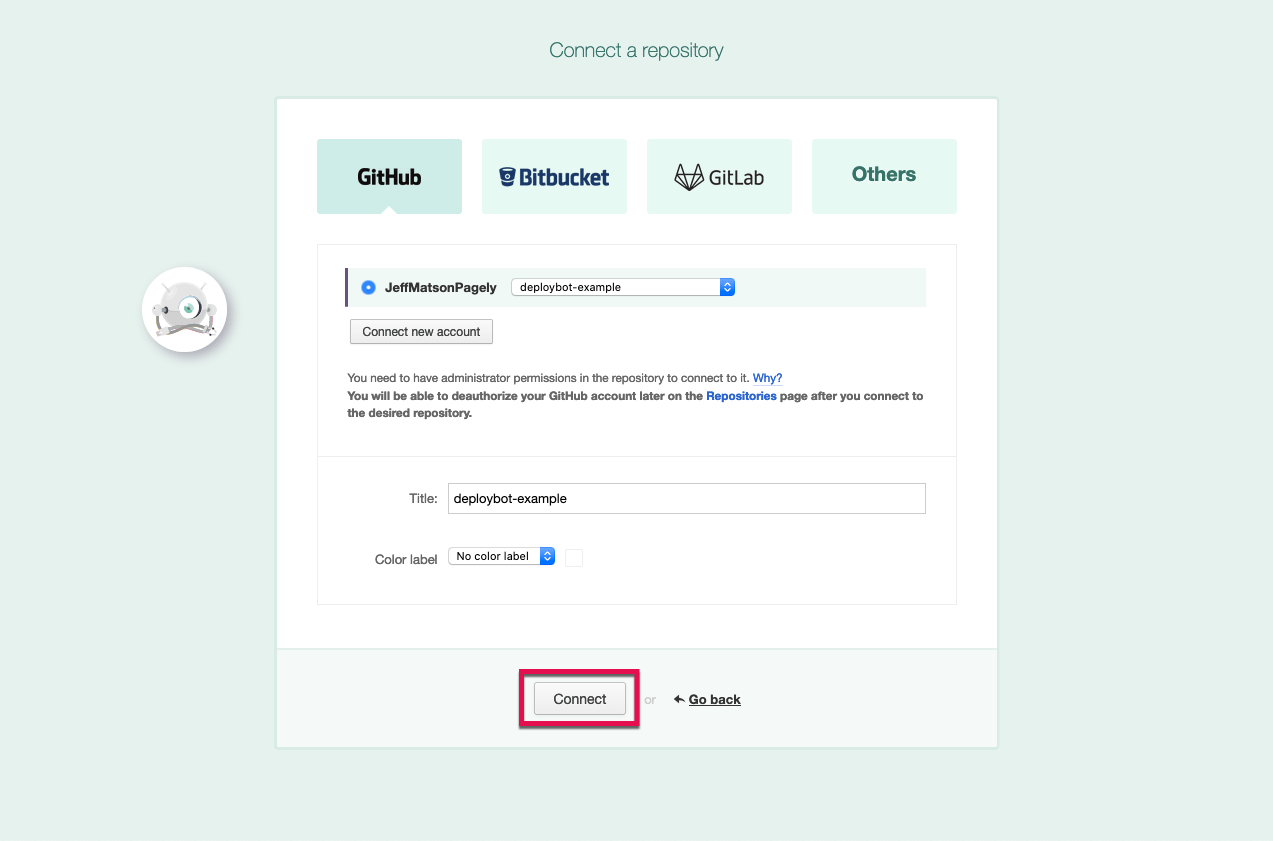
Note (Rare): If you or your team has previously requested that we restrict SSH access, please contact support to adjust the whitelist.
Creating an Environment
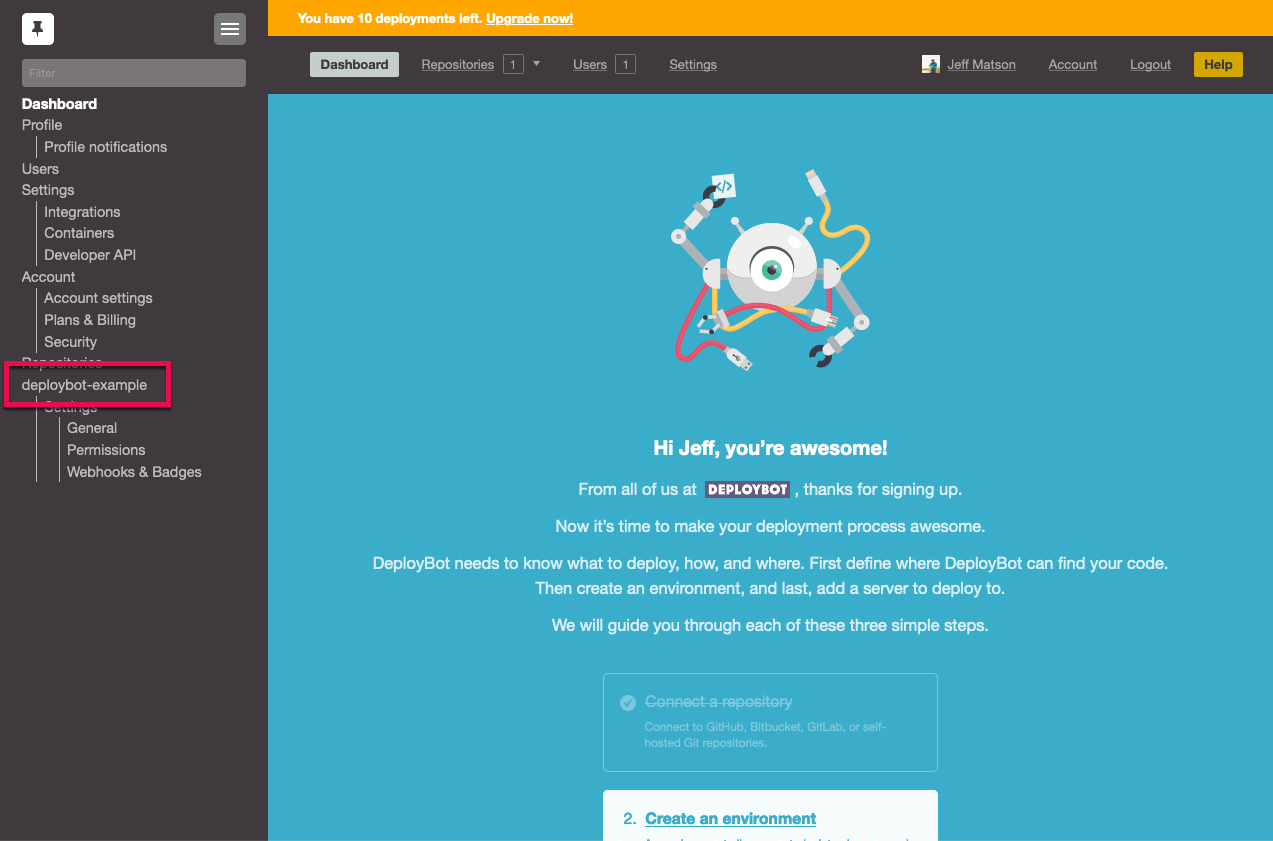
- Back in the DeployBot Dashboard, look to the left side menu and click on the name of the repository that you've just set up to access its deployment settings.
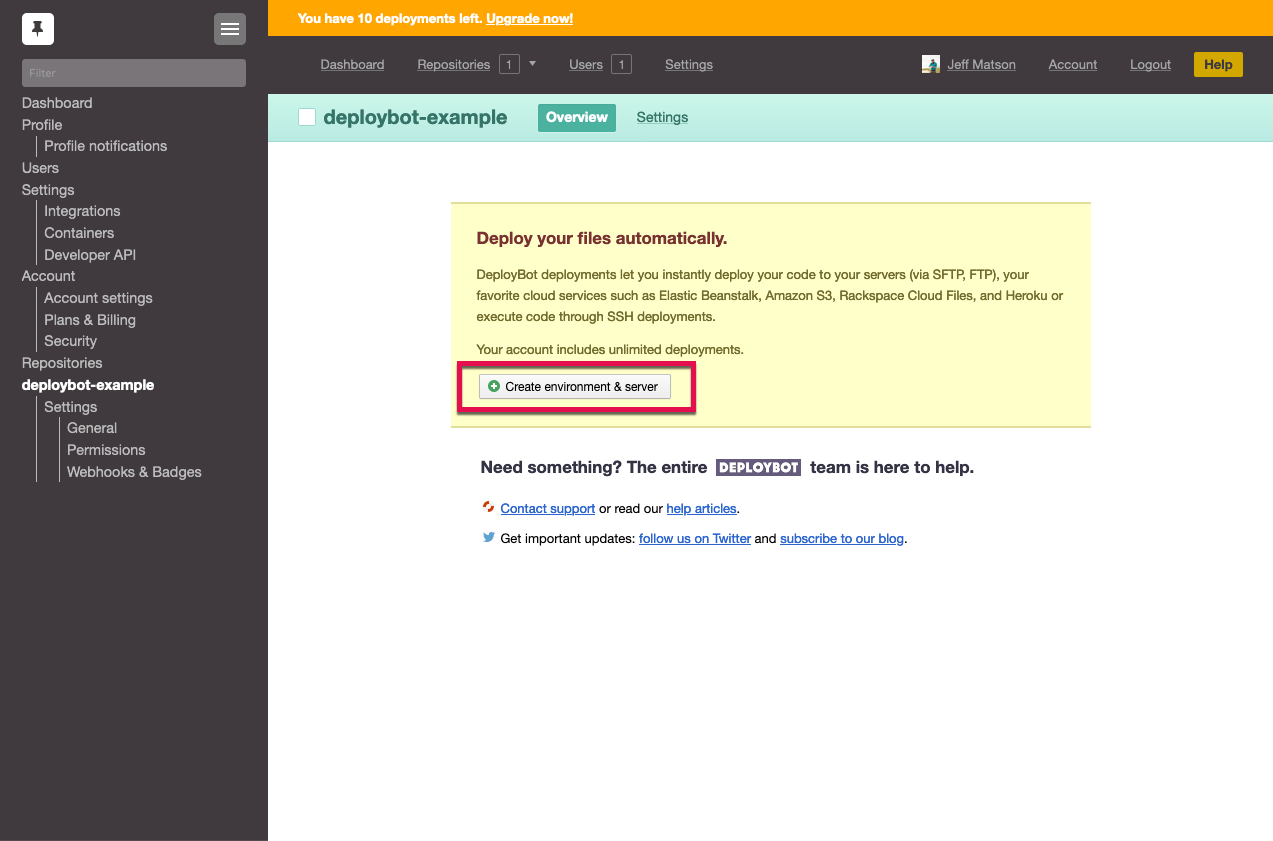
- From inside your repository's settings page, click on the Create Environment and Server button.
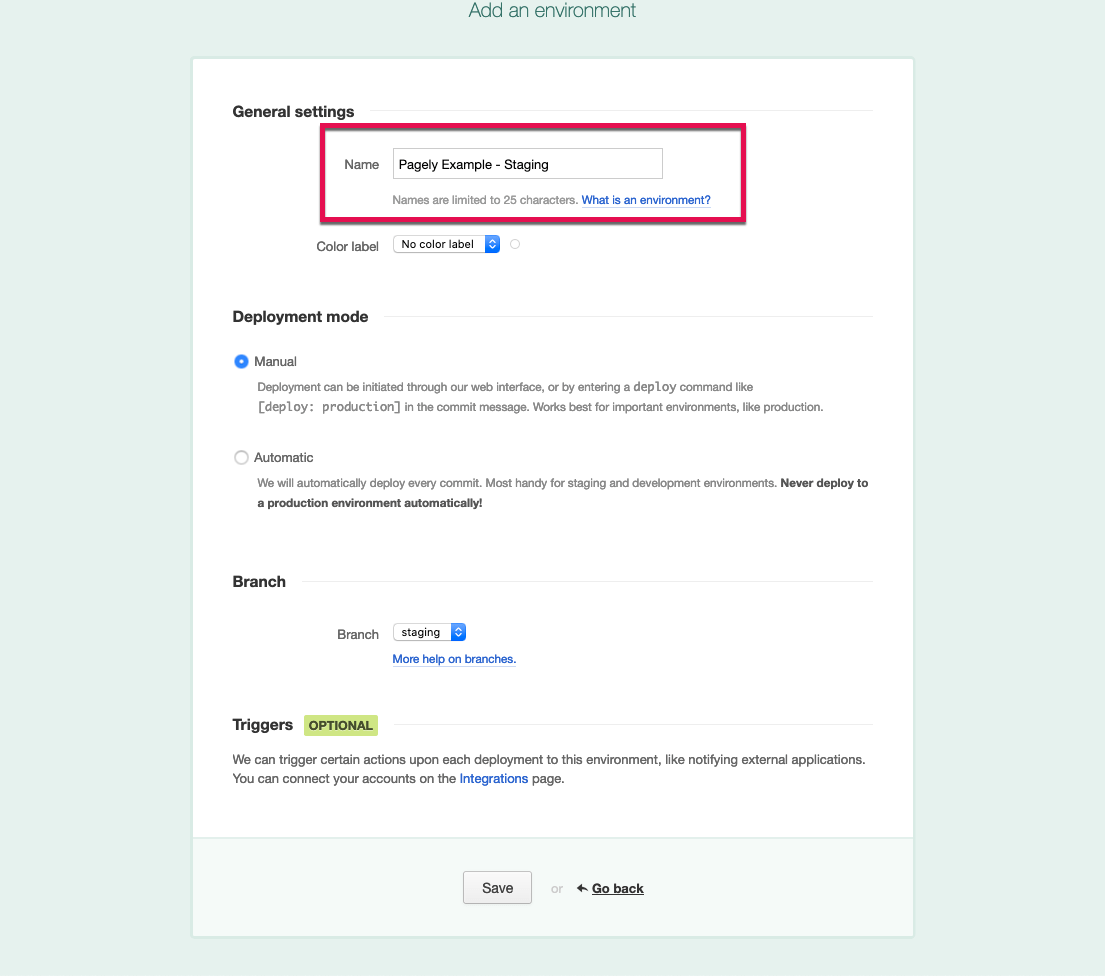
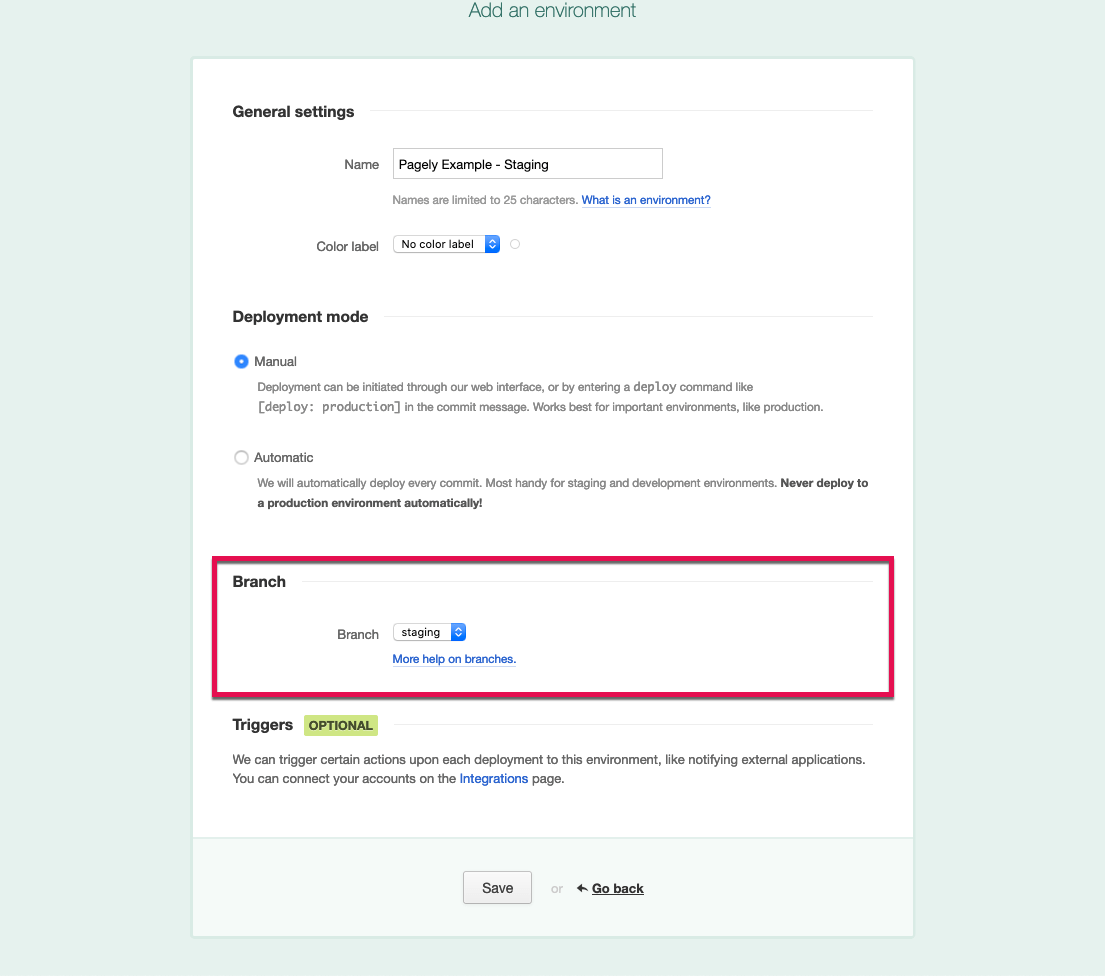
- You'll now be taken to a new interface for creating your environment. First, specify a name in the Name field.
- The next setting is the Deployment Mode. This can be set to either Manual or Automatic, depending on your preferences.
As a general rule, we recommend setting this to Manual, at least while testing. You can always change it later if you need to.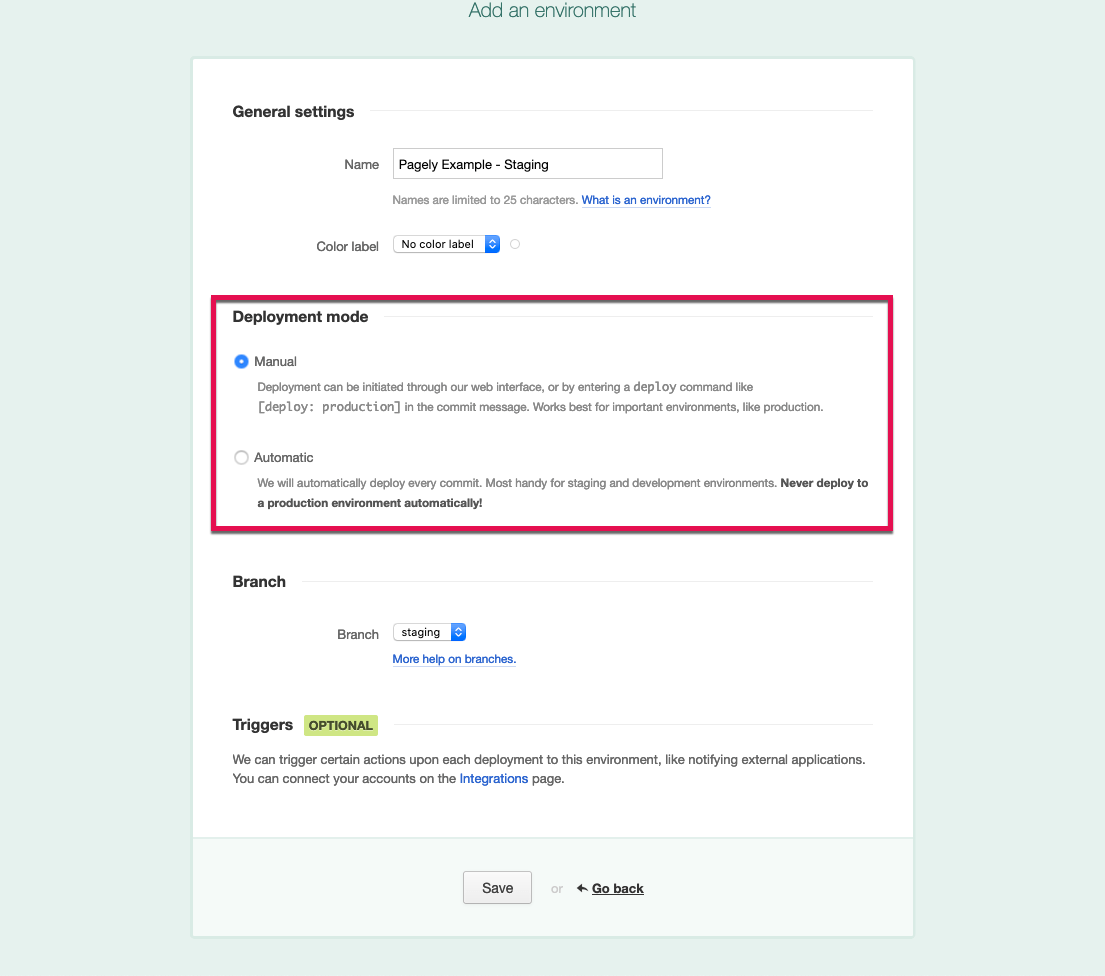
- Next, you'll select the branch that you want to deploy from. To avoid accidentally deploying untested code to production, we recommend setting this to a branch dedicated to this environment.
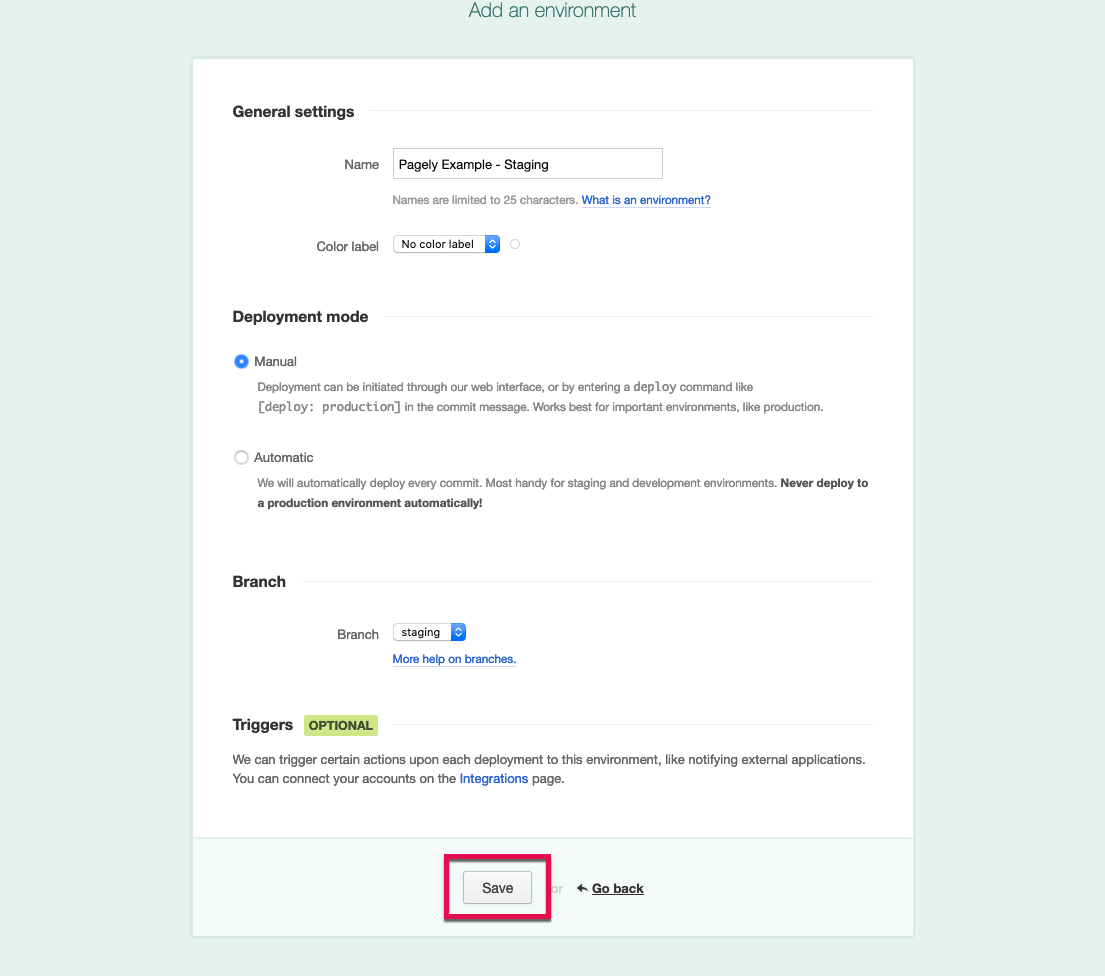
- With all of your settings in place, click on the Save button.
Adding Server Configurations
After adding your environment, you'll be automatically taken to a new screen where you'll add the server that you'll be deploying to. As always, we recommend testing deployments on a staging environment before deploying to production!
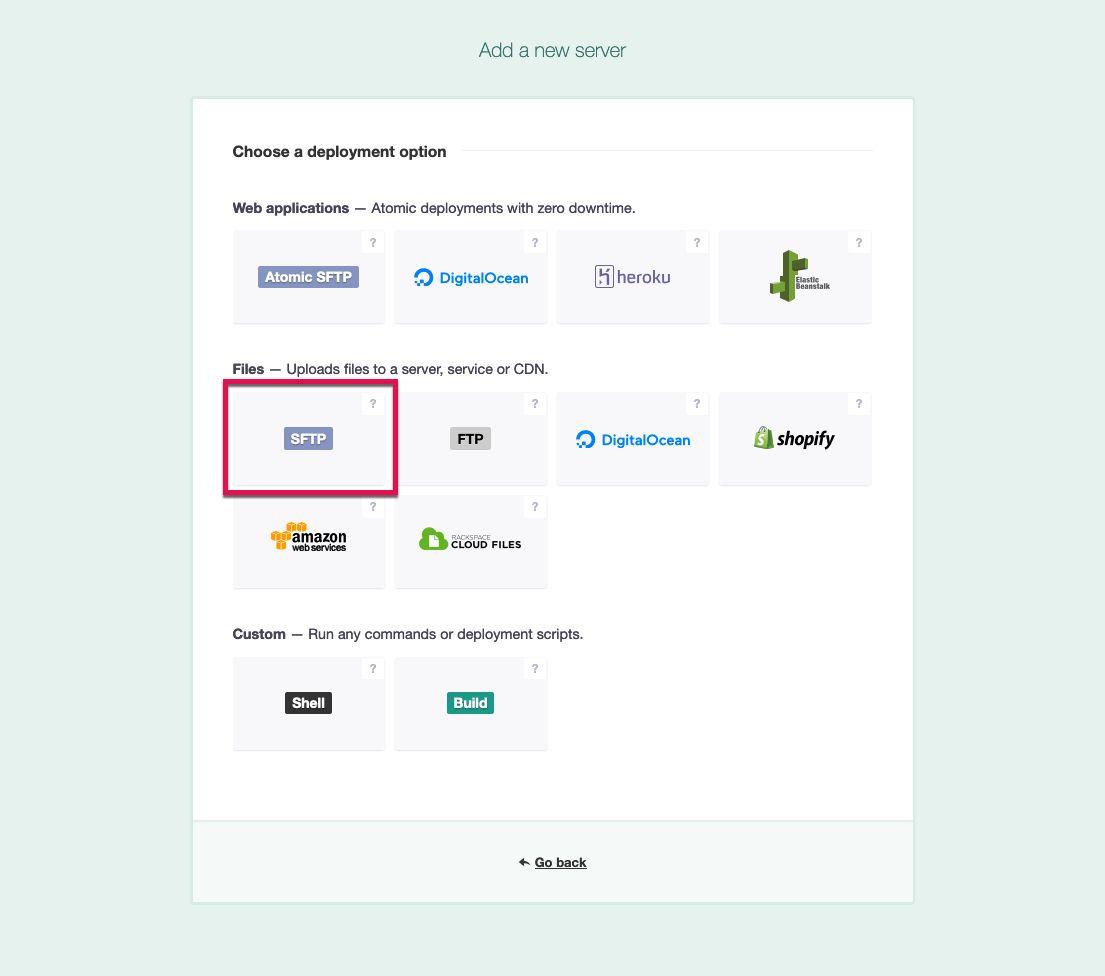
- Under the Files section of the deployment options, select SFTP.
- After selecting SFTP, you'll be taken to a new screen for configuration your SFTP connection details. Within the Name field, enter a name for this SFTP server.
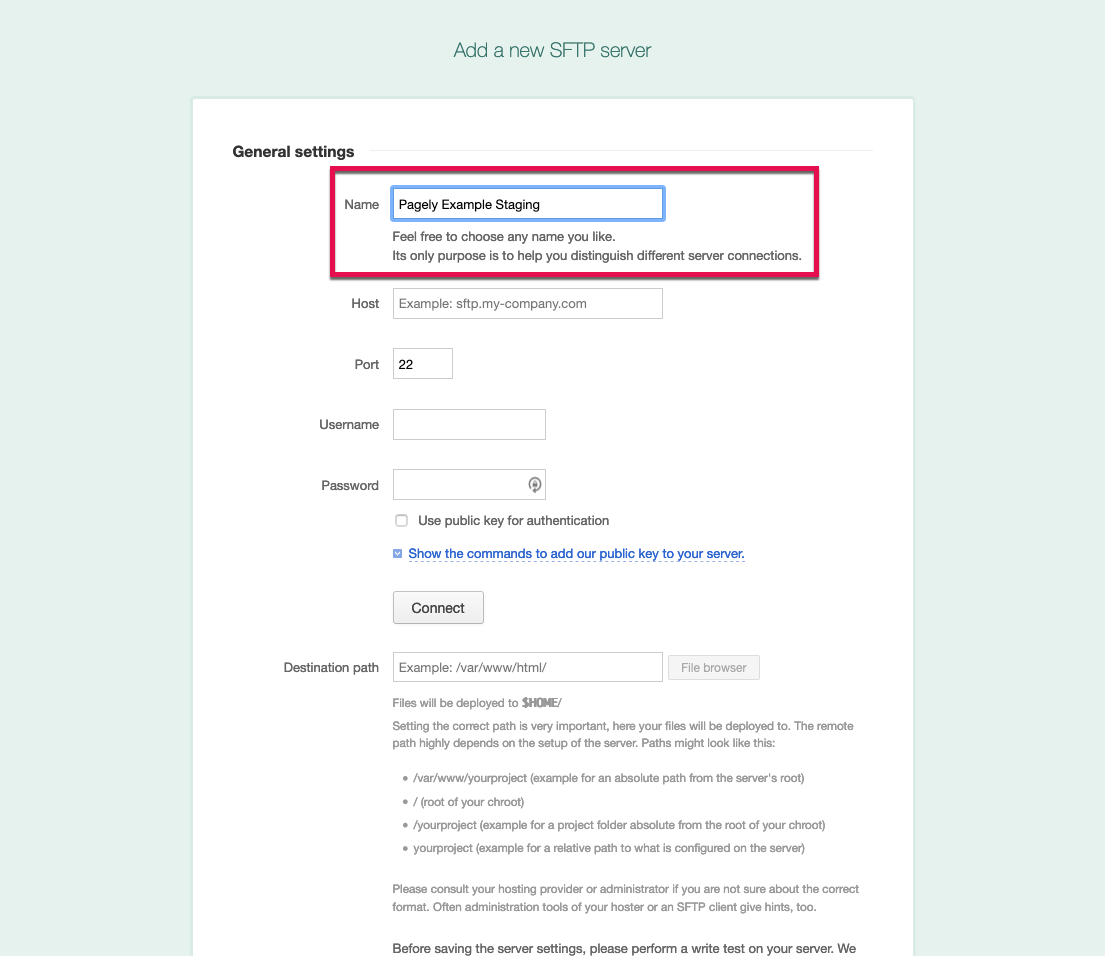
- Next, you'll set the Host field. Here, you'll enter your Pagely VPS's hostname or domain.
Note: If you're deploying to one of our high-availability servers, be sure to set this as your primary server's hostname.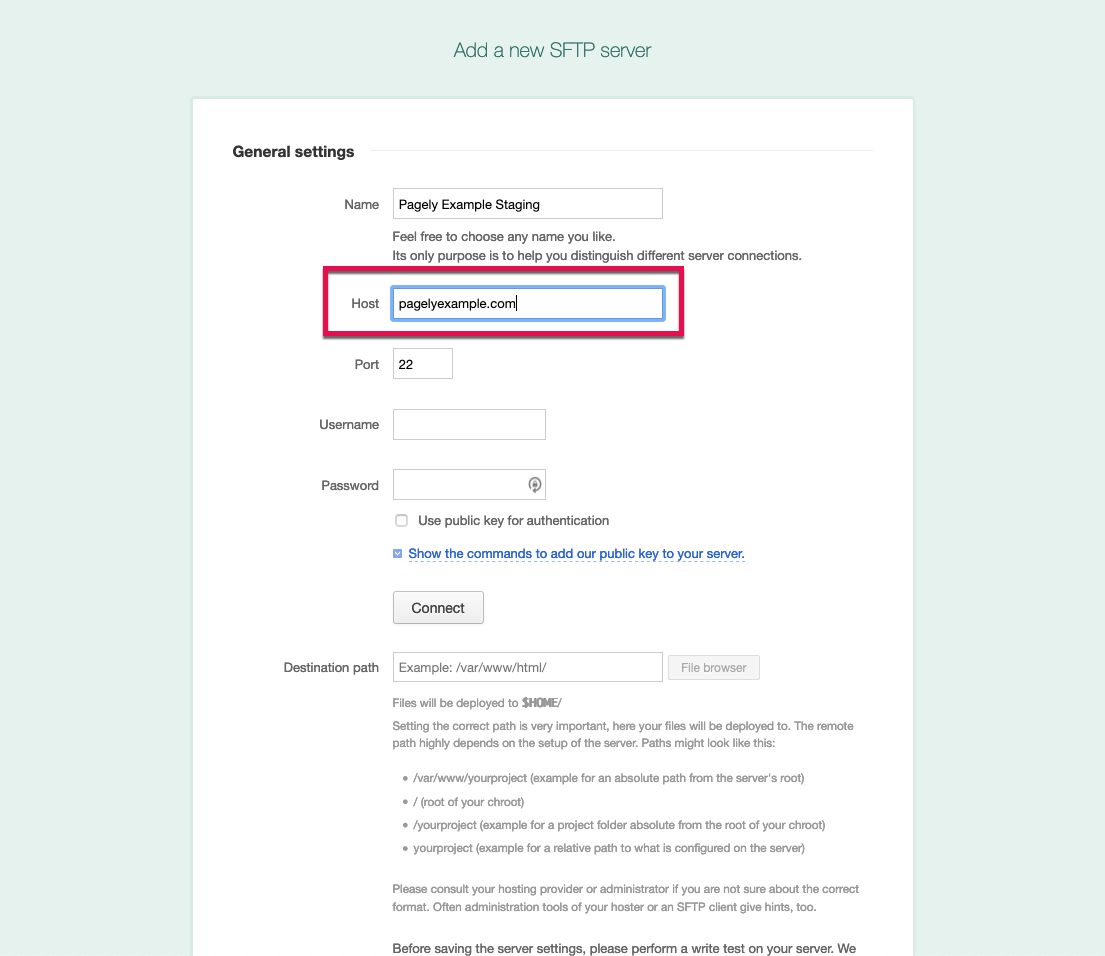
- Within the Username field, enter your SFTP/SSH username.
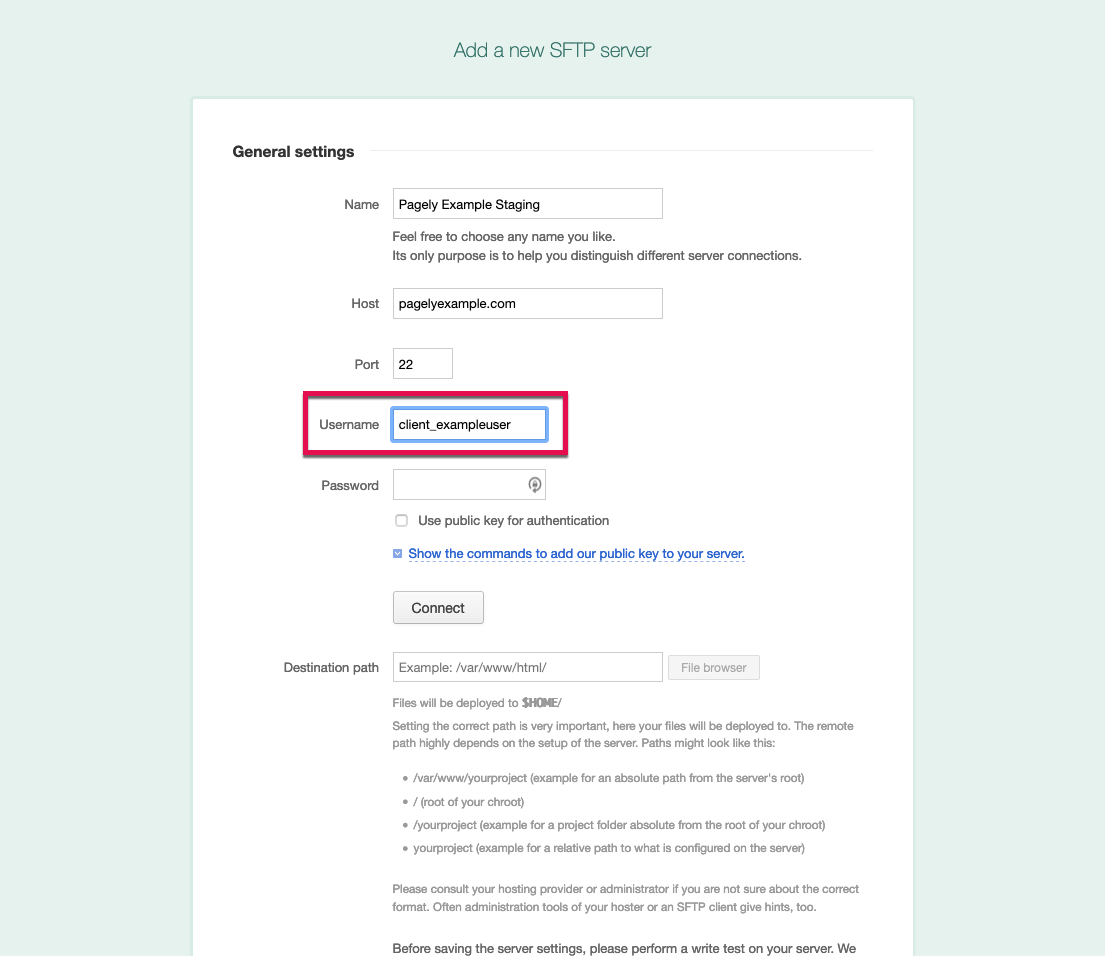
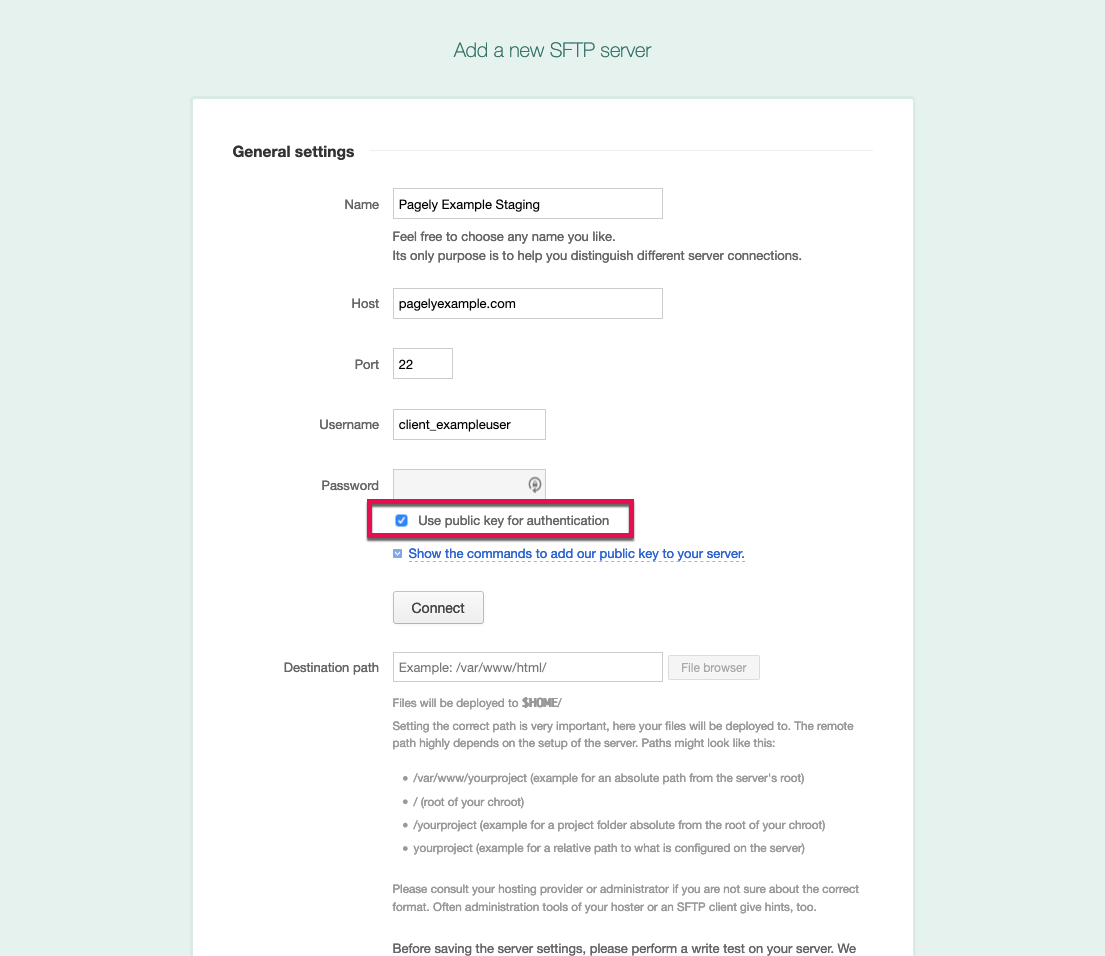
- Since we're going to be using SSH keys for authentication, leave the Password field blank and select the checkbox below it labeled Use public key for authentication.
- Next, we need to get a copy of the public key and add it to the SSH user. To do so, start by clicking on the Show the command to add our public key to your server link directly below the checkbox.
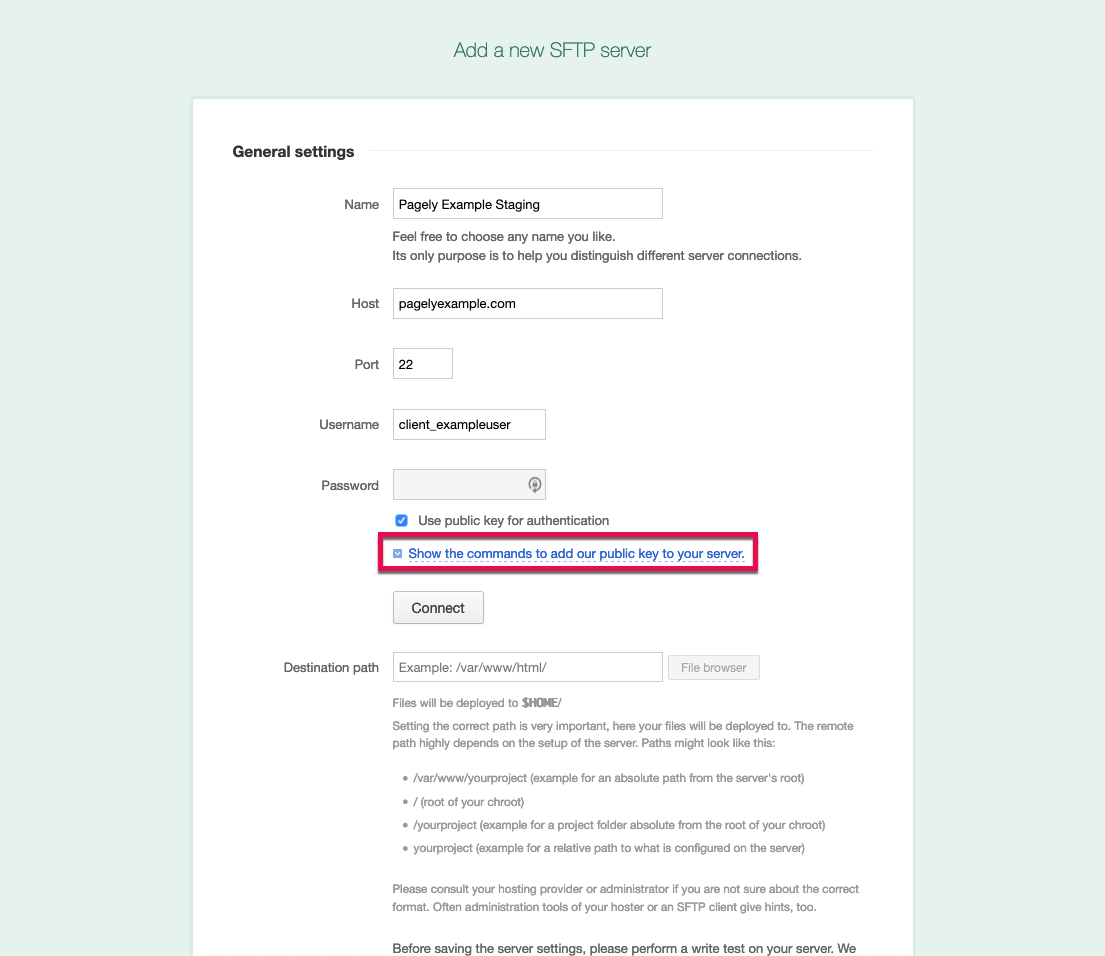
- With the additional information displayed, it's time to download the public key by clicking on the download the public key itself link.
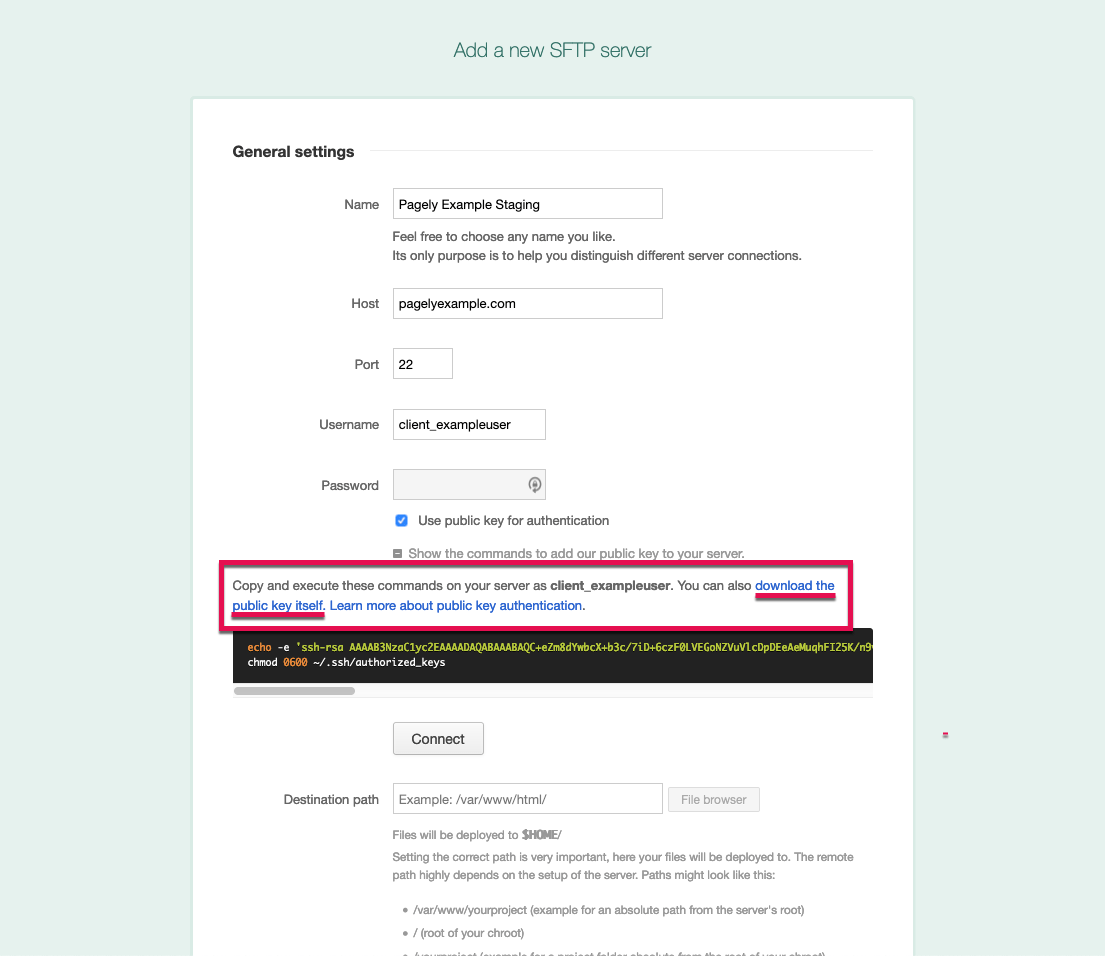
- Now that you have your public key, you'll need to add it to your SSH user within Atomic. For more information, see our article on adding SSH keys to Atomic.
- We're ready to test the connection! Click on the Connect button to test it out.
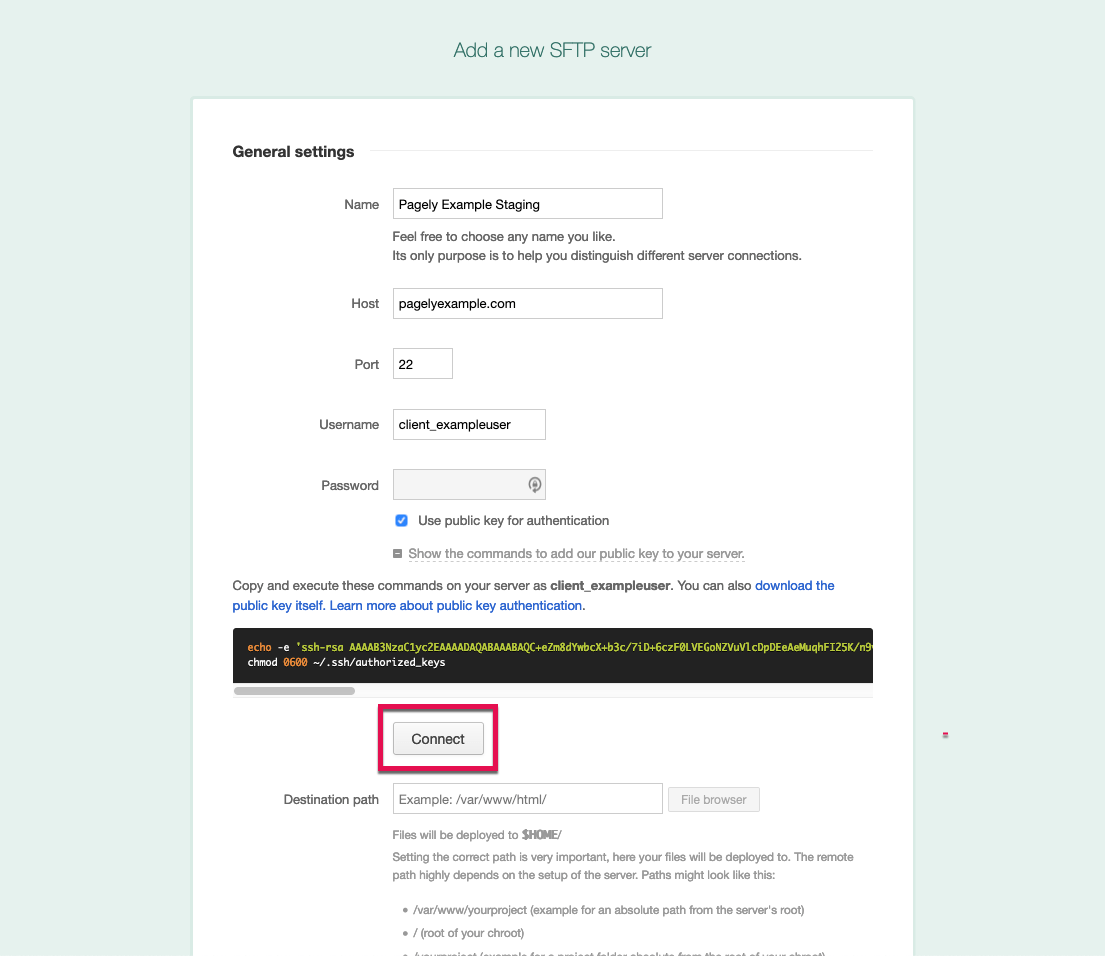
- If the connection test was successful, the next step is to set the Destination Path.
This path sets the location that your repository's files will be deployed to. To get the absolute server path to your WordPress site's root directory, access the app's details in Atomic and copy the File Path.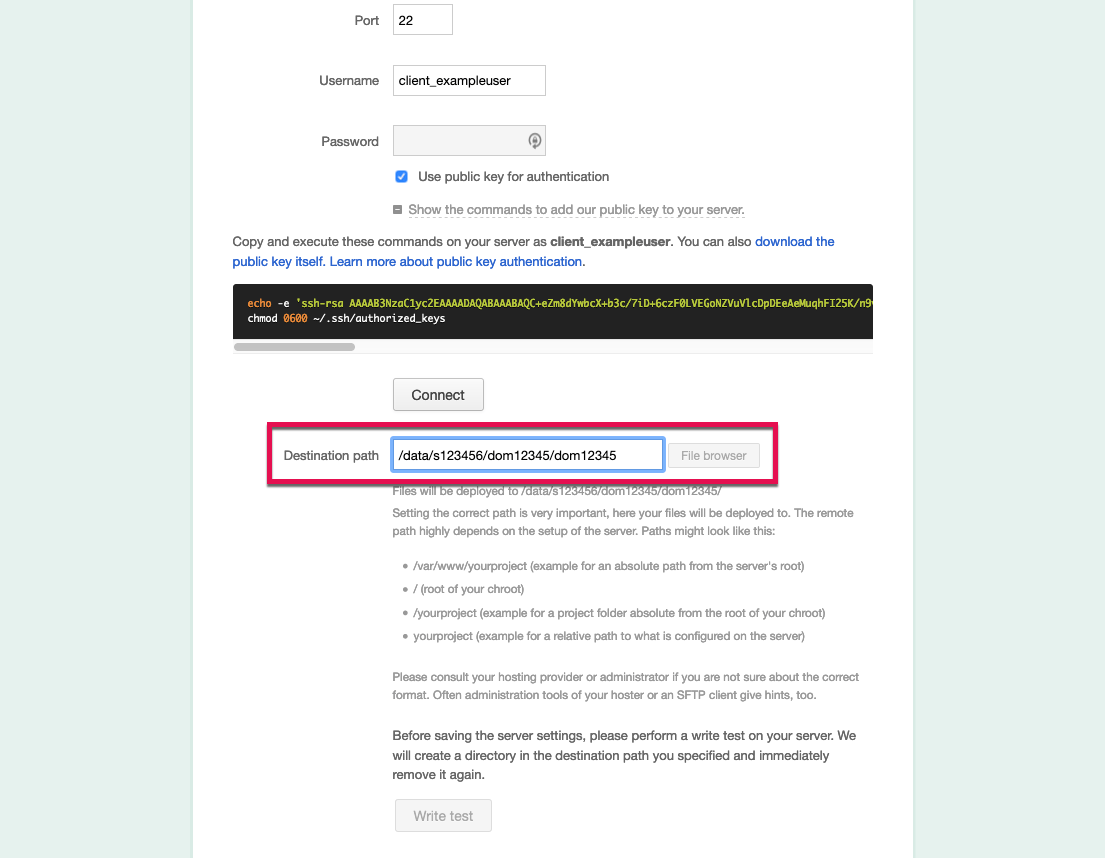
After entering your destination path, you can also double-check it by clicking on the File Browser button and reviewing the location. - To make sure DeployBot can write to the SFTP location, click on the Write Test button.
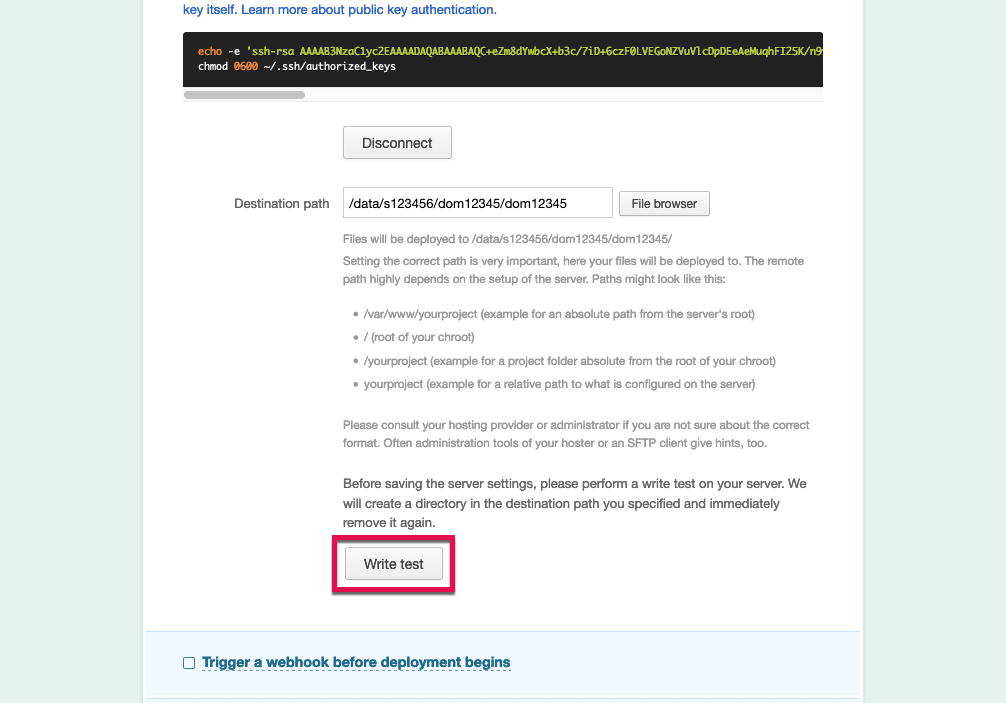
- The last setting change we'll be making here is setting a few file exclusions. Scroll down to the section labeled Exclude certain paths from being uploaded.
Inside this section, you'll place a list of files that will be excluded from your deployment. When deploying a WordPress site to Pagely, it's important to exclude any core WordPress files. It's also a good idea to exclude any development files that exist within your repository.
Here's an example for your to work from:/db-config.php /wp-*.php /xmlrpc.php /index.php /wp-includes /wp-admin /sitemap.xml.gz node_modules **/node_modules package.json **/package.json /wp-content/mu-plugins/pagely* /wp-content/advanced-cache.php /wp-content/wp-cache-config.php /wp-content/cache /wp-content/backups **/*.log **/license.txt **/readme.html **/*.sql **/*.sql.gz - Finally, just save your settings!
Testing Deployments
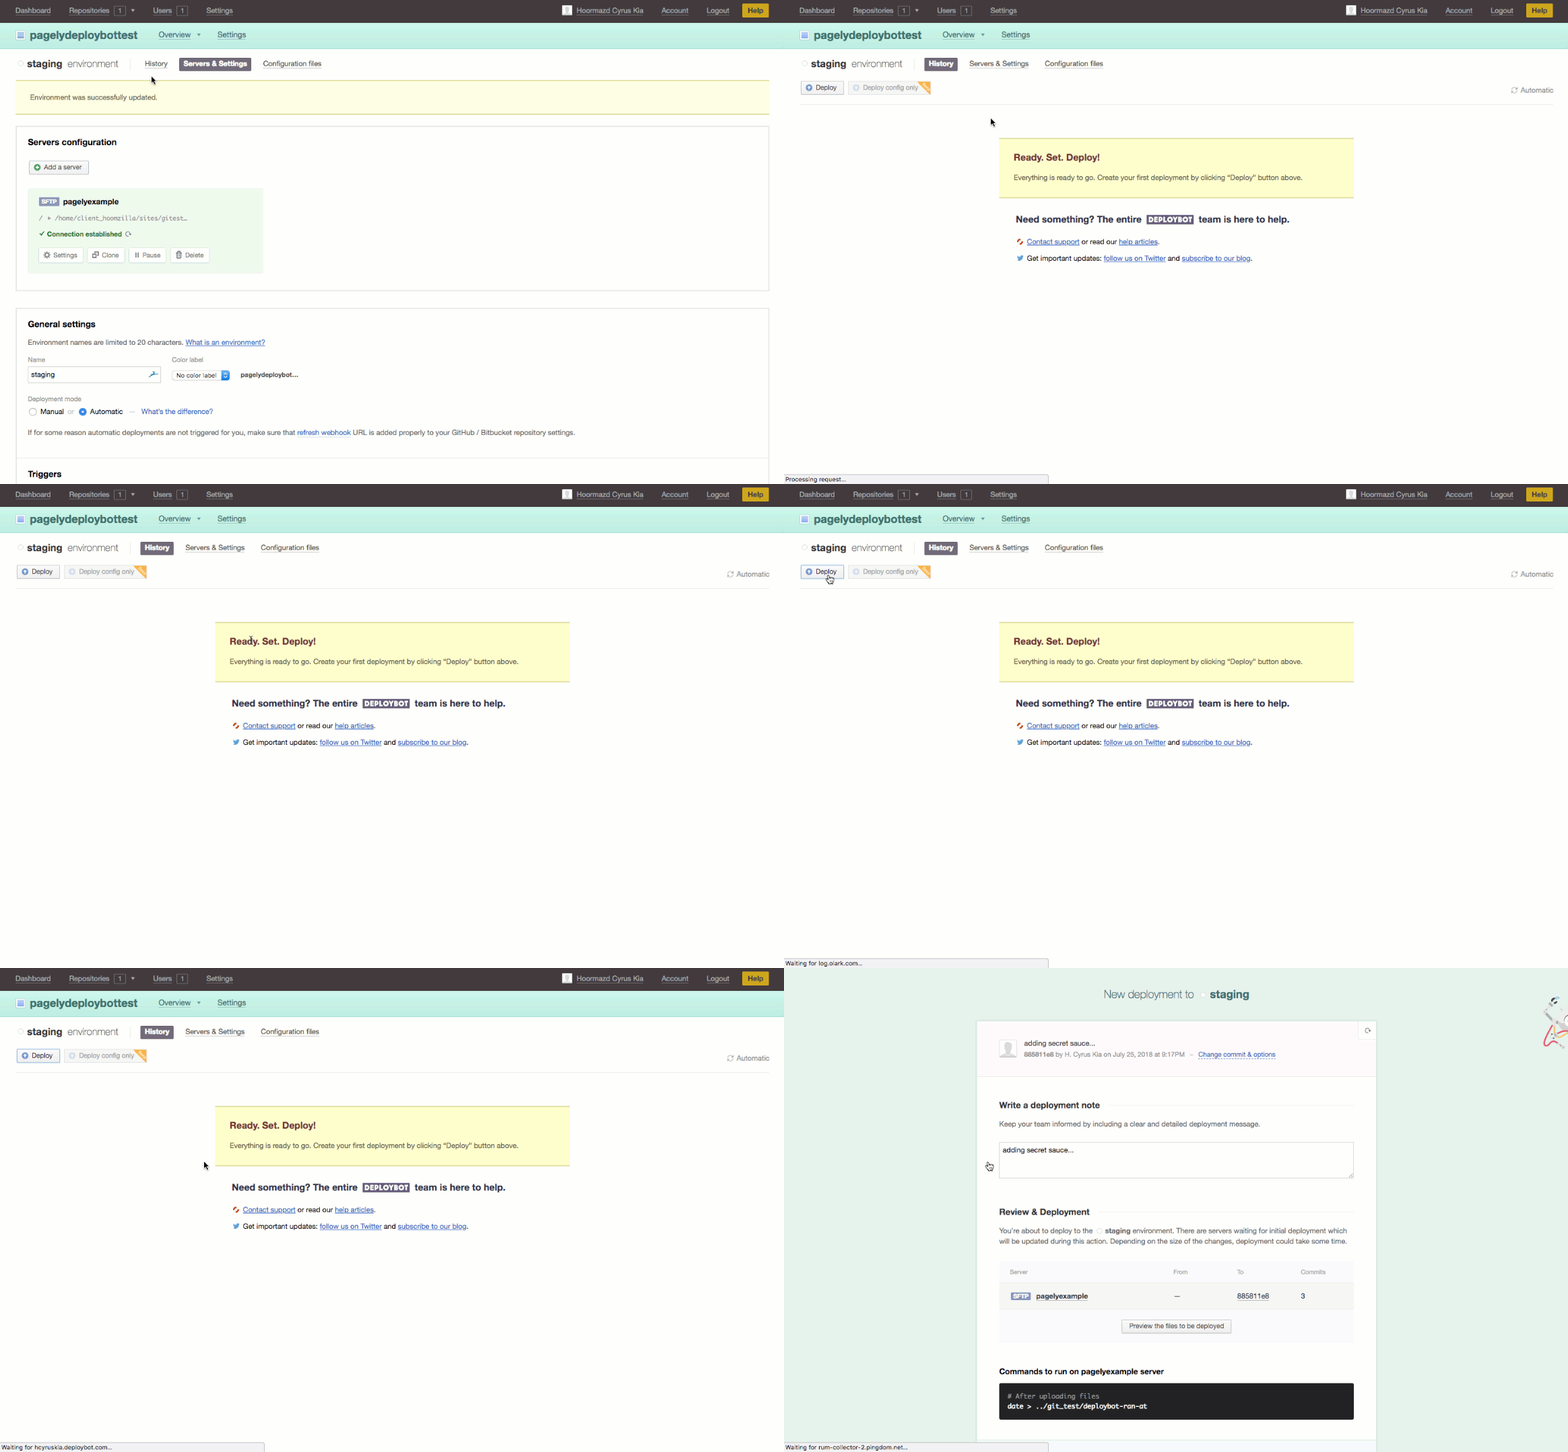
As we saw above we've successfully connected to pagelyexample and are ready to deploy! To do this manually (or revert future changes) we can select History to see previous changes, and Deploy to manually Deploy changes.
In our local Git repository, let's pretend we're created a new awesome plugin that we want to commit and push to GitHub under our new branch...

If we check our server at the path we suggested, we'll notice two things...
- DeployBot definitely ran, we can tell because of the command we had our configuration run AFTER an event transpired.
- So if we merge to master (making sure everything looks okay) we should see the fruits of our labor...

Sure enough we do! We're now rocking and rolling with DeployBot and Pagely!
