
There's no doubt that using version control to maintain updates to your WordPress site is a great idea. In this article, we'll show you how to configure your GitHub repository to automatically deploy changes to your WordPress site at Pagely.
Important: This is an alternate deployment method and is not recommended in most situations. Instead, we recommend using GitHub Actions. For more information, see our article on deploying WordPress sites with GitHub Actions.
Requirements
- A WordPress site hosted on your Pagely account.
- A GitHub repository that contains your WordPress site's code.
Considerations
Before setting up automatic deployments of your WordPress site via GitHub, you'll want to first consider a few things:
- Always ensure that changes are made pushed to GitHub. If changes are pushed from elsewhere (such as "cowboy coding" live changes on your site), they'll be overwritten the next that time an automatic deployment occurs.
- Remember that if a file is pushed to your git repository, that it will also be pushed to your site. This means that development files should never be committed to a branch that will be automatically deployed. Using a proper .gitignore file will help with this.
- When initially setting up automatic deployments, make sure your repository correctly reflects the contents of the site you're deploying to. If not, items on the site could be overwritten or deleted.
Step 1: Generate a Deployment Configuration in Atomic
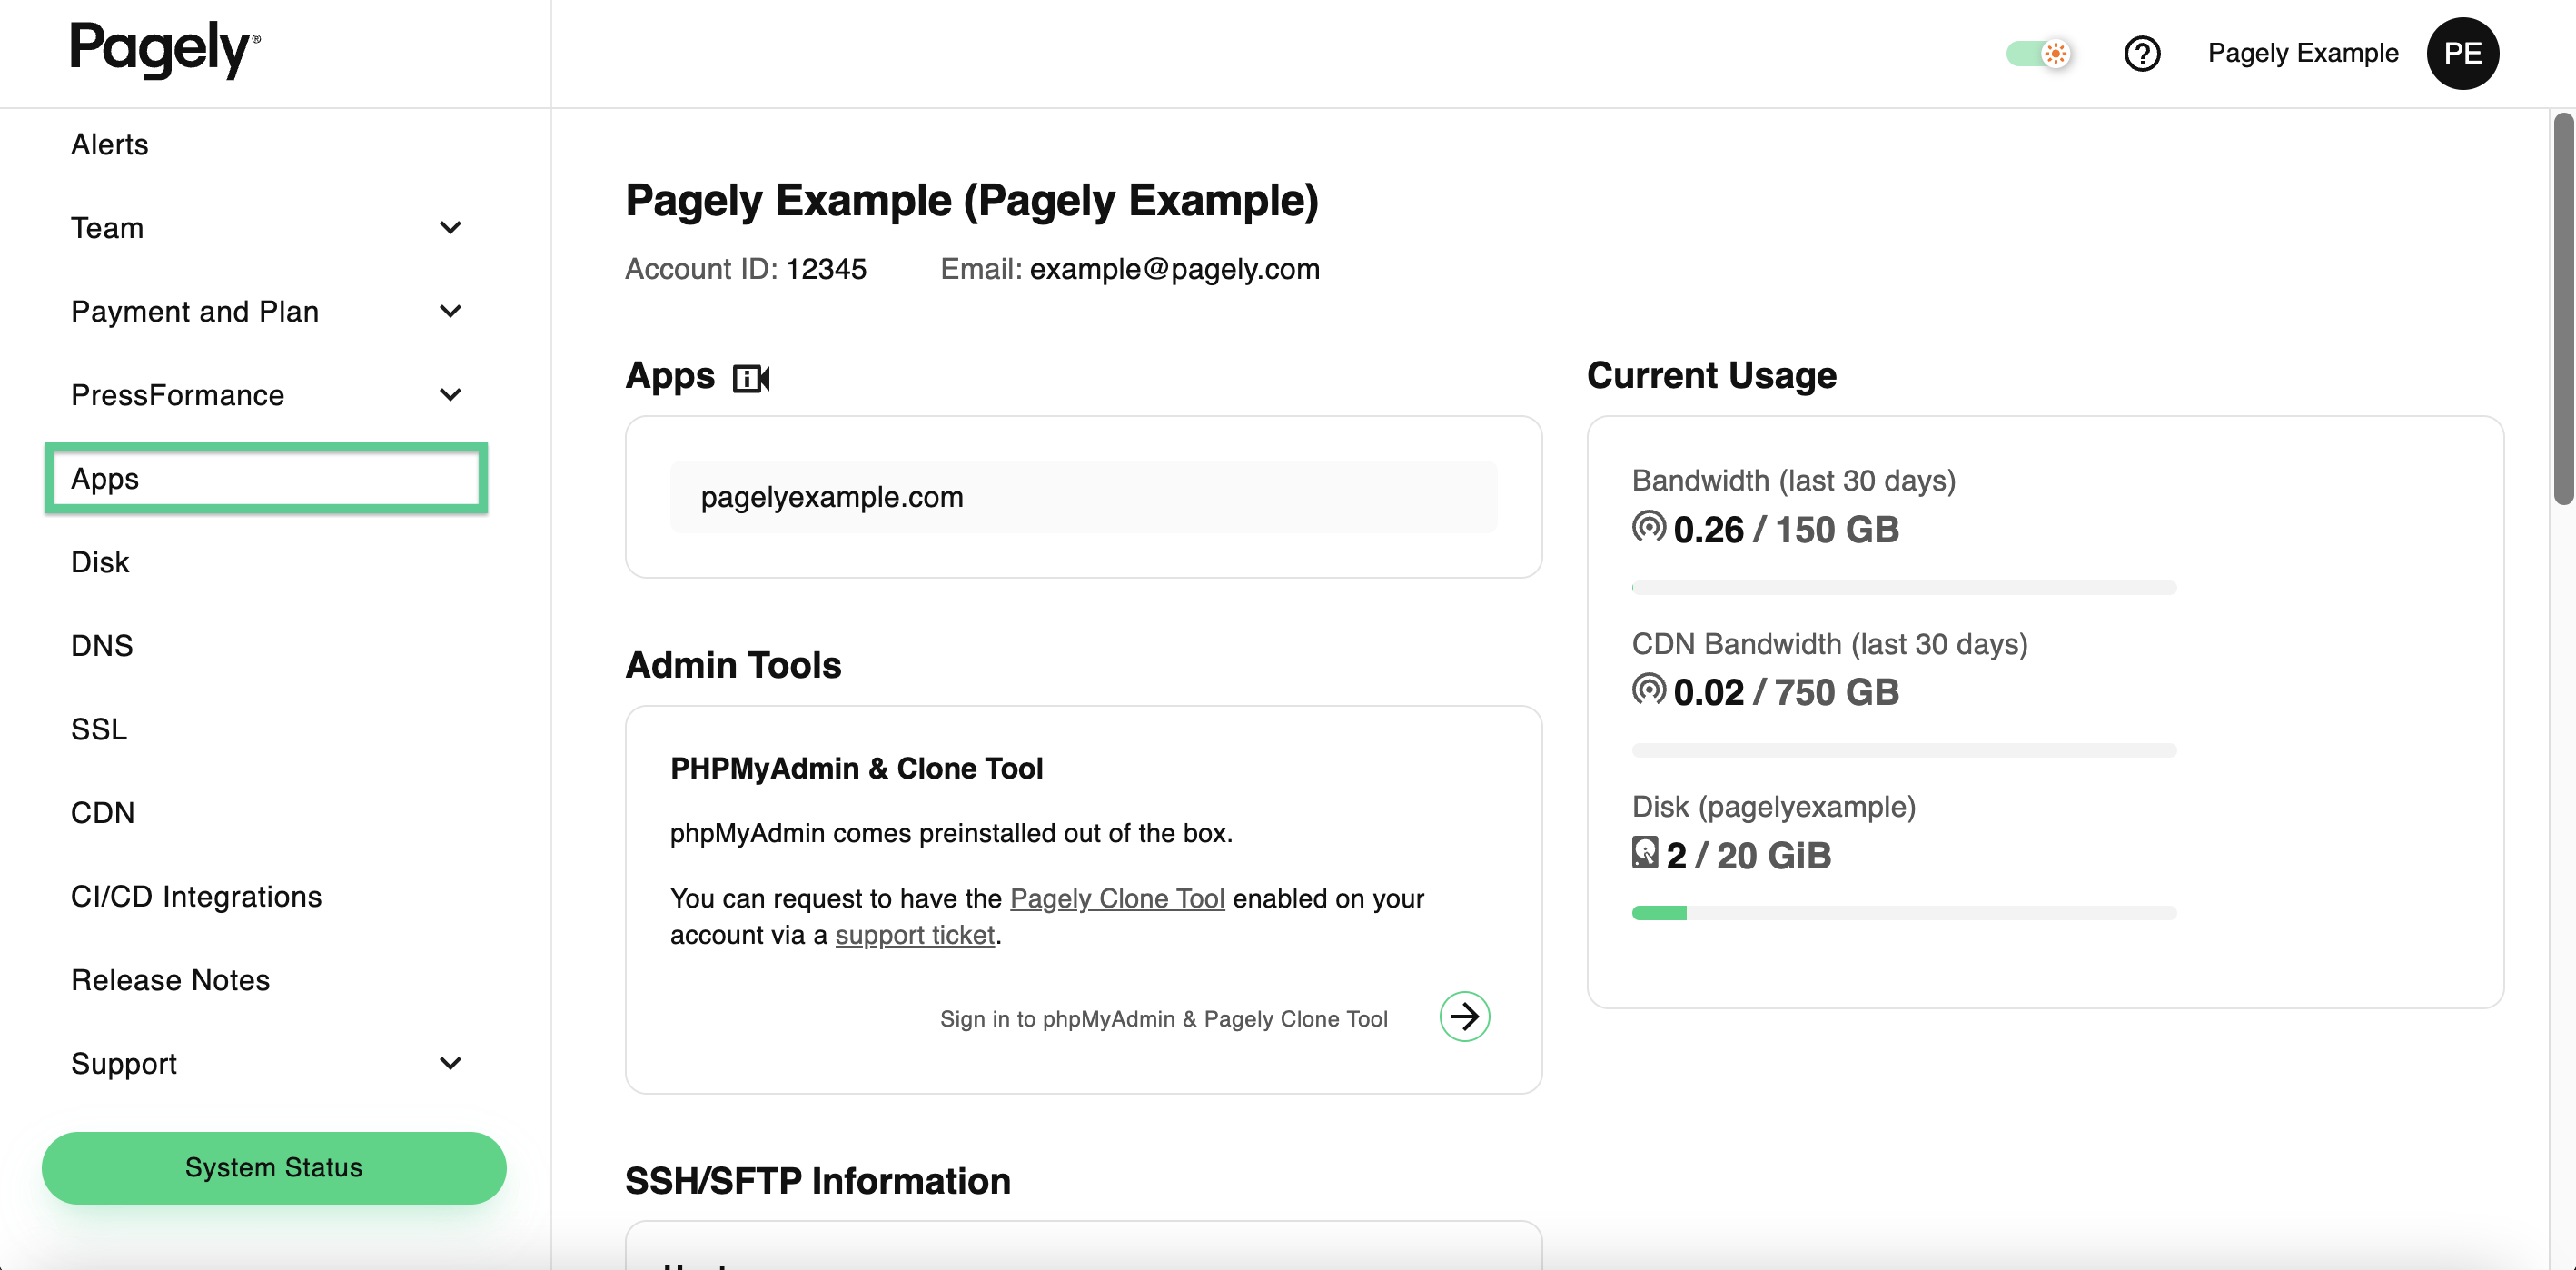
- Begin by logging into the Atomic control panel.
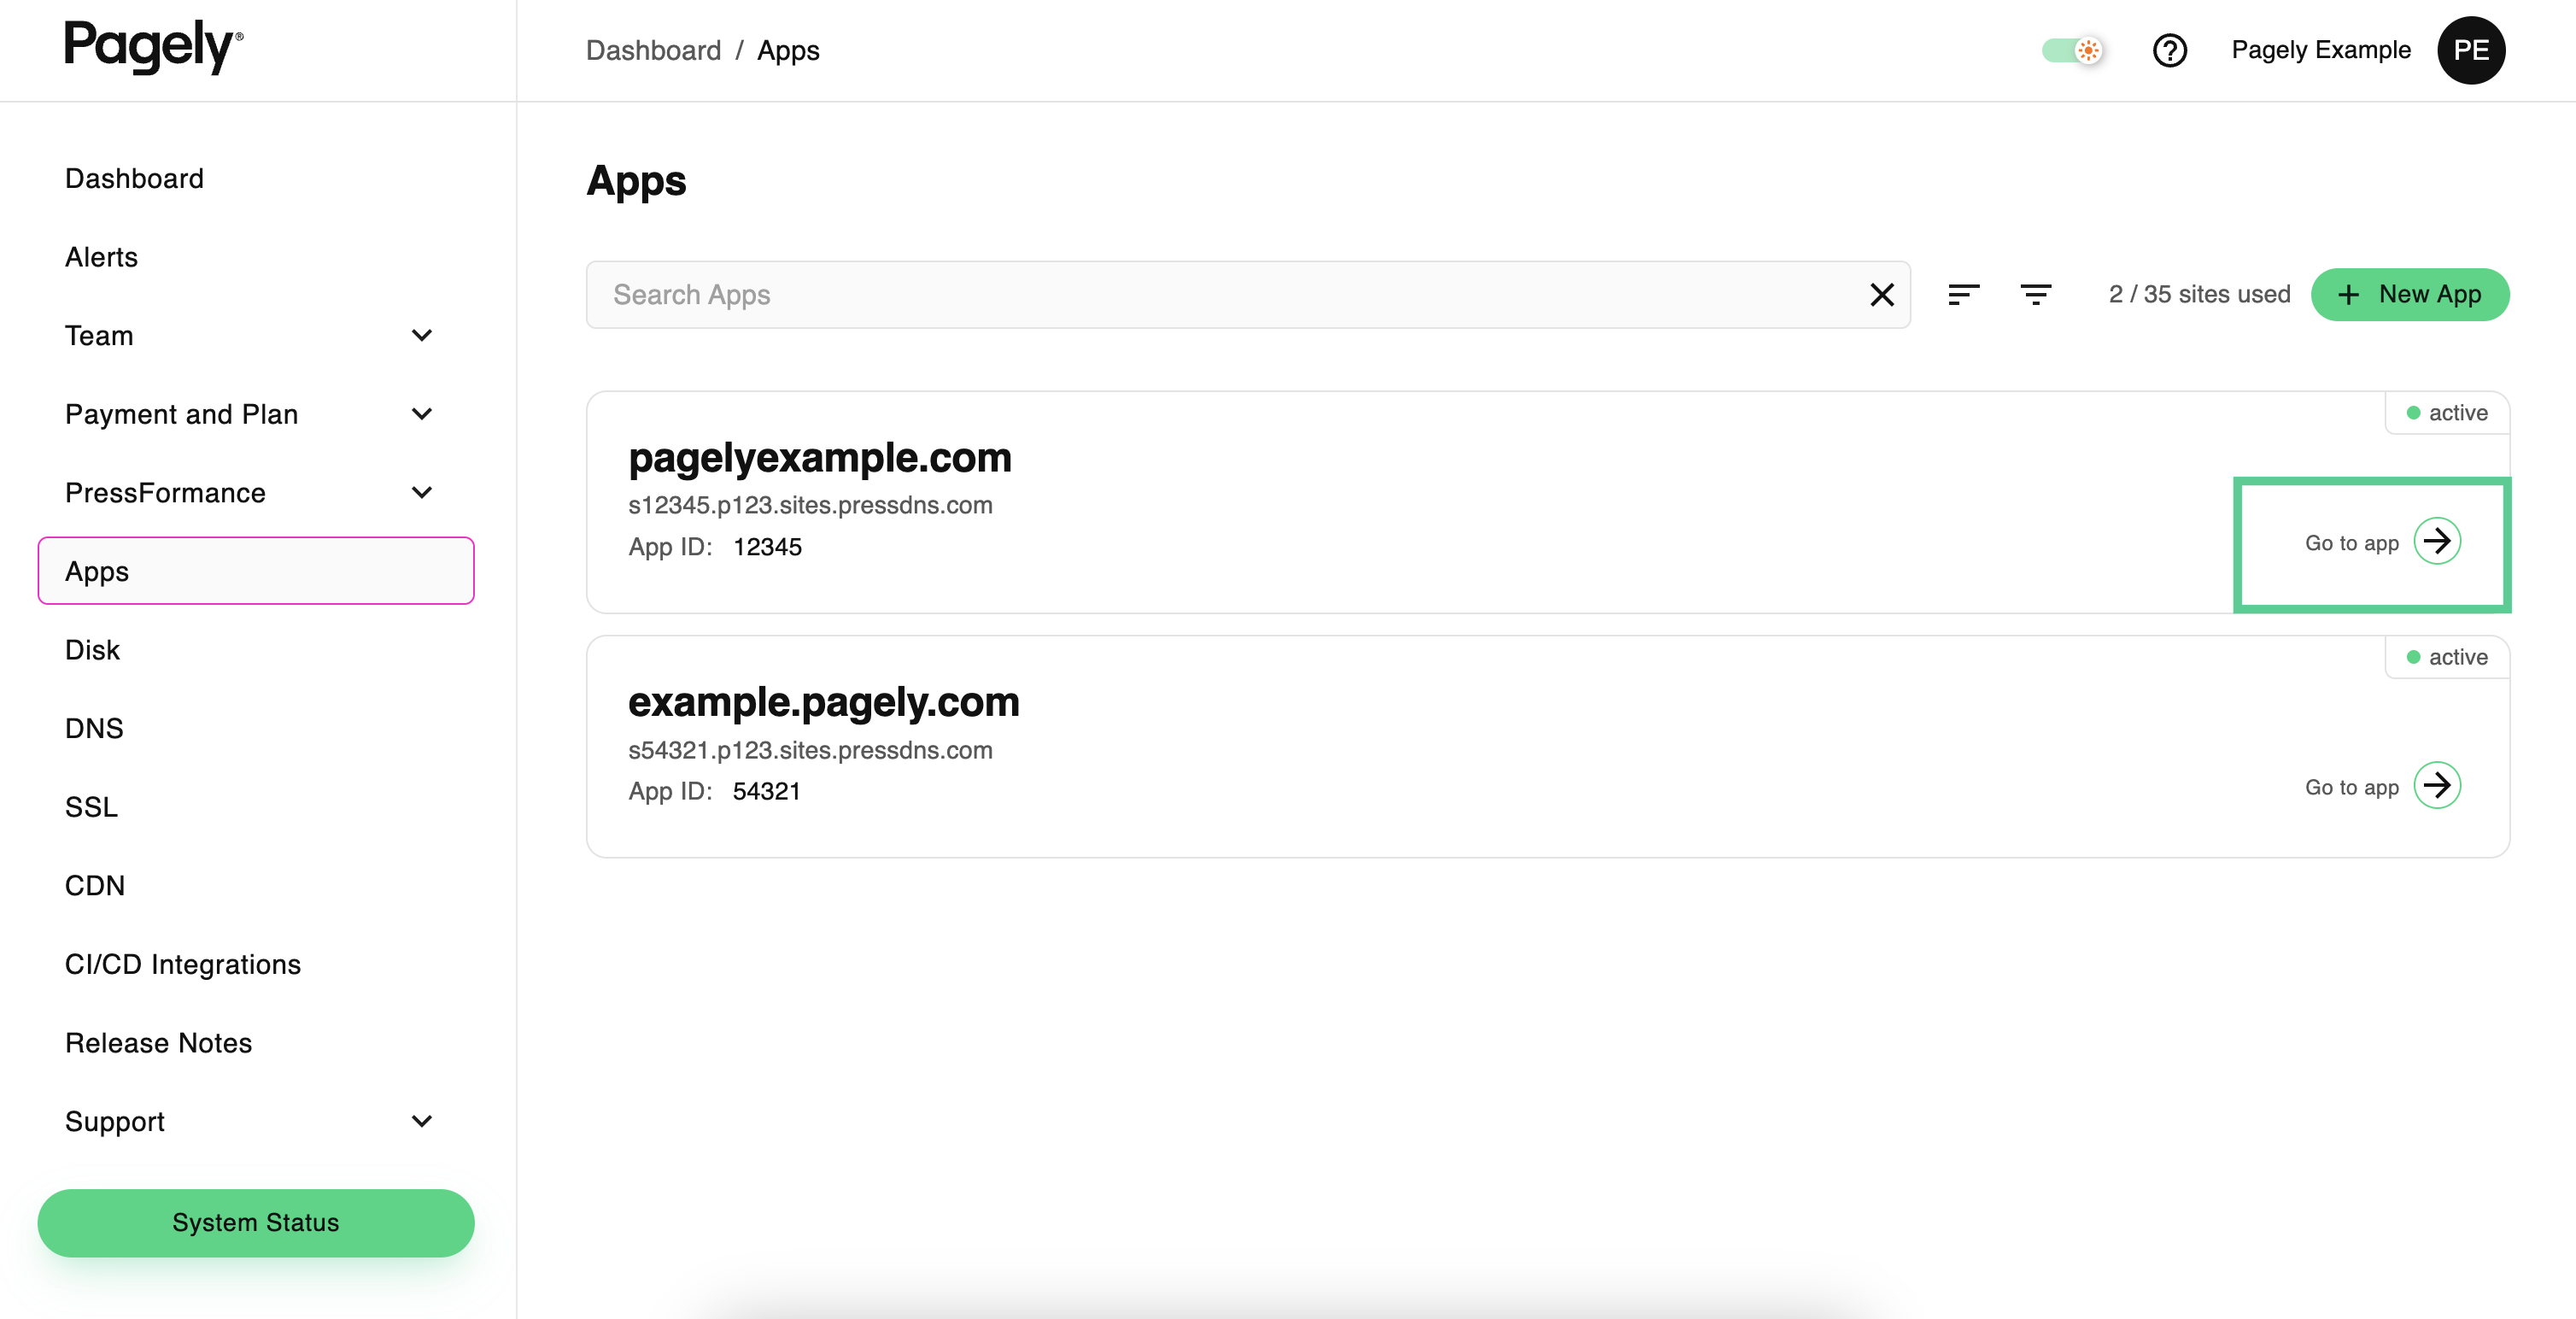
- On the left-side menu, click on Apps.
- Next, locate the site that you want to configure, then select Go to app.
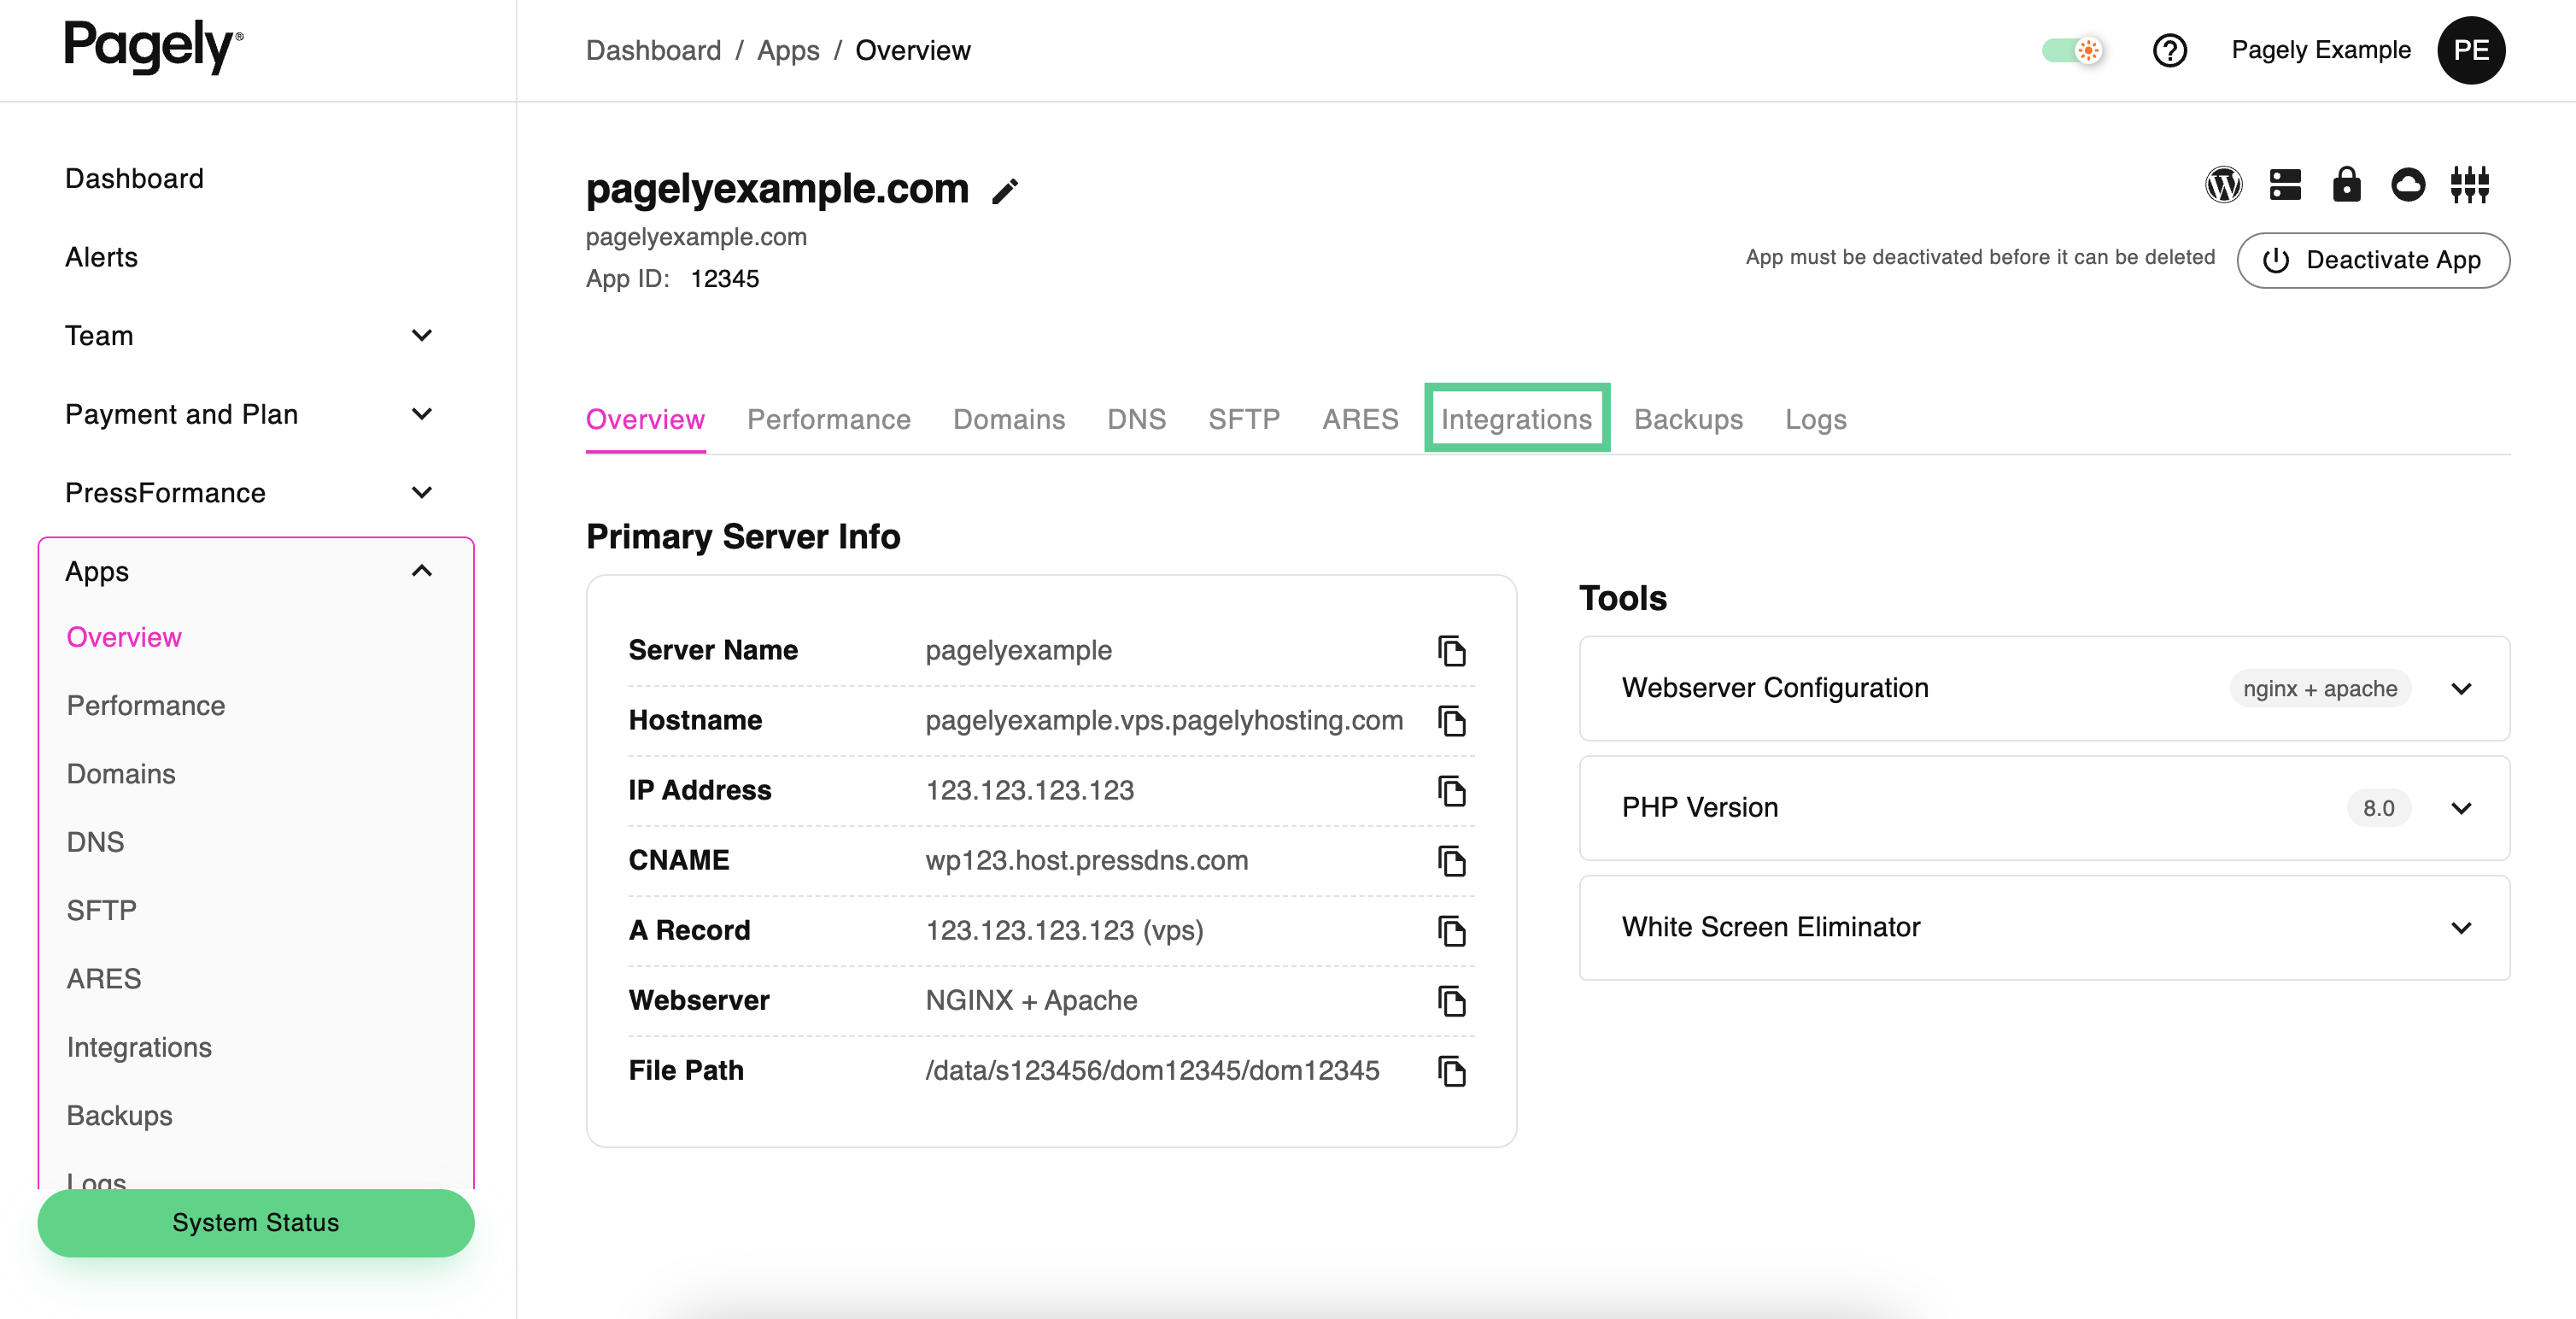
- Now that you're within the settings page for your app, select the Integrations tab.
- Select Create new Git Webhook Integration.
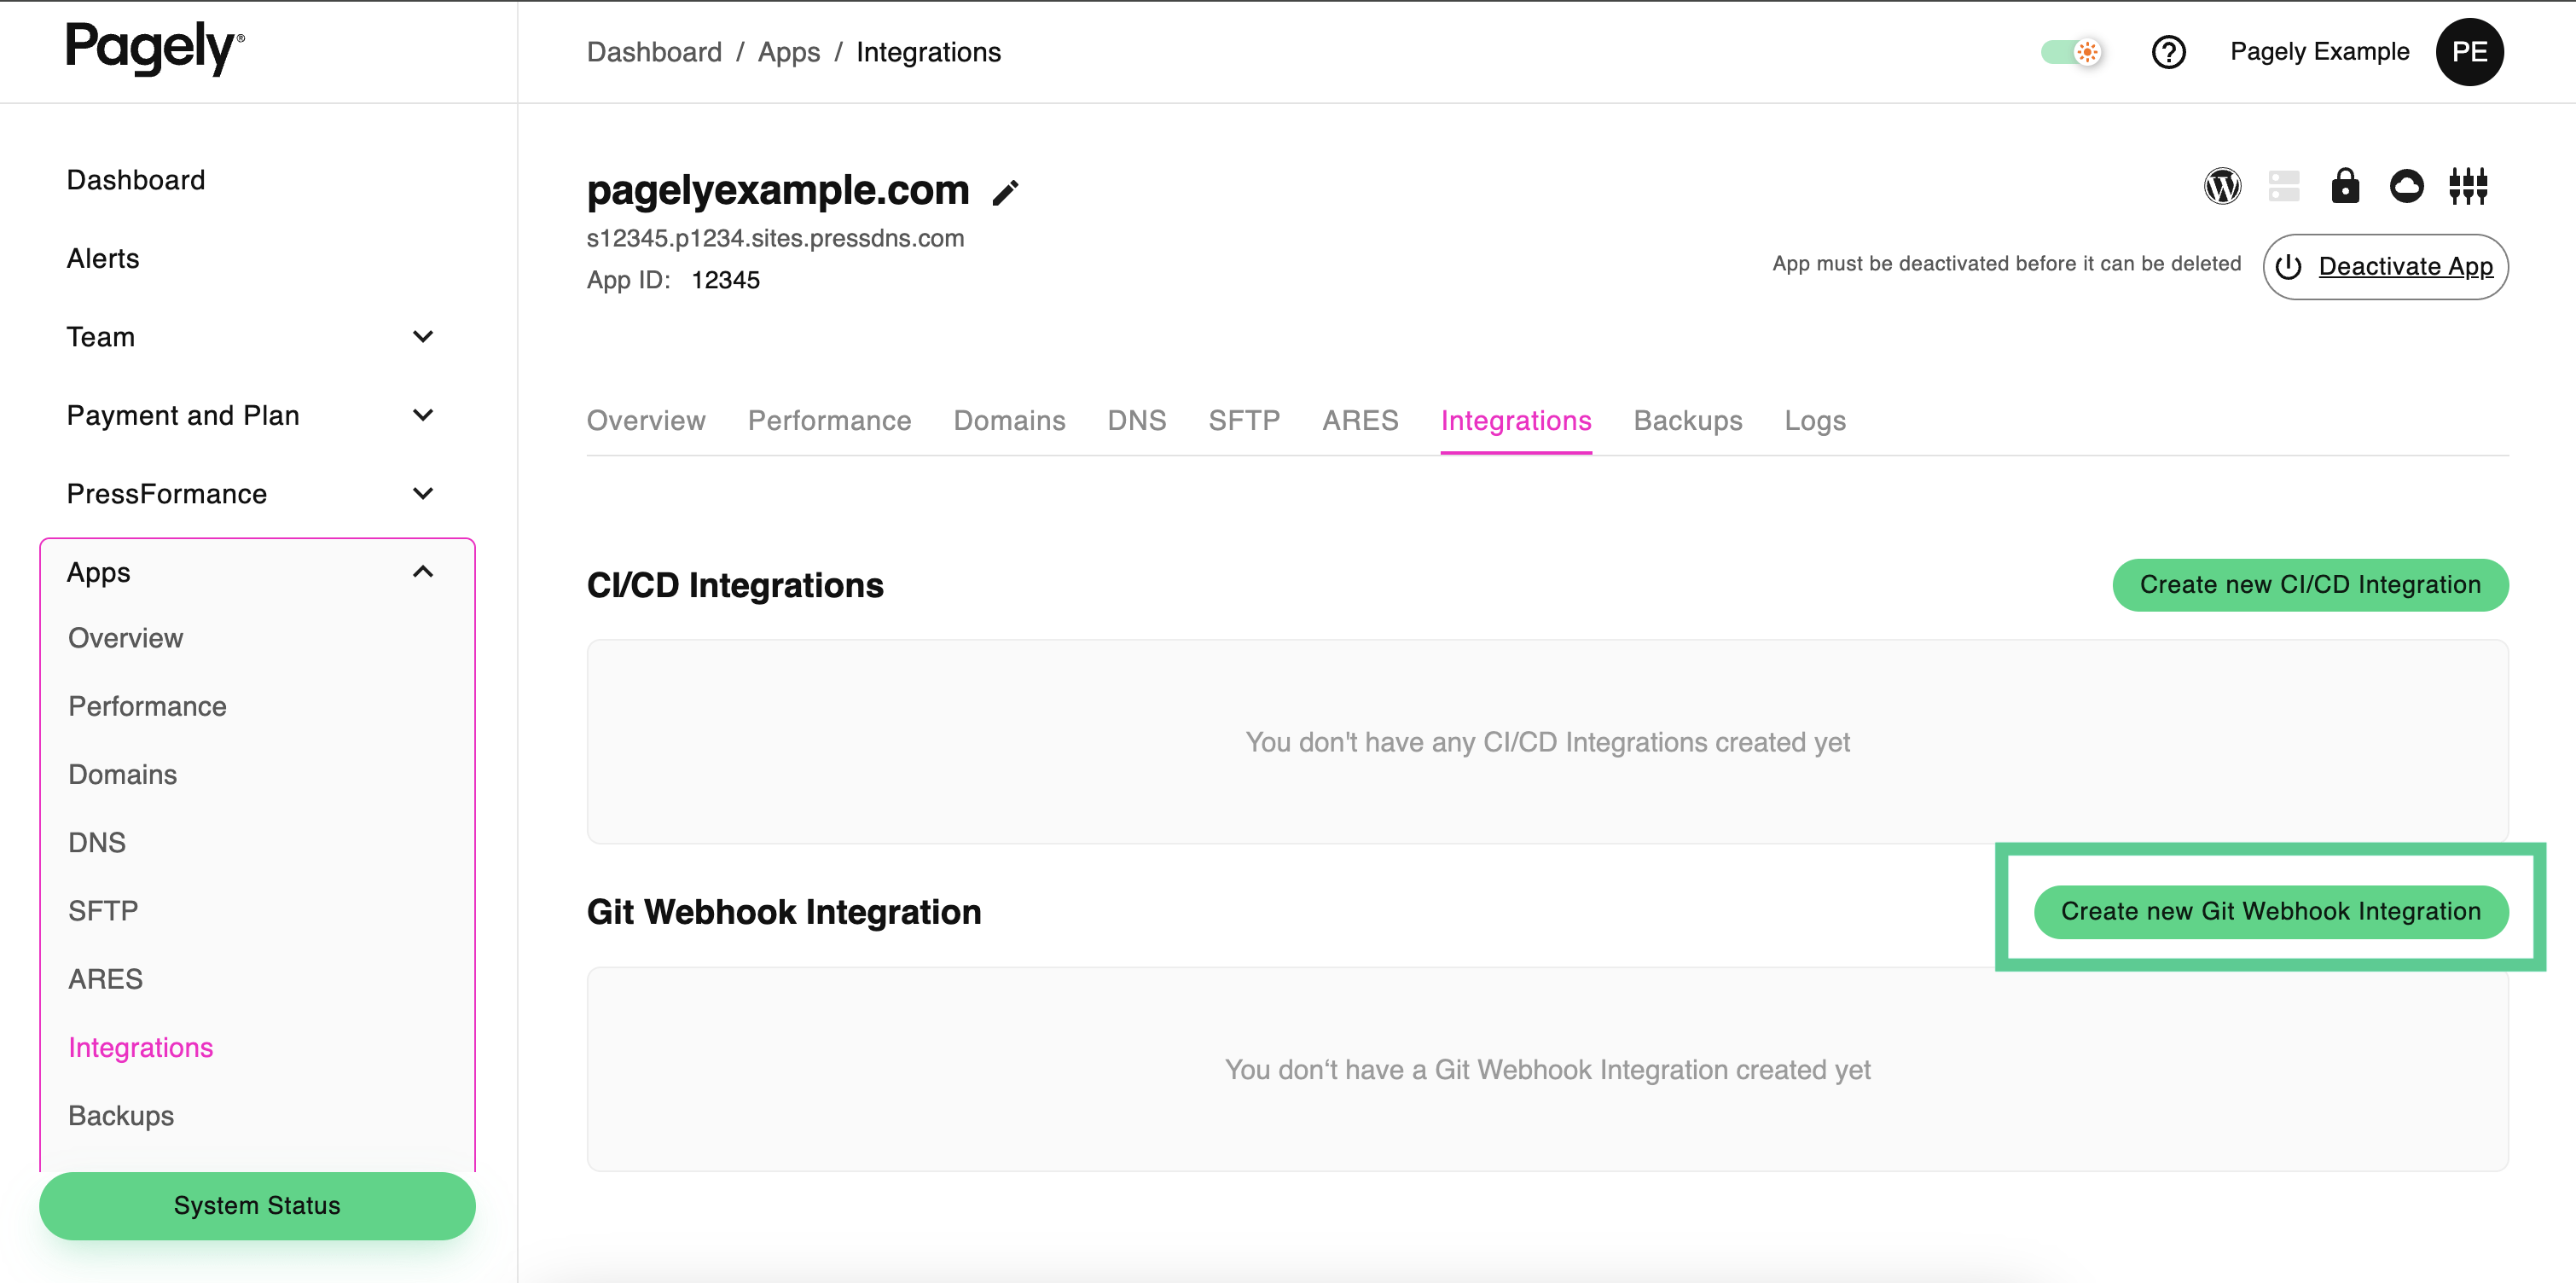
- You'll see a section of disclaimers that need to be acknowledged, followed by Git Remote and Git Branch fields for you to enter your repository's details.

- Finally, select Create Integration to submit your details and create your new git integration.
Upon submitting the form, our systems will begin creating your configuration. This process usually takes a few minutes. If your integration is created successfully, the form will be replaced with integration details you'll use in the upcoming steps.
Step 2: Configure Webhooks in GitHub
After you've configured Atomic to use your git repository, you'll still need to configure GitHub to notify your site of changes. This is done by a webhook that's sent to your Pagely account each time a change is pushed to GitHub.
- Inside a new tab, open up your GitHub repository and access the repository's Settings page.
- From within your repository settings, click on the Webhooks tab, then click on the Add webhook button.
- Inside the Payload URL field, paste the Webhook URL that's been generated for your in Atomic.
- Inside the Secret field, paste the Provider Secret that was also generated inside Atomic.
- Once the Payload URL and Secret fields are filled, click the Add Webhook button.
- Now that your webhook is configured, you'll need to configure a key to authenticate your Pagely site with your GitHub repository. To get started, access the Deploy Keys tab, then click on the Add deploy key button.
- From within your key configuration, give your new key a name, copy the SSH Public Key from your integration in Atomic, and paste it into the Key field.
- Once your key is in place, click on the Add Key button to add it.
Now that your GitHub account is configured to send webhooks to your Pagely account, you're all set! Each time you push a change to the repository and branch that you've defined, the changes will also be sent to your site.