
It's a widely known best practice to keep all of your website's code within a version control system, such as Bitbucket. How how do you ensure that your site is always up to date with what's in version control? That's where automatic deployments come in handy.
In this article, we'll show you how to configure automatic deployments on your Pagely account.
Important: This is an alternate deployment method and is not recommended in most situations. Instead, we recommend using Bitbucket Pipelines. For more information, see our article on deploying WordPress sites with Bitbucket Pipelines.
Requirements
- A WordPress site hosted at Pagely.
- A Bitbucket repository that contains your site's code.
Considerations
Before continuing, you'll want to make sure you fully understand the operations that you'll be performing.
- After setting up your automatic deployment, you'll want to make sure that you always push your changes to Bitbucket and never directly to your site. Whenever an automatic deployment takes place, it will overwrite existing files and will therefore revert any changes that are not in version control.
- If a file or code change exists within your repository/branch on Bitbucket, it will be deployed. This means that you should never commit development files or other information that you do not want to exist on the deployment location. Using a proper .gitignore file will allow you to ignore unnecessary files.
- Before configuring an automatic deployment, be sure that your repository/branch directly reflects the contents of the environment that you're deploying to. If not, that first deployment could overwrite your content and cause data loss.
Step 1: Generate a Deploying Configuration in Atomic
First, you'll need to create your deployment configuration inside the Atomic control panel. This consists of providing the SSH URL to the repository you'll be deploying from, as well as the name of the branch to use.
Once provided, you'll be given additional information that you can use to configure your webhook inside your Bitbucket account.
- Start by logging into the Atomic control panel.
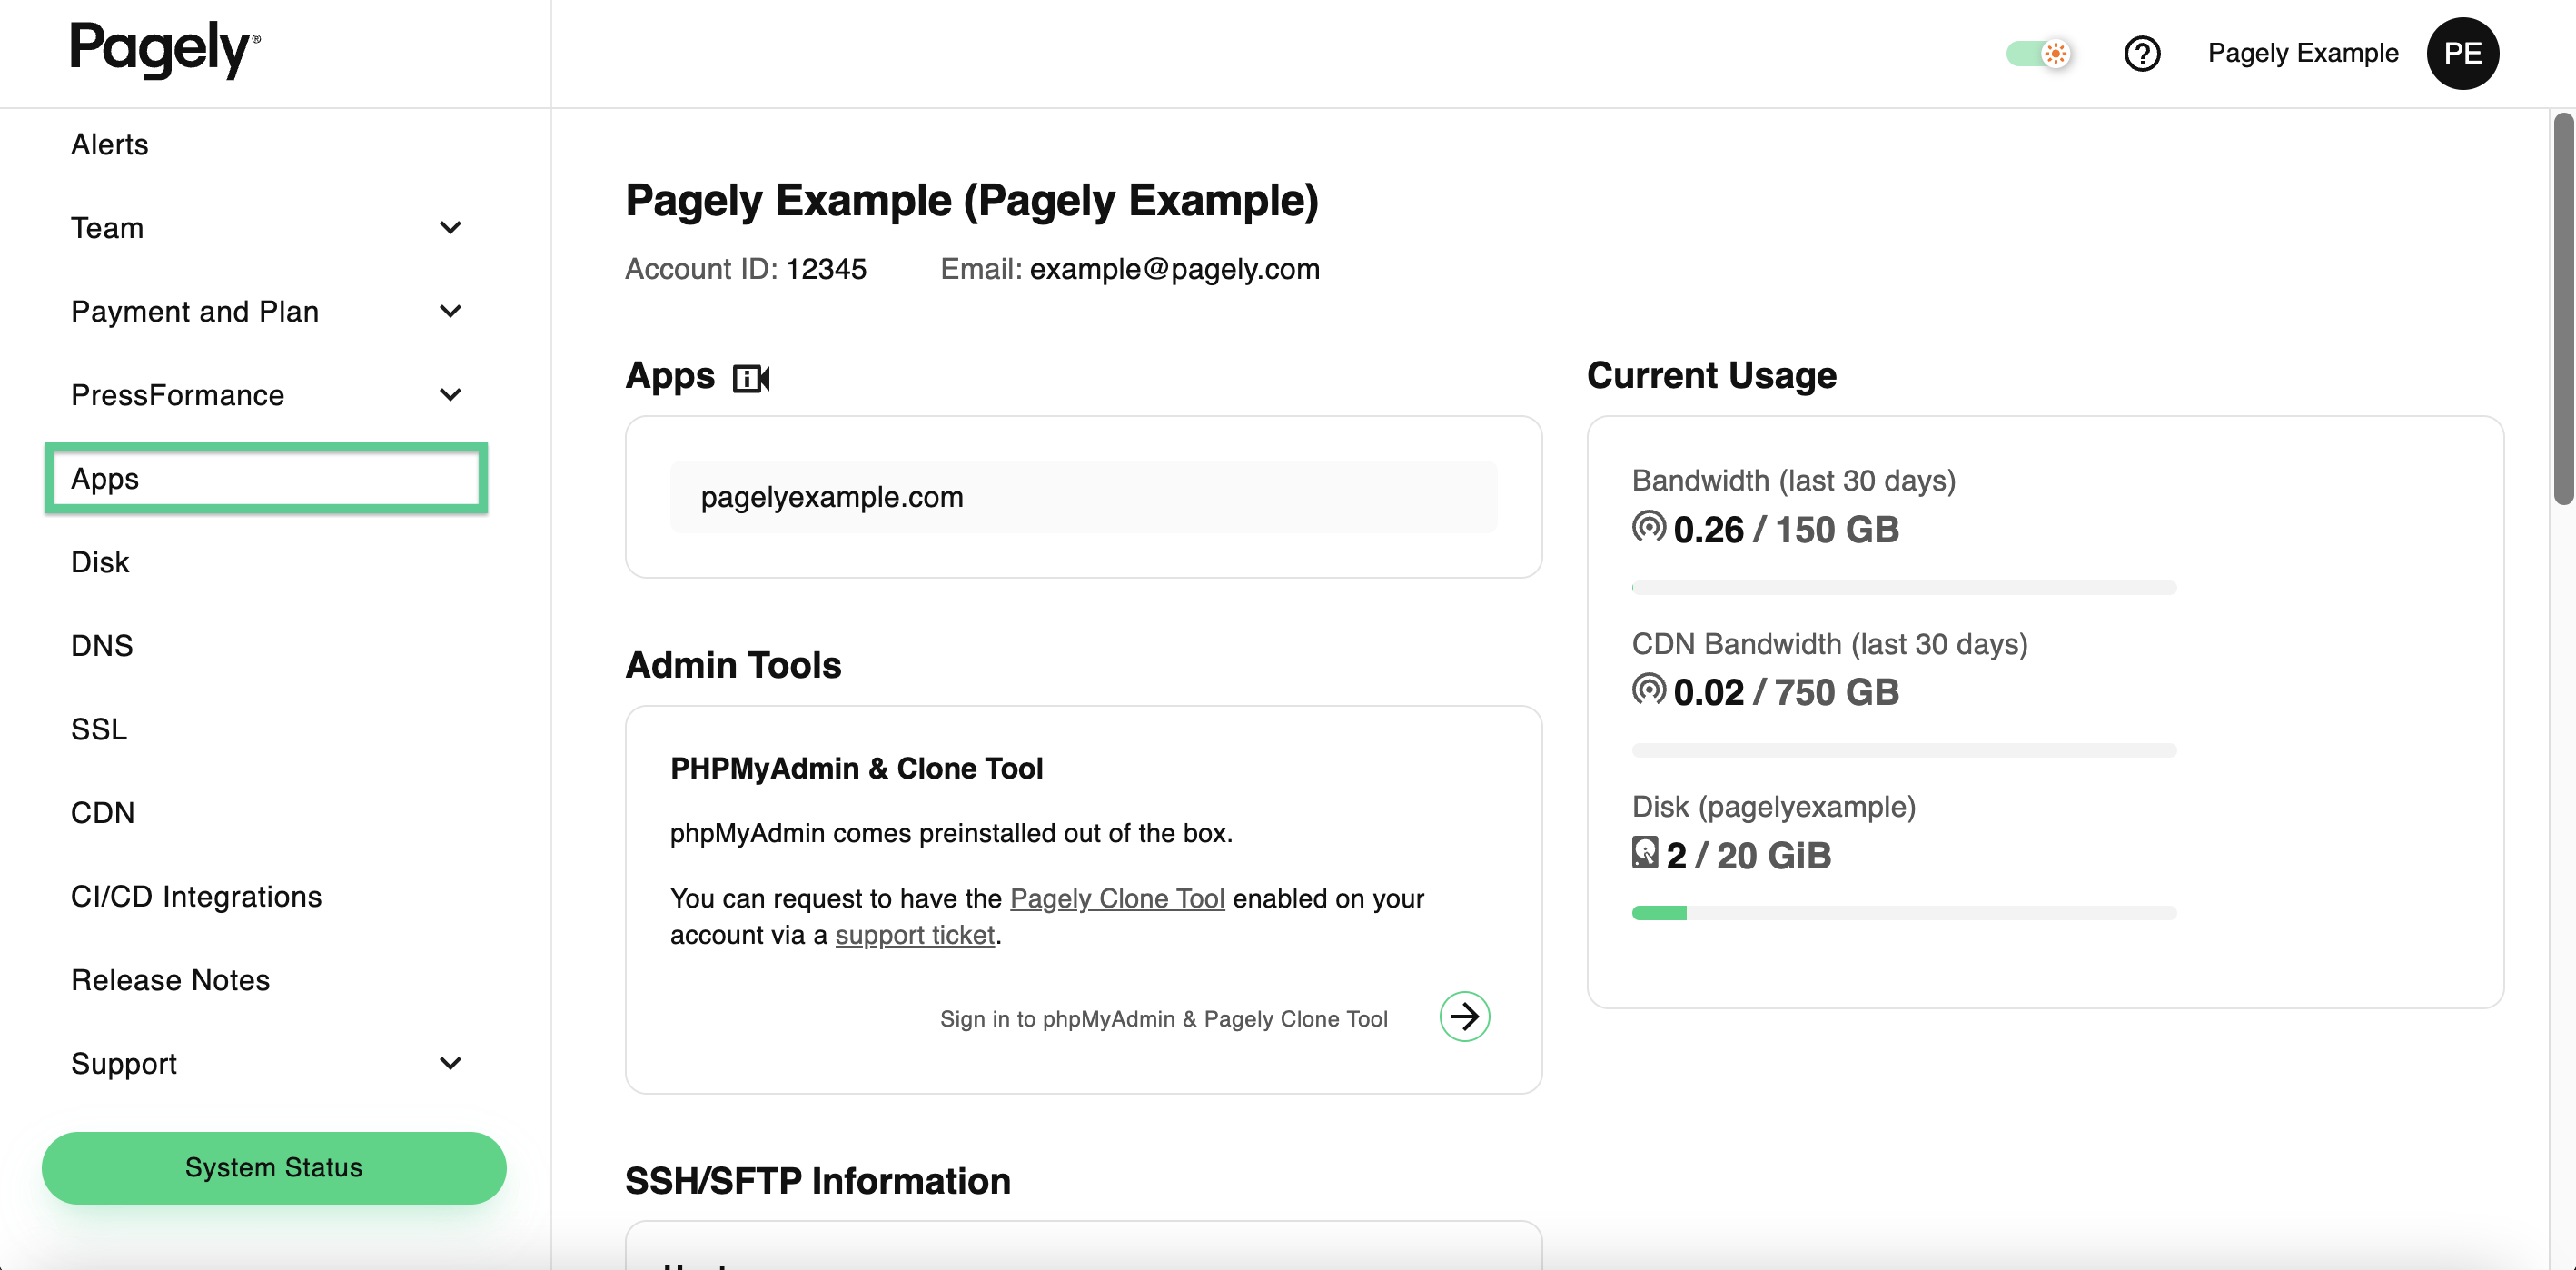
- On the left-side menu, select Apps.
- Next, find the app that you want to automatically deploy to, then select Go to app to the right.
(It's always a good idea to test deployments first with a development or staging environment. That way, if anything goes wrong, it won't impact your production site.)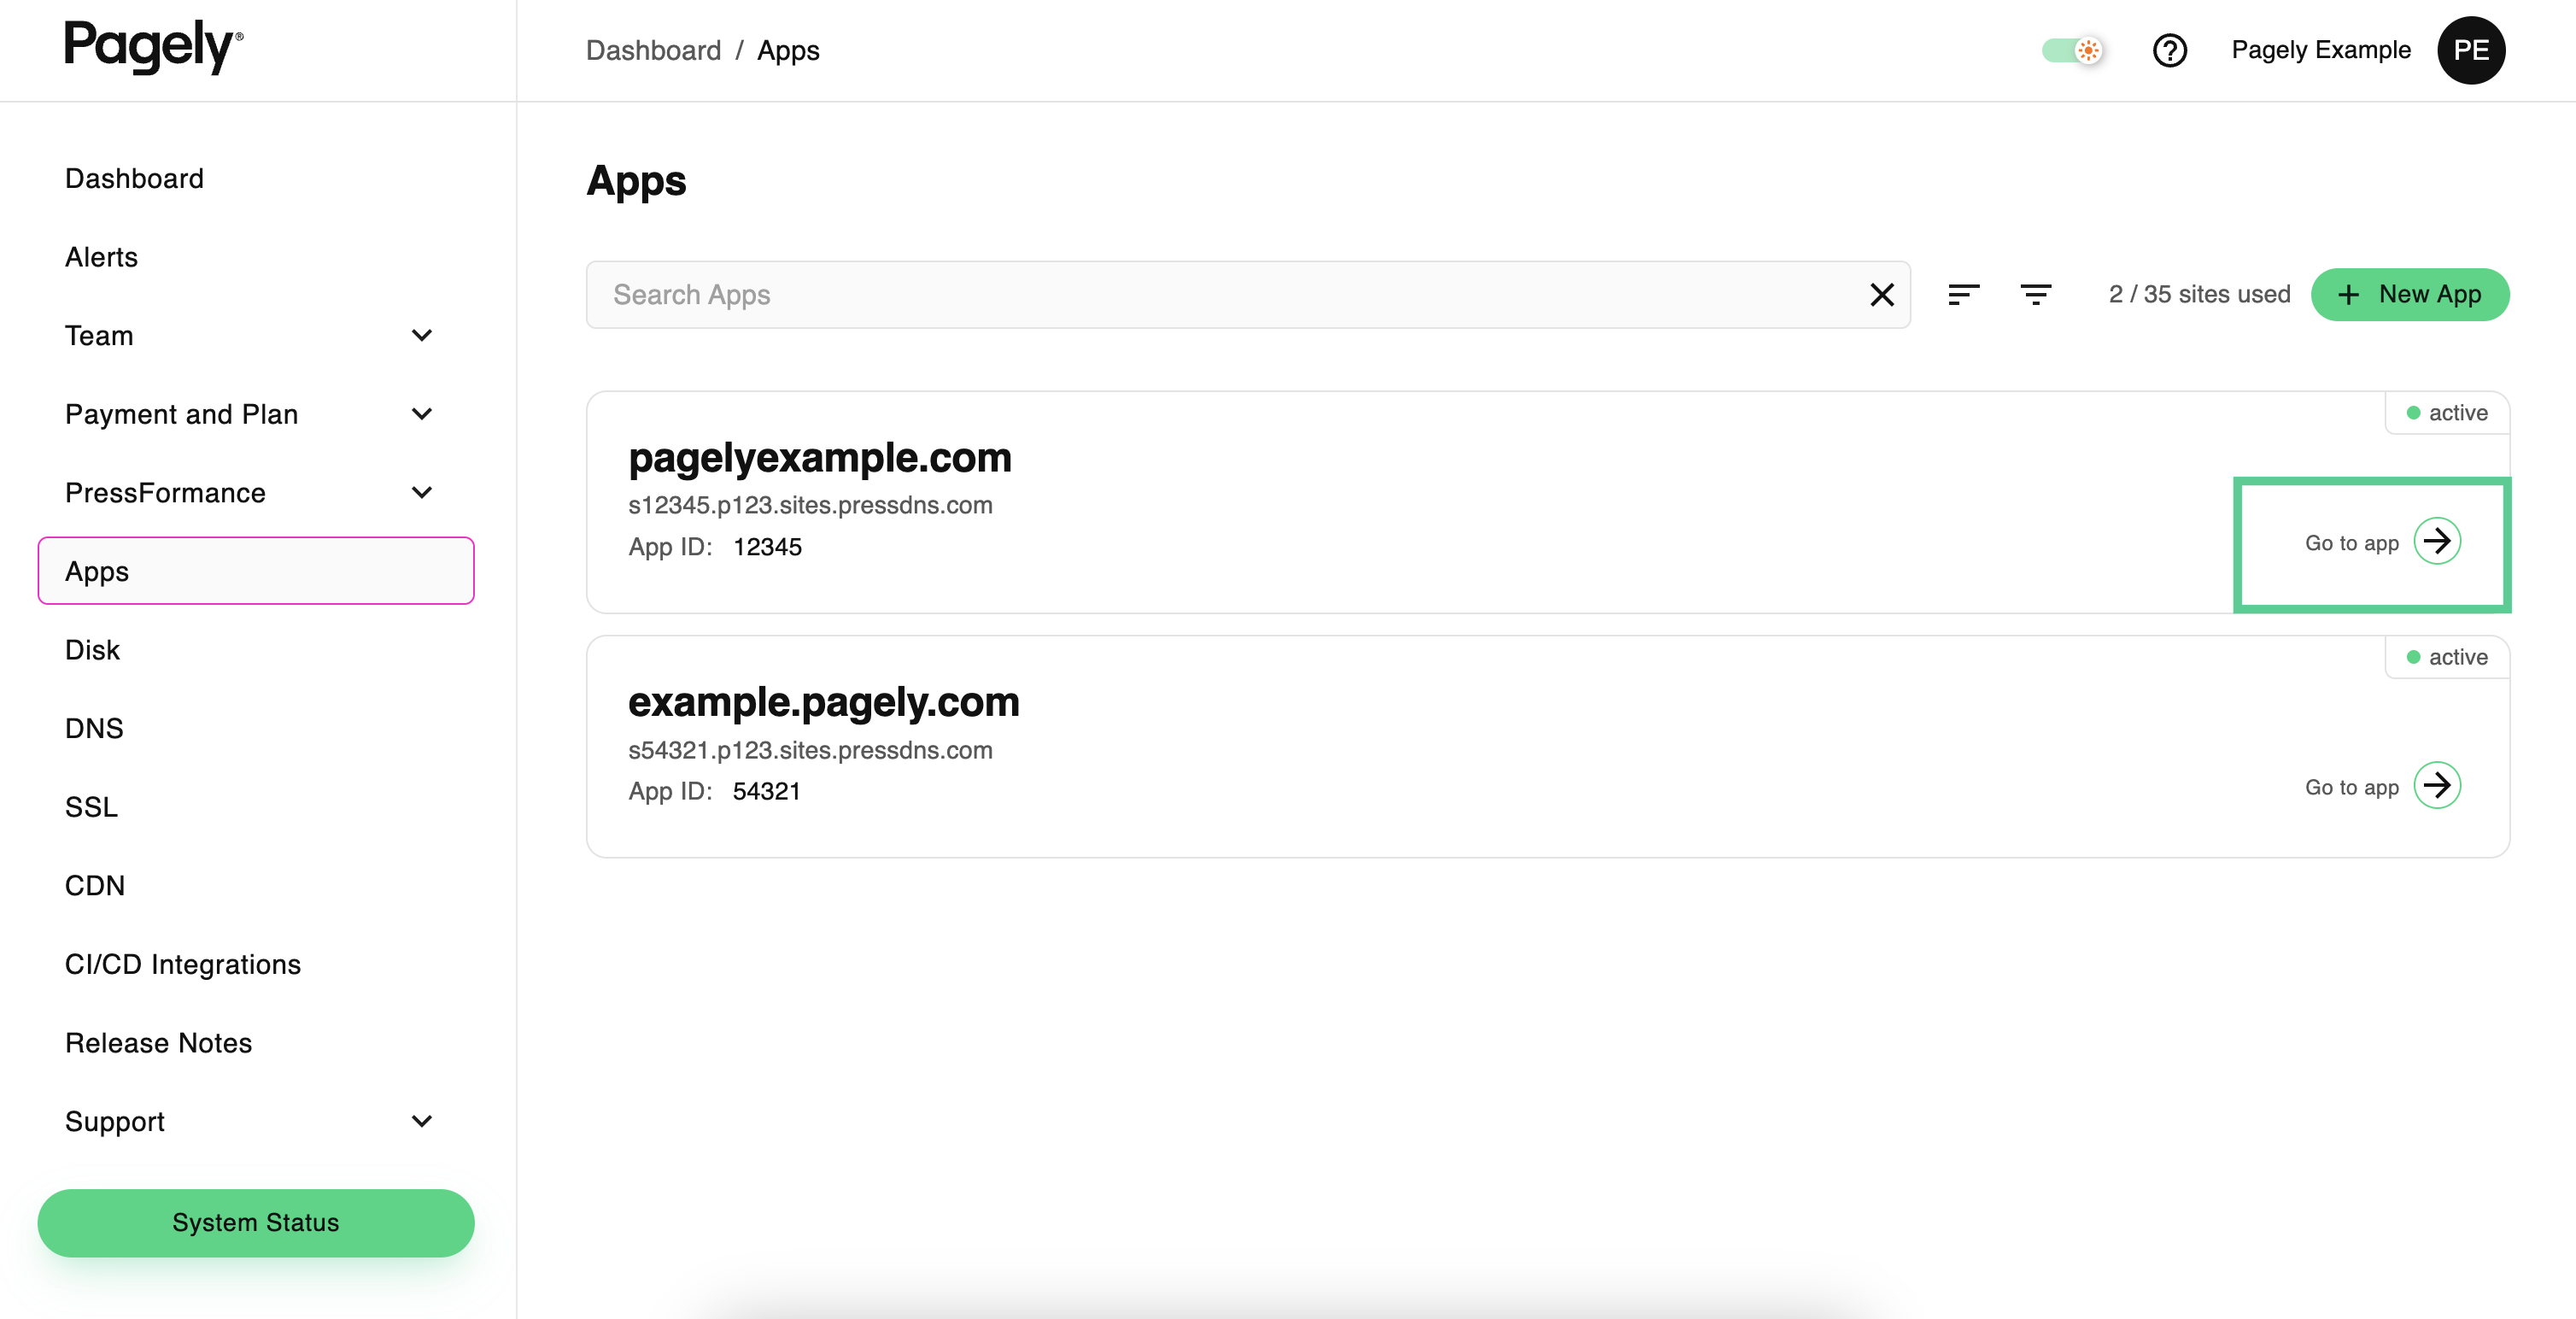
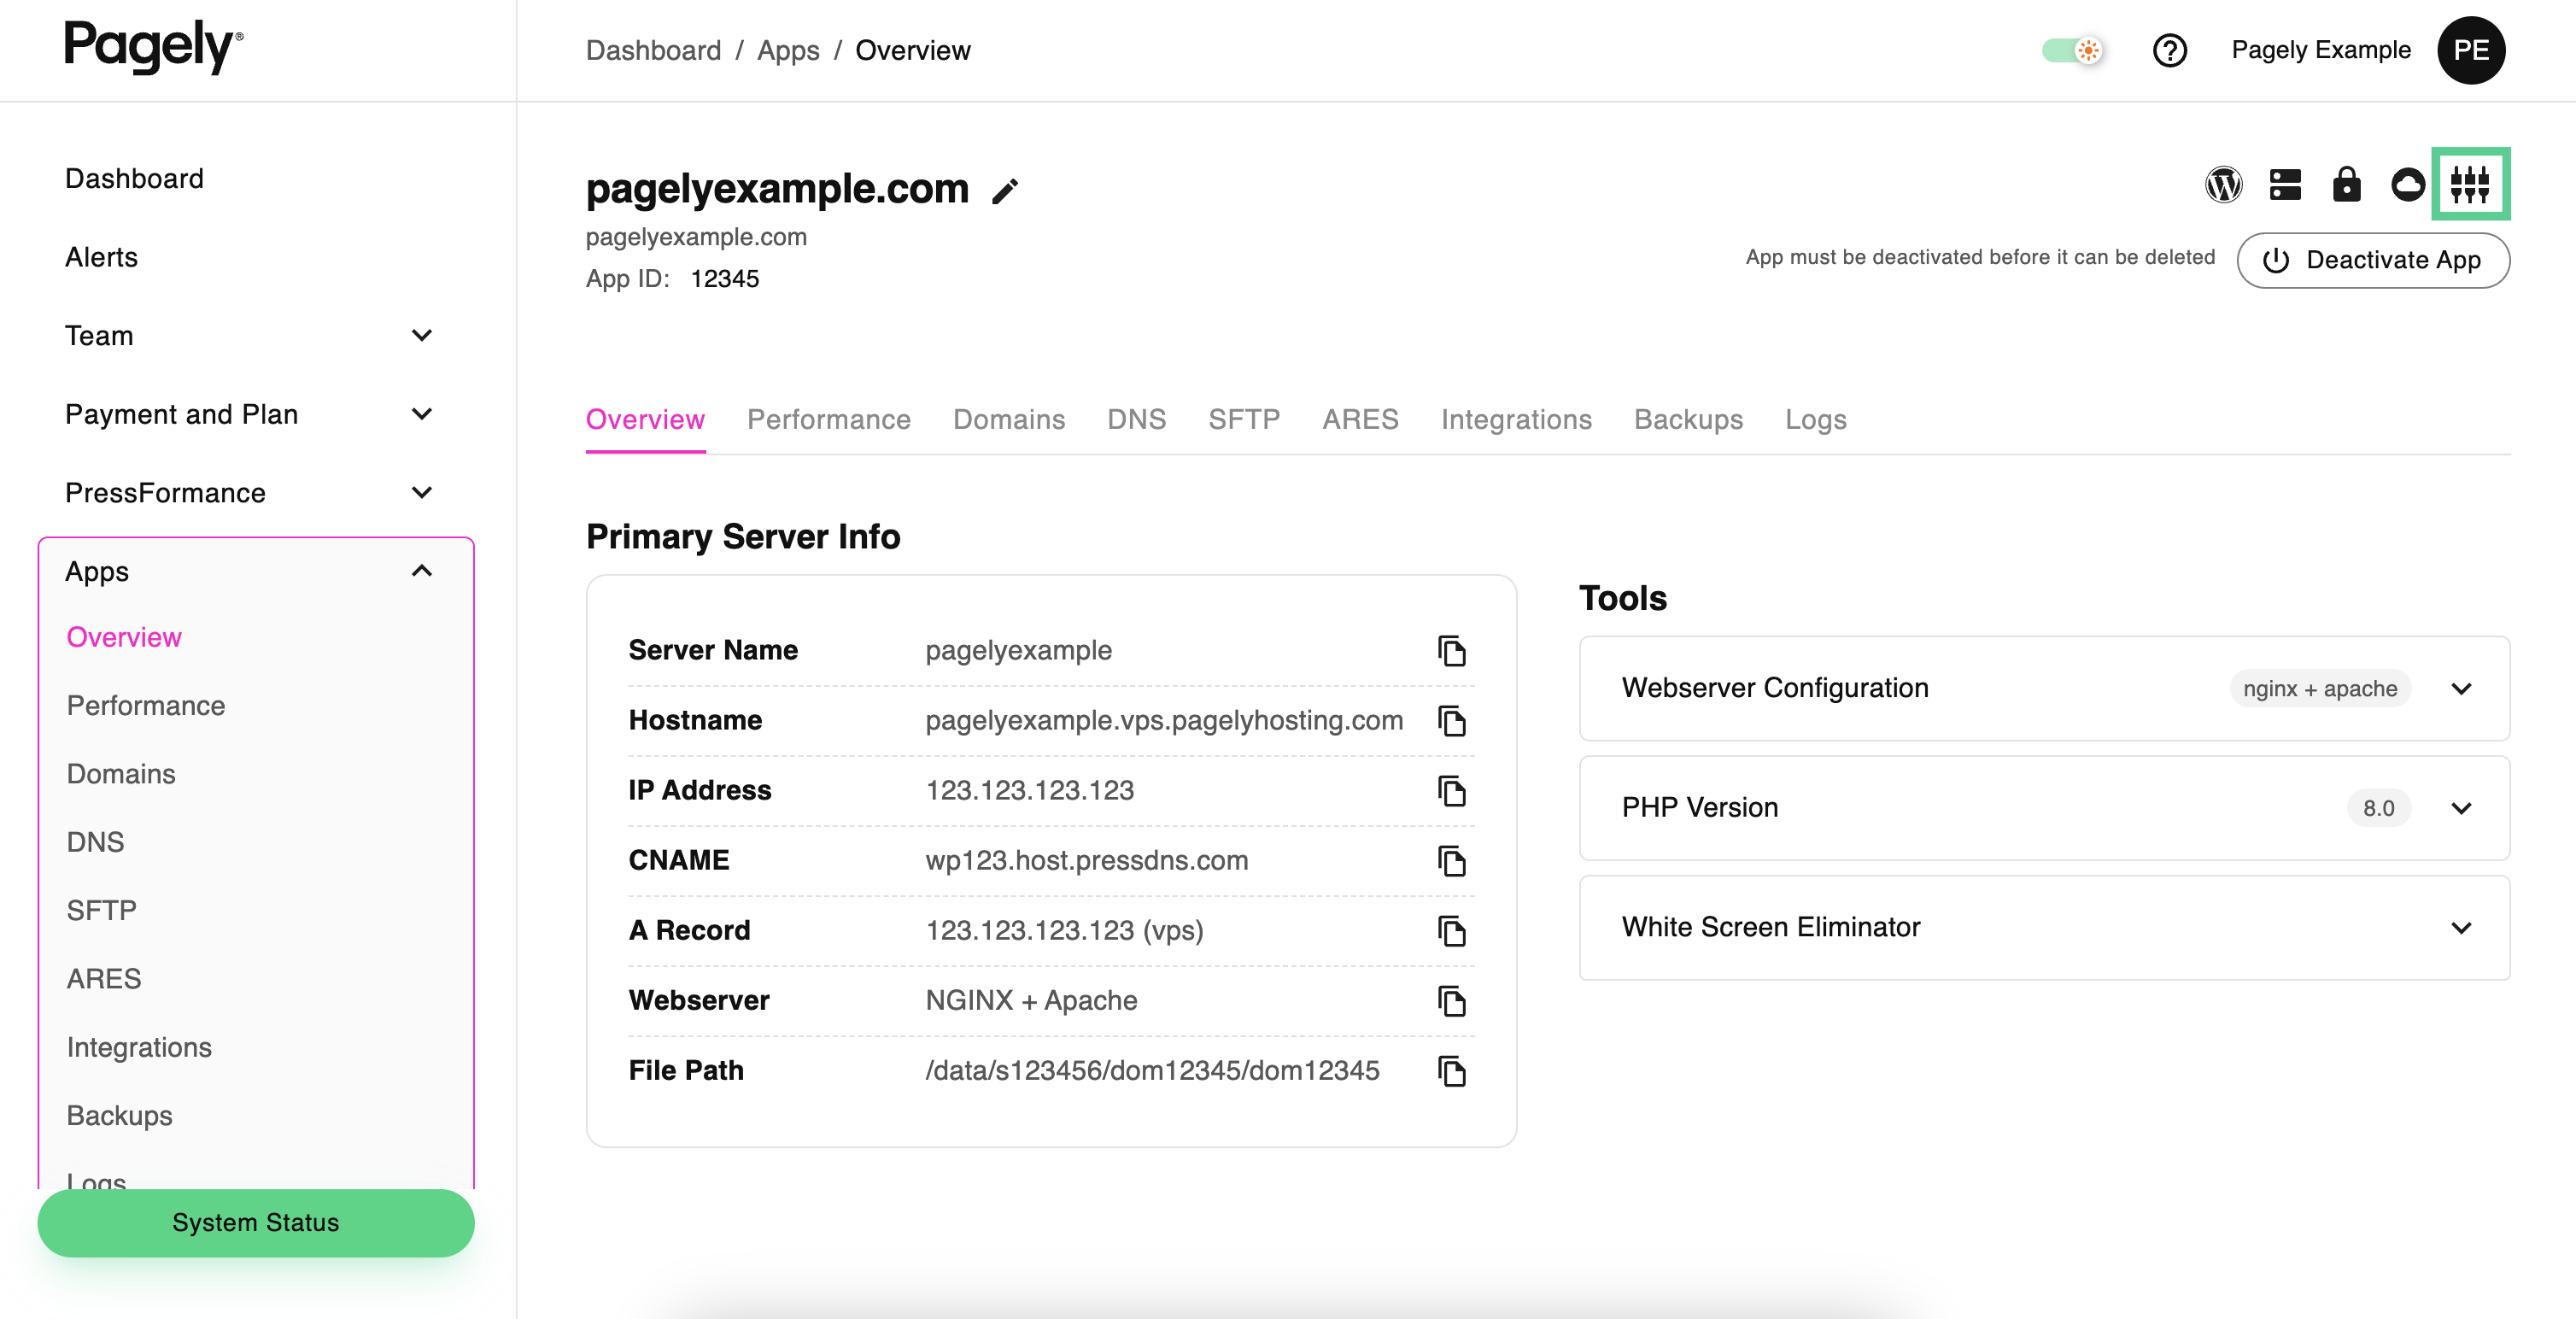
- From inside your WordPress app's details page, head over to the integration section by clicking on the Integrations icon.
- Select Create new Git Webhook Integration on the bottom right.
- You'll now be presented with a few disclaimers that you'll want to read over and acknowledge, as well as fields for your SSH Remote URL and Git Branch. Inside these fields, enter the SSH URL of your Bitbucket repository, as well as the branch that you want to deploy from.

- Once all of your settings are in place, just click on the Create Integration button to submit your changes.
After submitting your SSH URL and branch, our systems will take a few moment to process your submission and generate your webhook configurations. Once that's complete, you'll be presented with details that you can use to configure the Bitbucket side of things in the next section.
Step 2: Configure Webhooks in Bitbucket
Now that your webhook details have been generated in Atomic, you're ready to configure Bitbucket to notify your webhook when changes are made on your repository.
- Start by logging into your Bitbucket account and accessing the repository that you've configured within your webhook settings.
- Next, access your Bitbucket repository's settings by clicking on Settings within the left side menu.
- To add a new webhook, click on the Webhooks within the Settings menu, then click on the Add Webhook button.
- The first field you'll be presented with is the Title field. Inside here, simply create a unique title for your webhook. It can be anything that would help you to identify it later.
- Inside the URL field, paste your Webhook URL that you received earlier inside Atomic, then click on the Save button to save your webhook configuration.
- Now that your webhook has been added, you'll still need a way for your site to authenticate with your Bitbucket repository. This is done in the form of an access key.
To add a new access key, click on Access Keys within the settings page menu, then click on the Add Key button. - Upon clicking on the button, a new window will appear. Inside the Label field, enter a label for your key that will help you identify it if you ever need to, then paste your SSH Public Key from your app's webhook configuration into the Key field.
When your access key fields are all filled out, just click on the Add Key button.
Now that you've created a new webhook, configured your Bitbucket repository to use your webhook, and added an access key, your WordPress app is all configured to automatically deploy from Bitbucket!