
When you are ready to make your WordPress site live on Pagely, the last step is to change your primary domain. Inside this article, we'll show you how to do it.
Changing Your Primary Domain
- Begin by logging into the Atomic control panel.
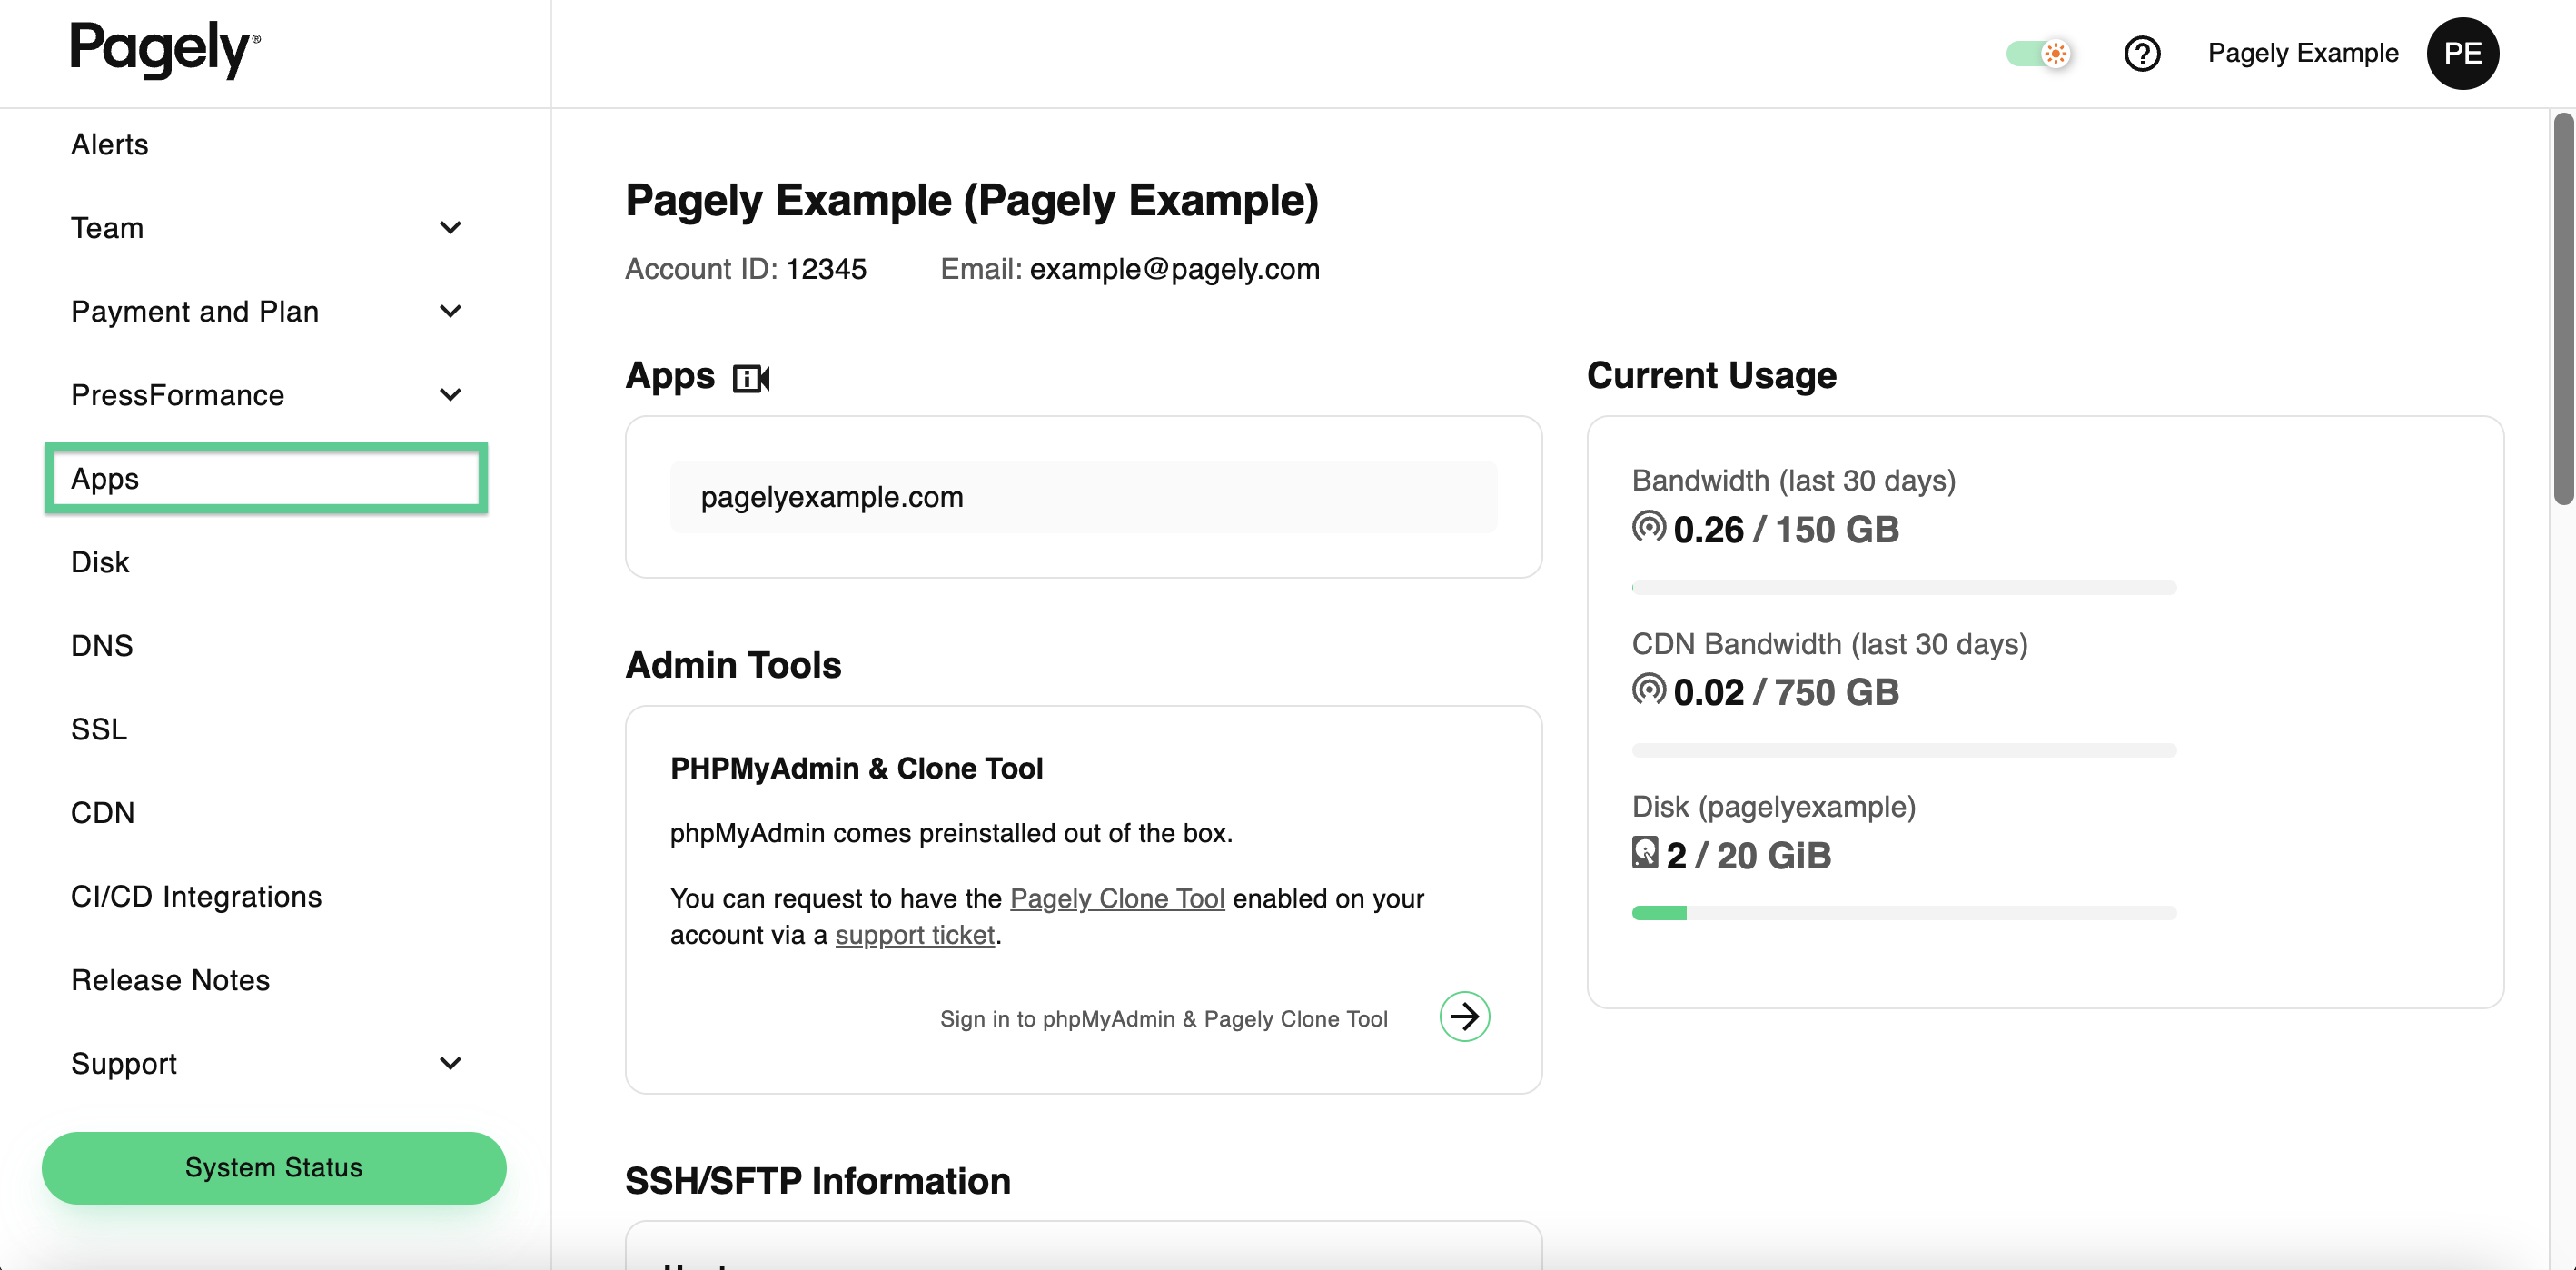
- Next, click on Apps on the left side navigation menu.
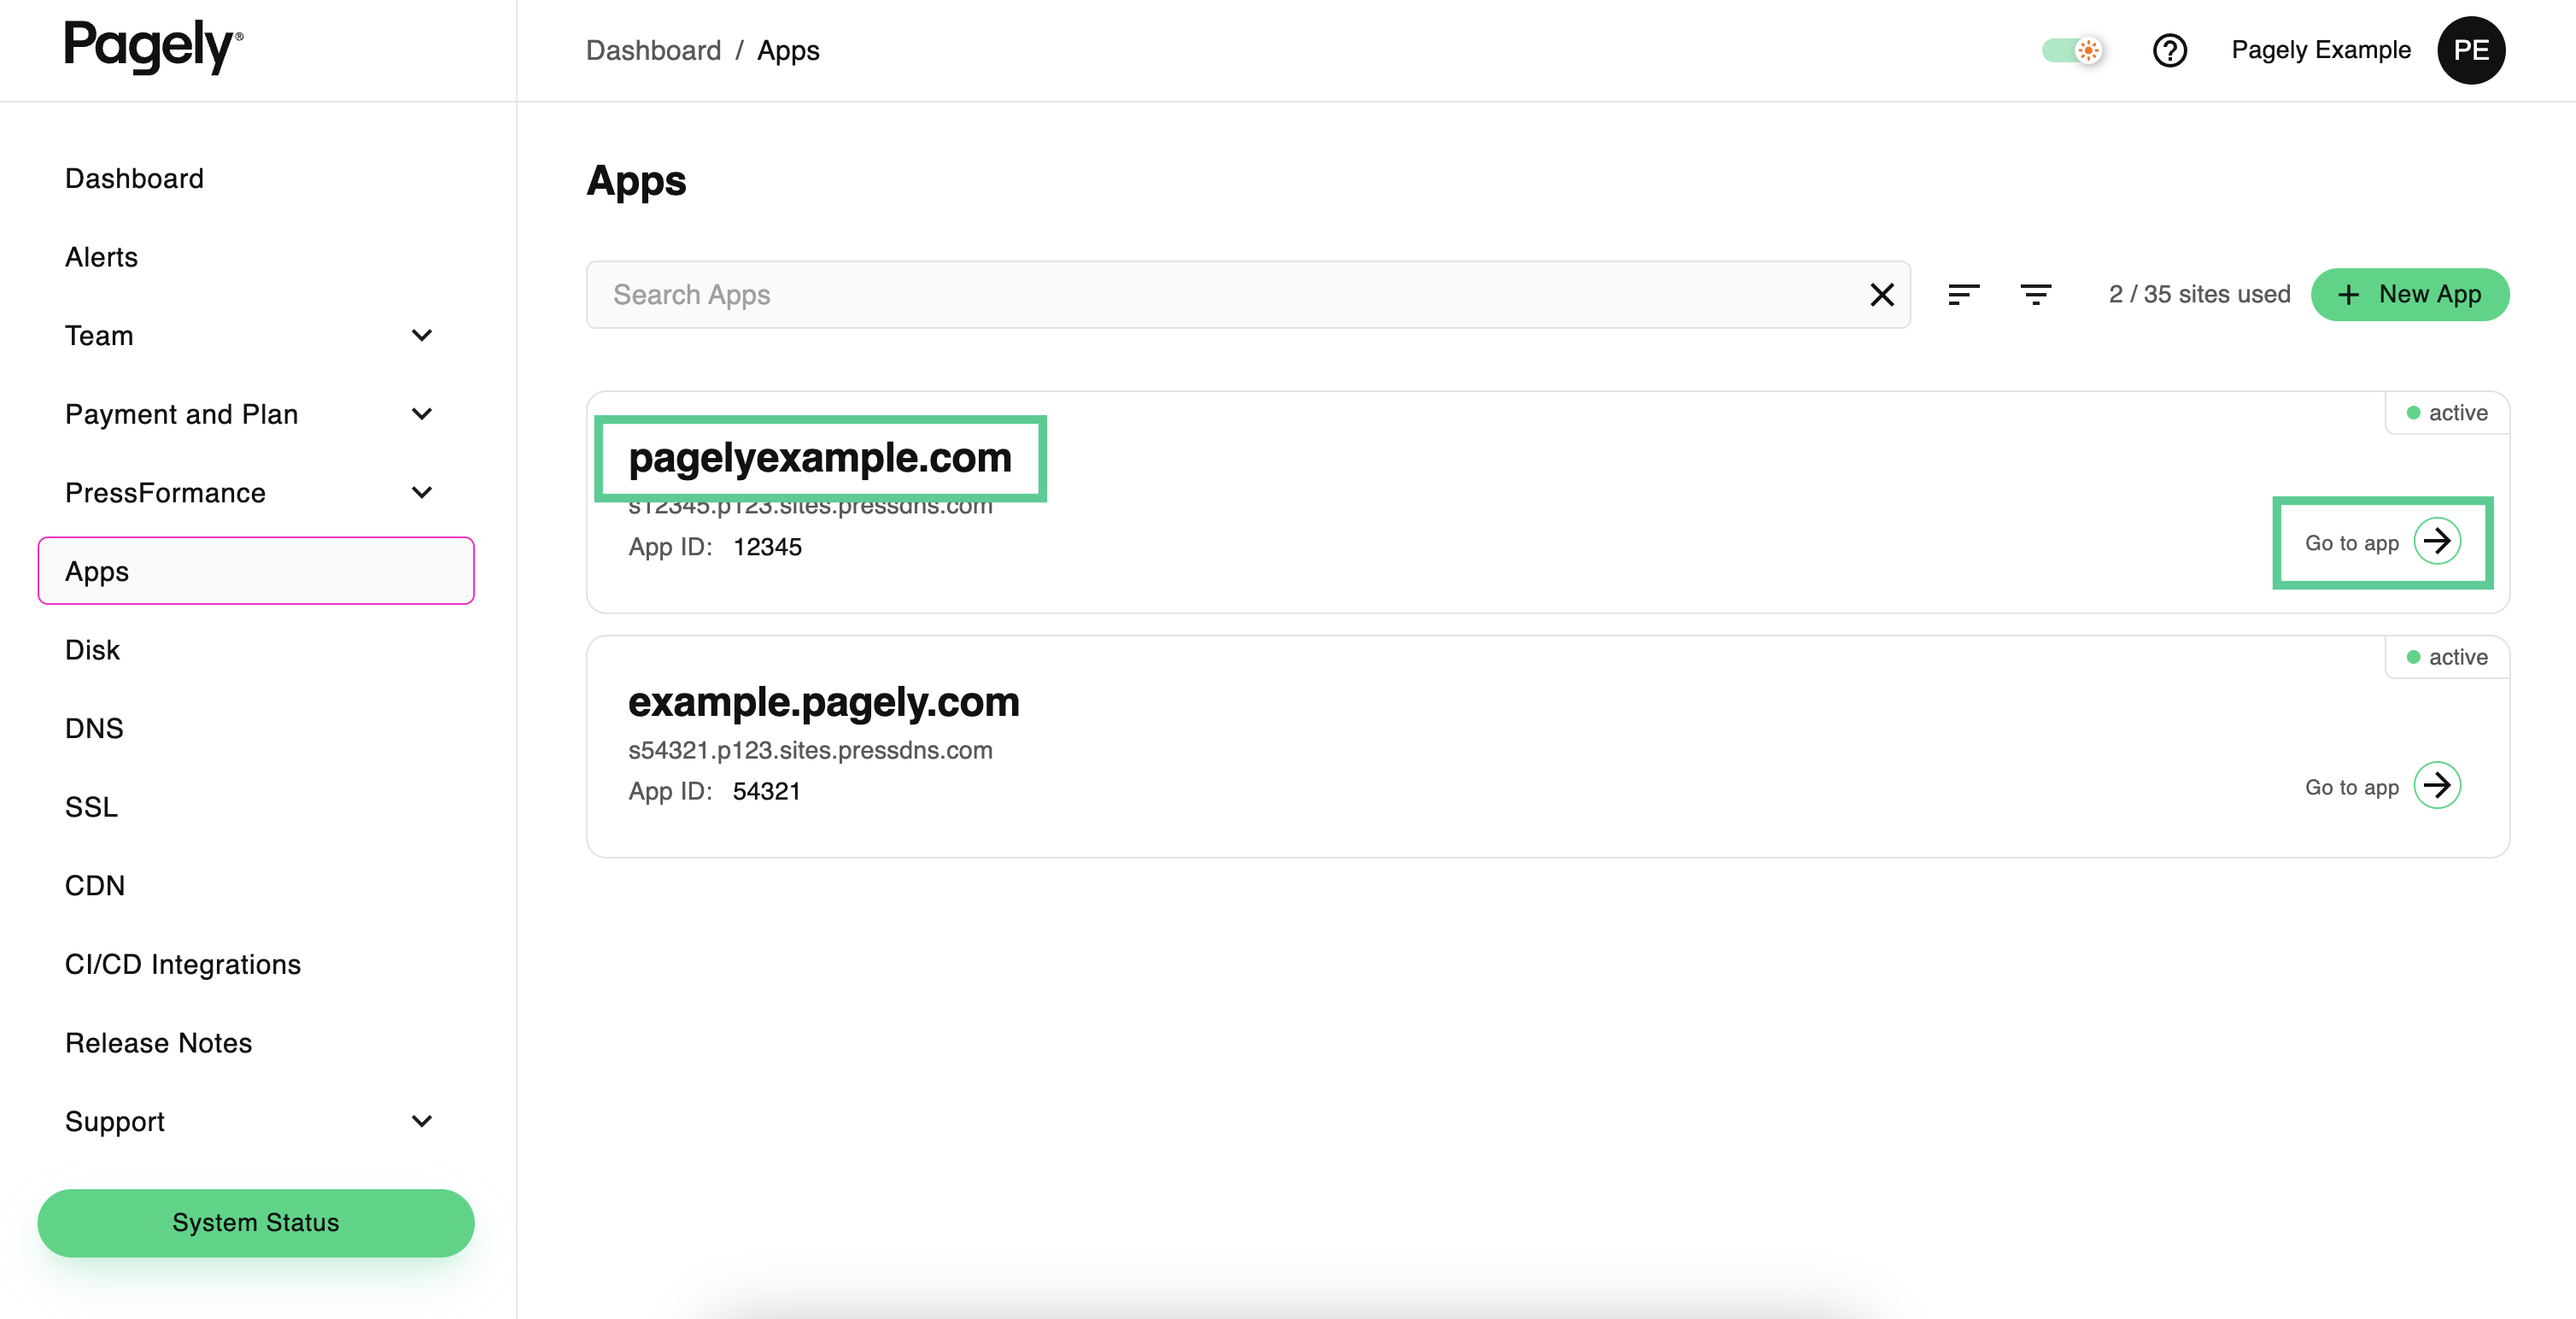
- From within the Apps screen, locate the app that you want to change and click the Settings icon to the right the app's name.
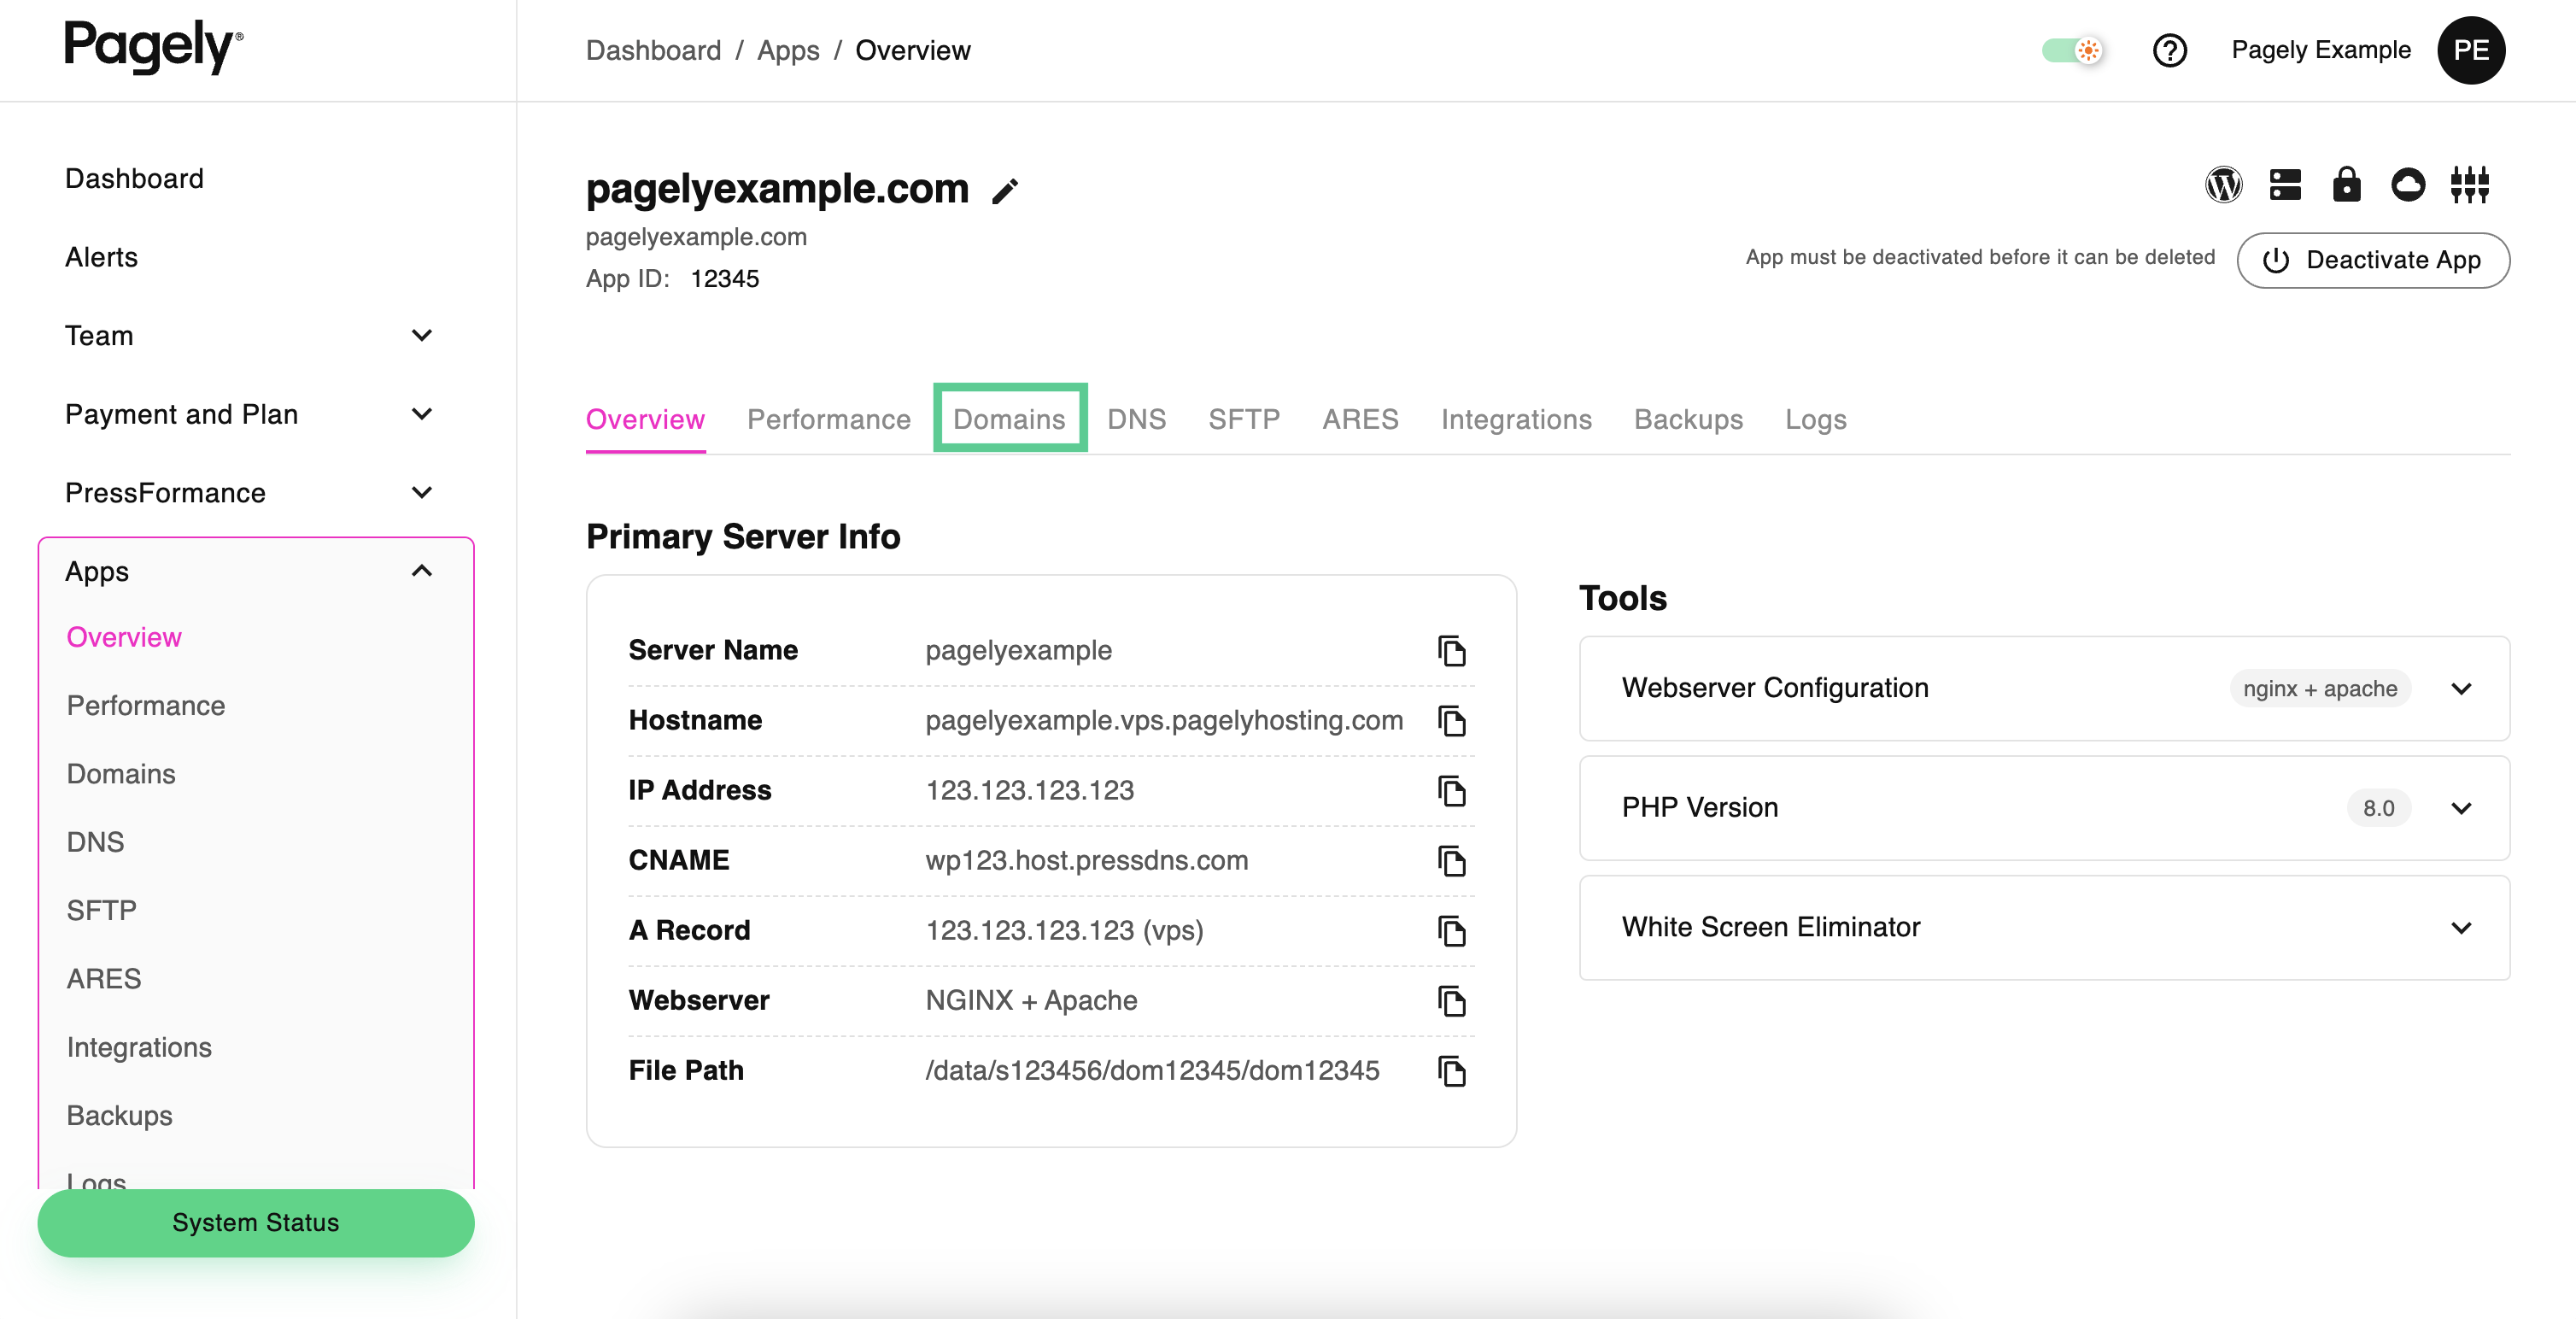
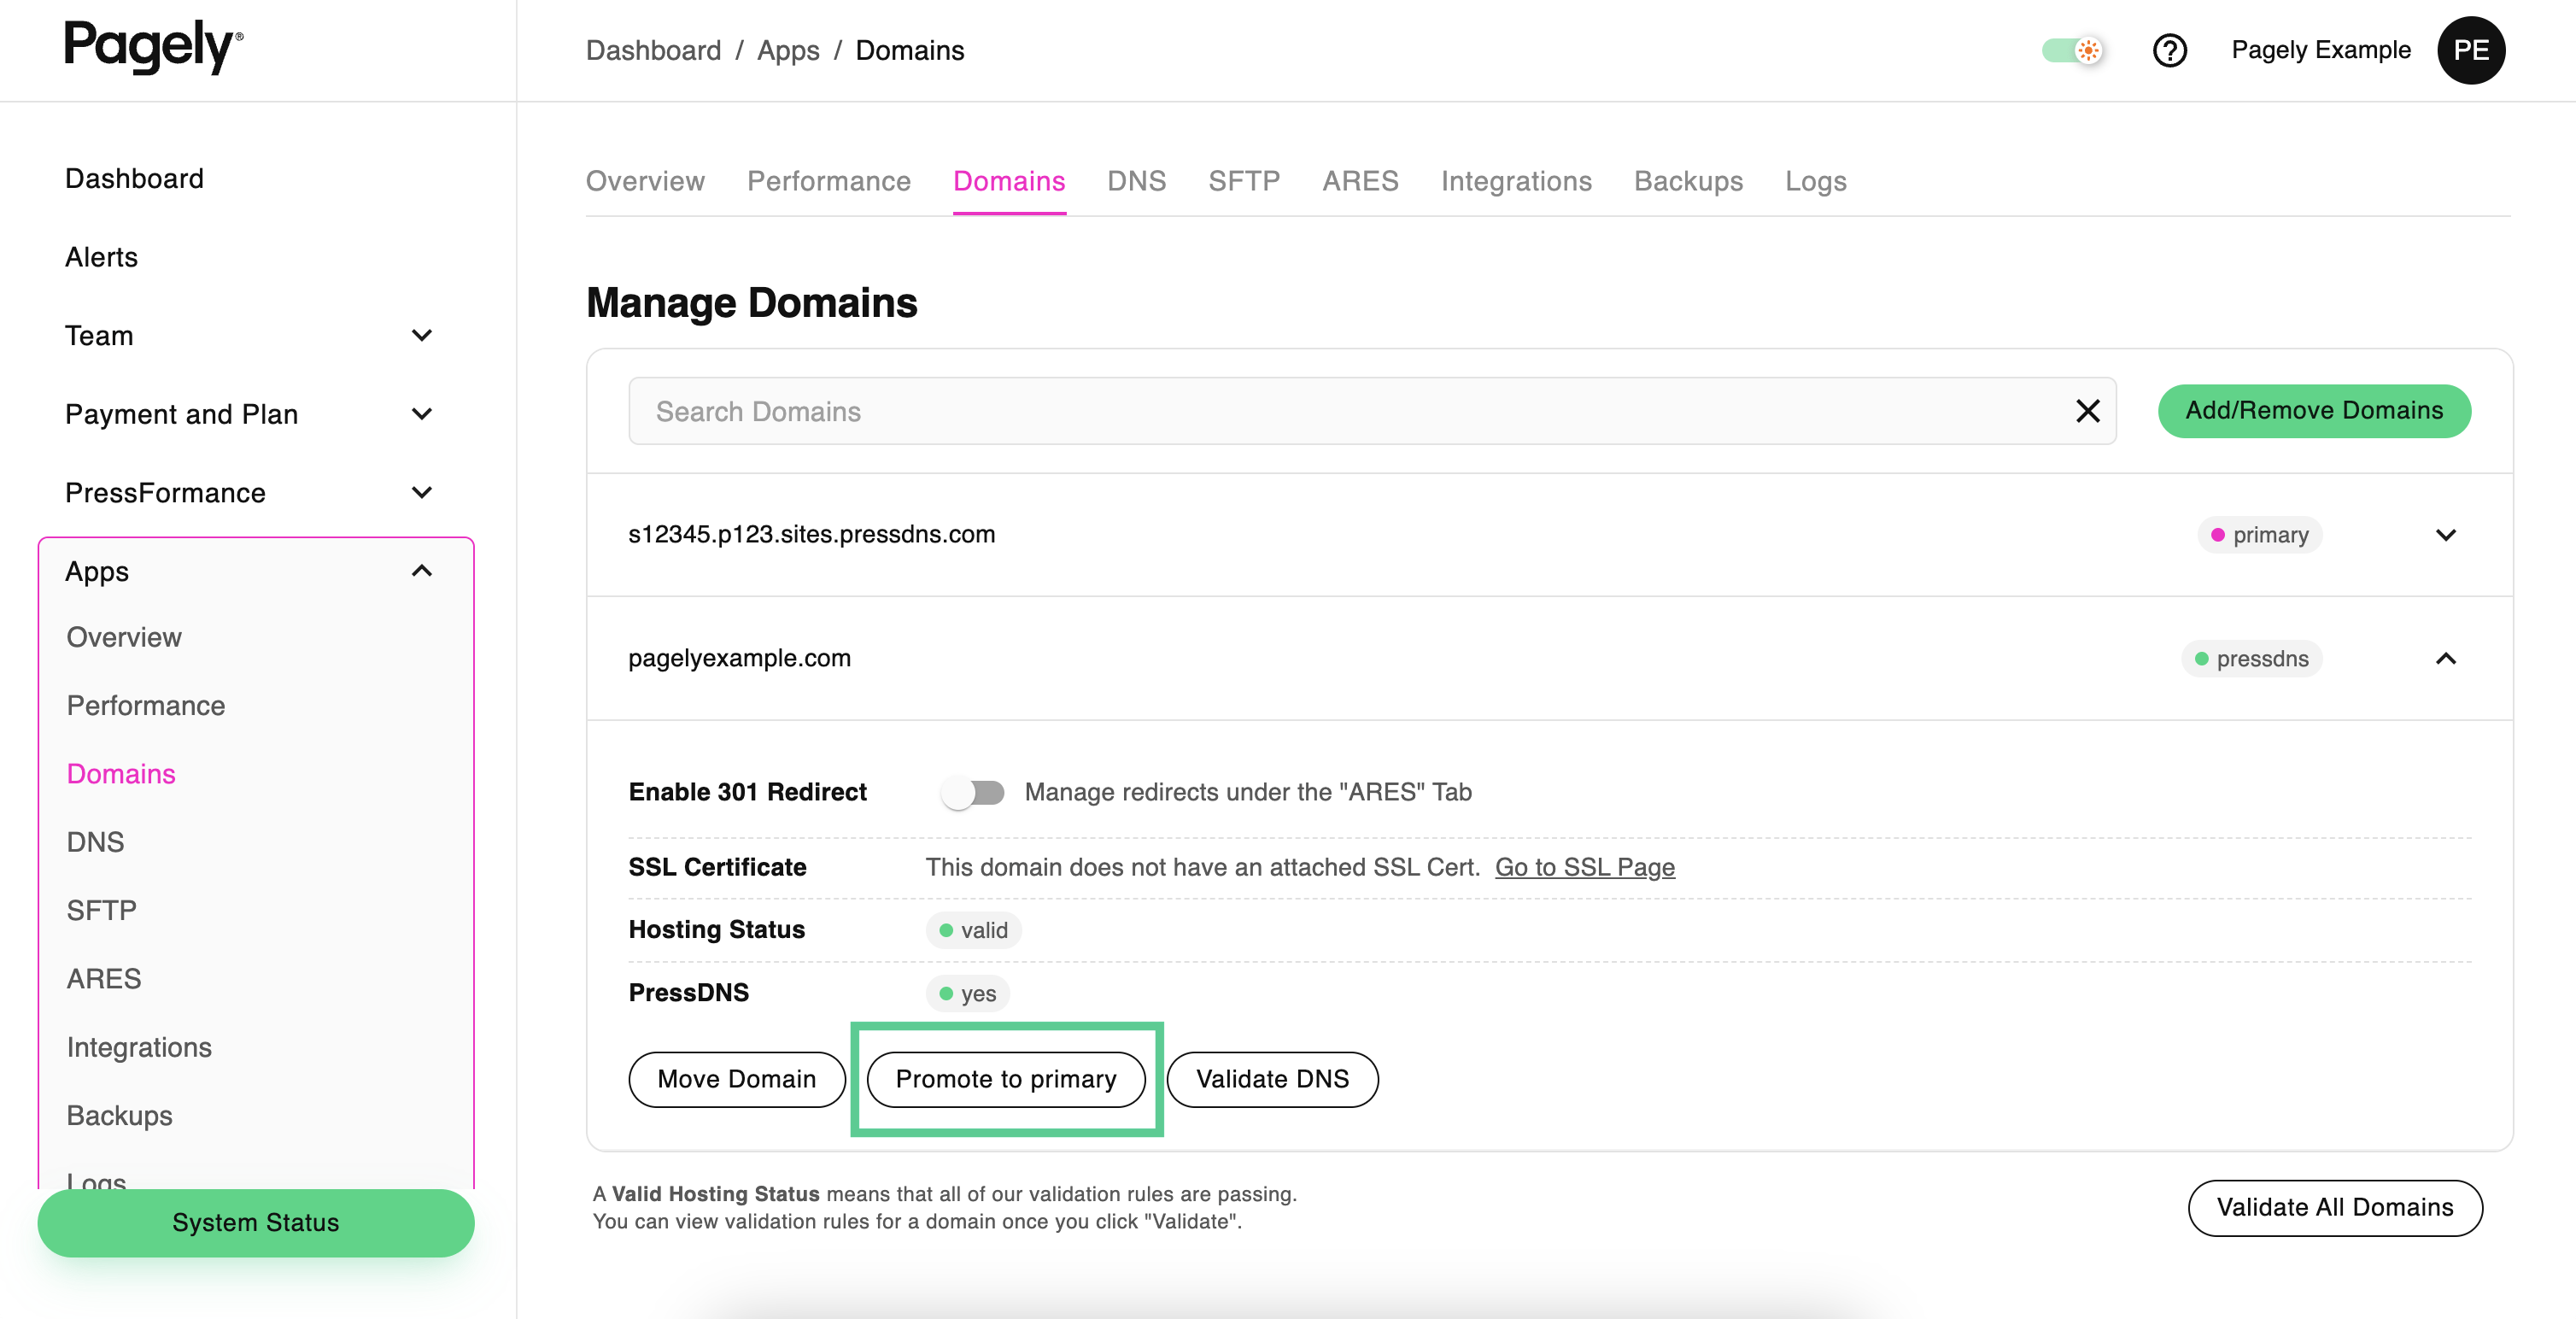
- Now that you're inside your app's details page, you'll notice several tabs. Click on the Domains tab to access your app's domain settings.
- Next, expand the domain that you want to use as the primary domain by clicking on the icon to the right of it.
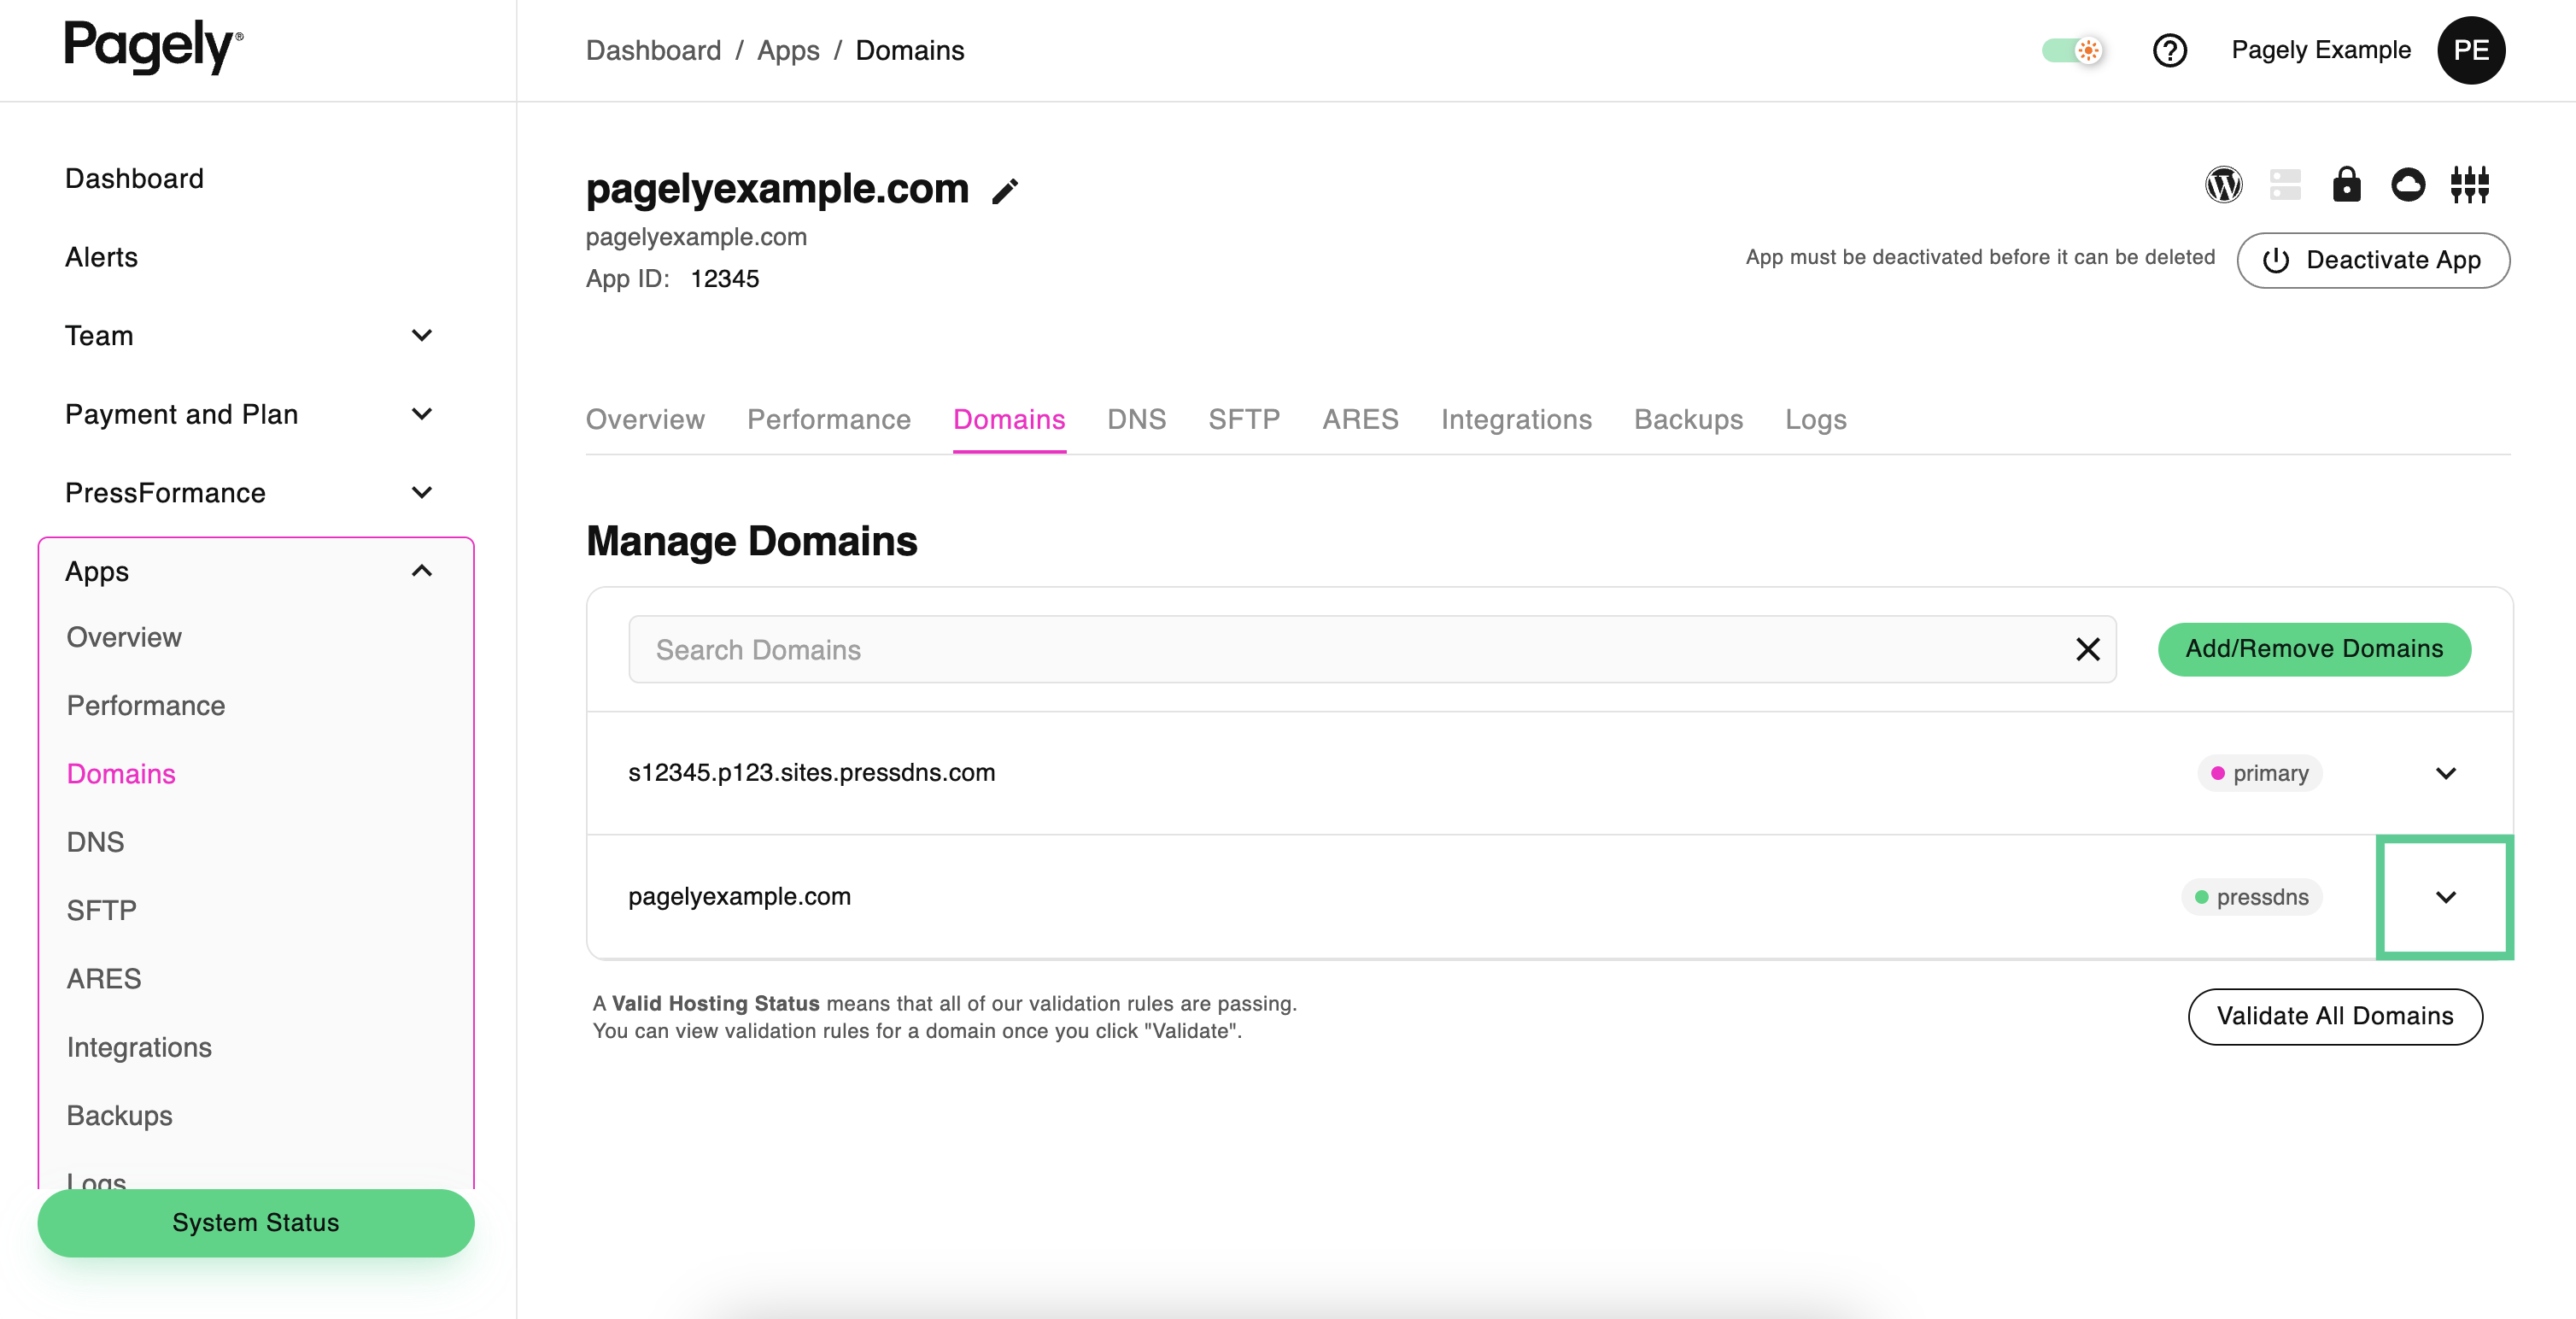
- Finally, click on the Promote to Primary button to make this domain the primary domain for the app.
Next Steps: Performing a Search and Replace
After changing your domain, you'll likely want to do a search and replace on your database to ensure that references to your old domain are changed to the new one.
For more information, see our documentation on performing a search and replace on your WordPress site.
Adding a New Domain Alias
If your domain is not already listed inside the app, you easily add it.
- Begin by logging into the Atomic control panel.
- To access your app list, click on the Apps menu item on the left side of the screen.
- From within your app listing, click on the Settings icon to the right of the app you want to manage.
- Now that you're inside of your app's details page, navigate to the Domains tab.

- To add a new domain, click on the Add Domain button.

- Finally, fill in the Domain Name field, then click the Add New Domain button.
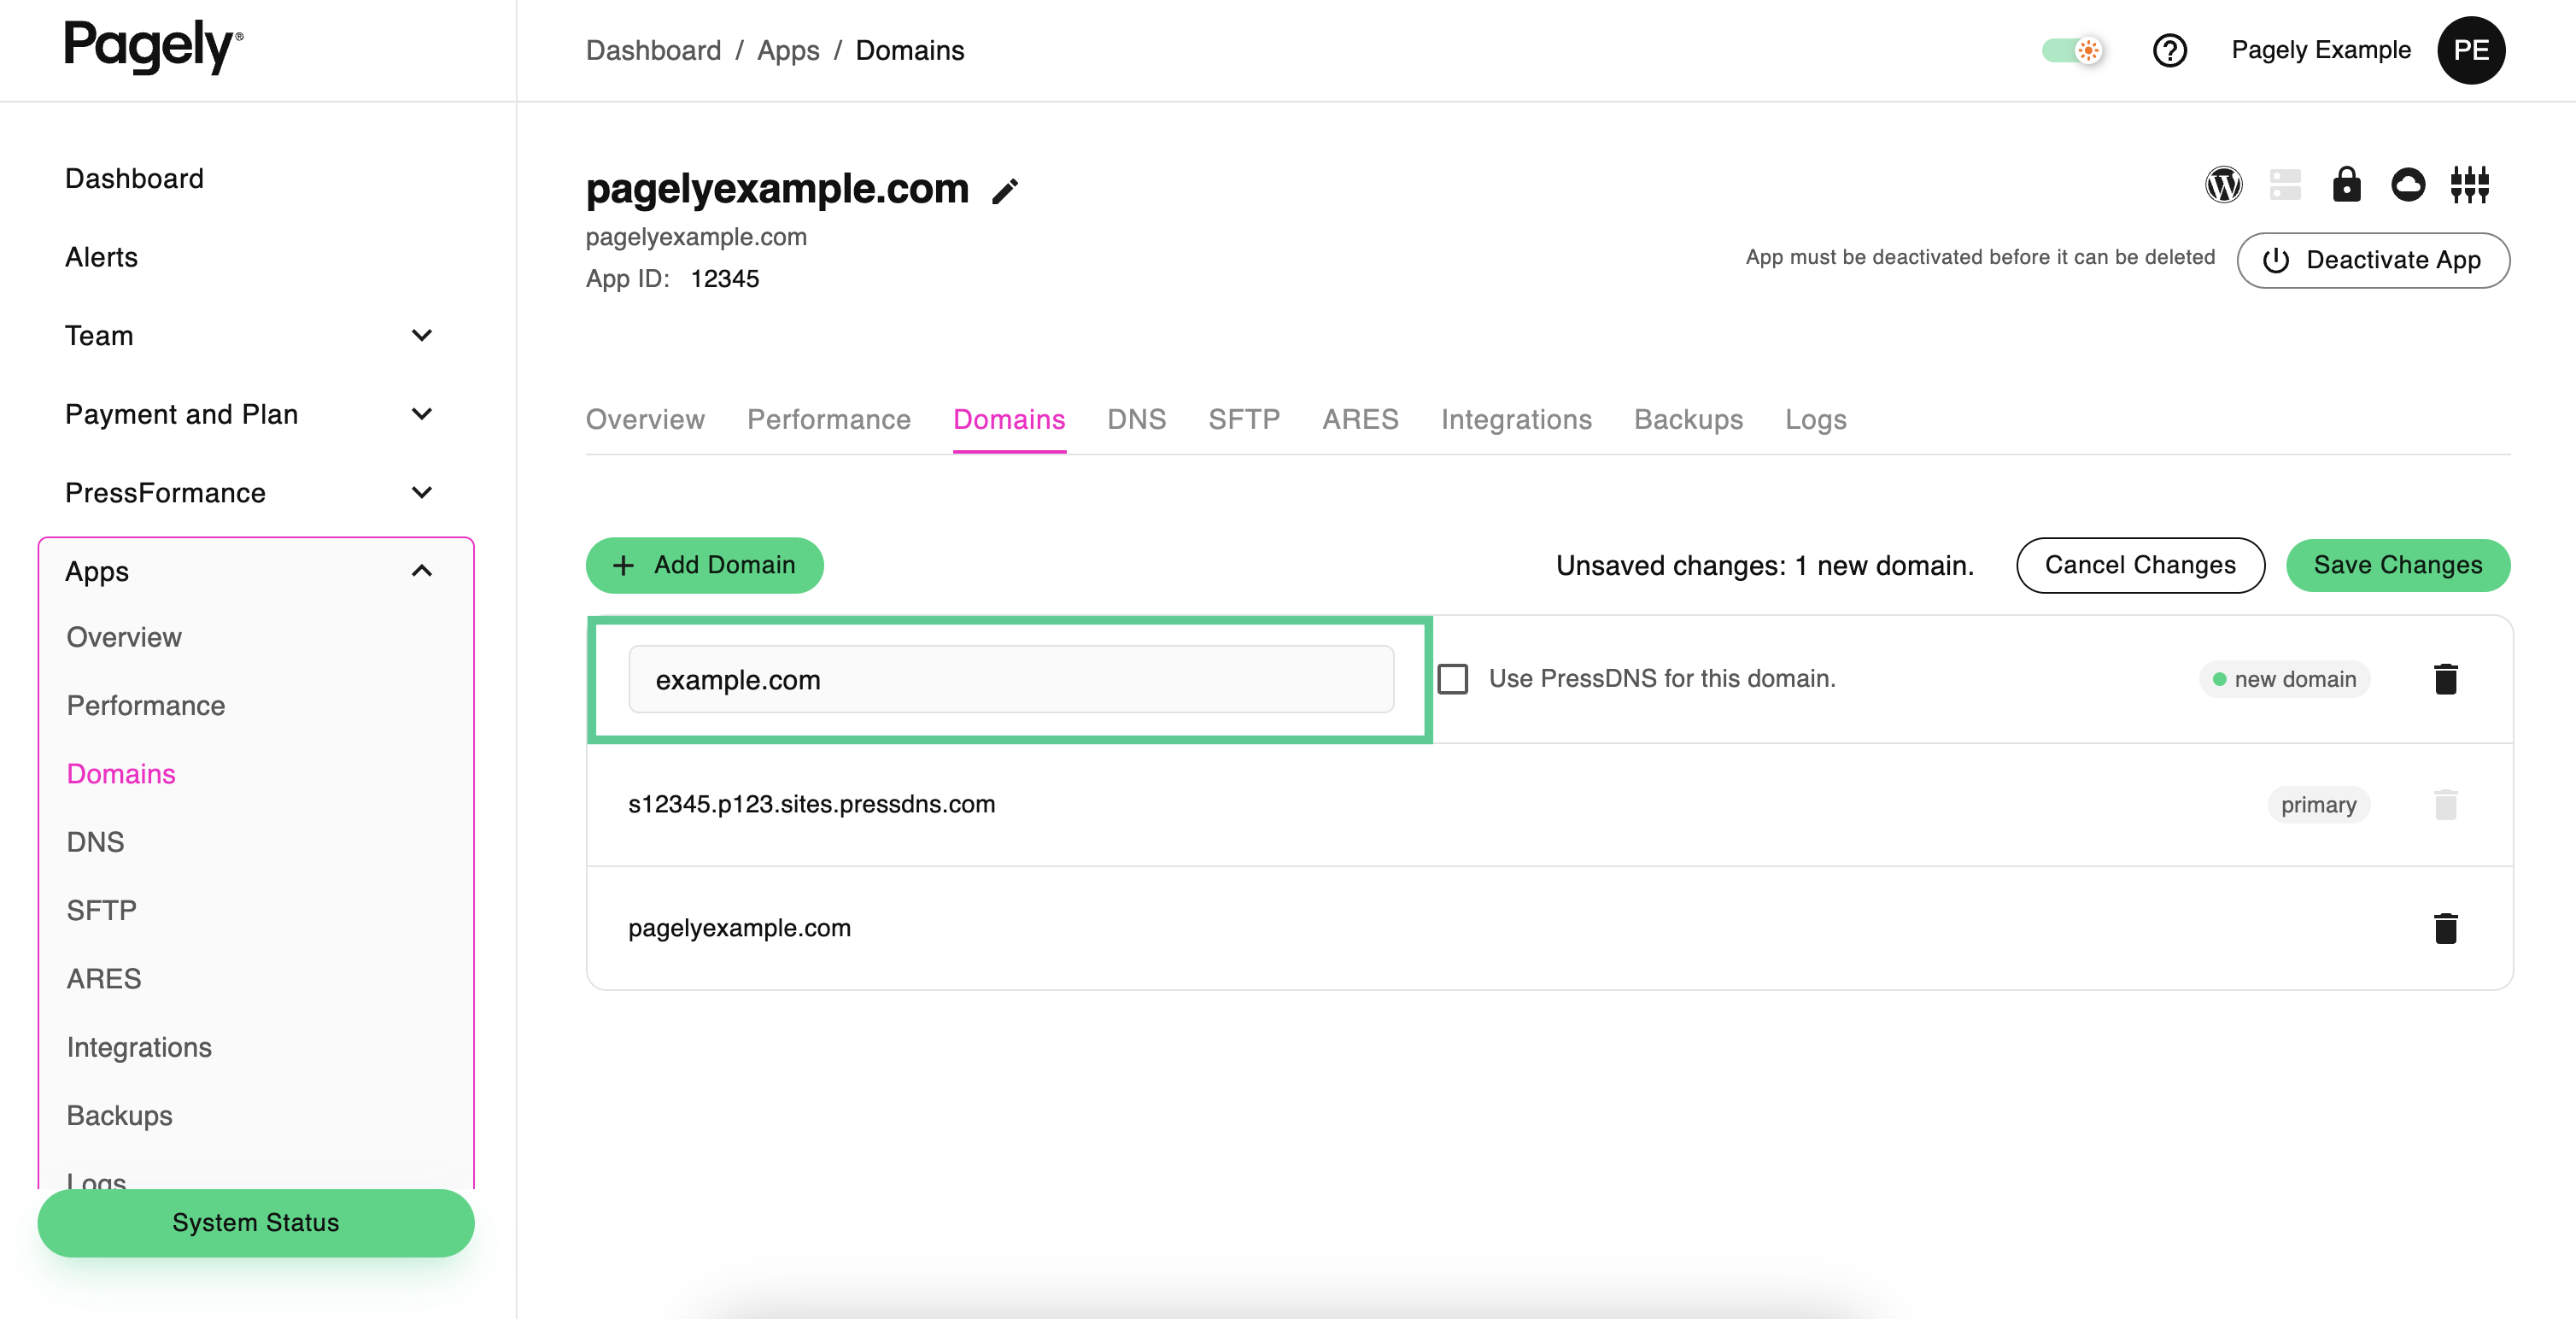
Your domain alias has now been added. Of course, be sure that this new domain alias is properly pointed to your app.
If you need to set this new domain as the primary domain for the app, just follow the instructions in the previous section.
Recommended Reading