
If your domain is pointing to Pagely nameservers to take advantage of the great benefits of PressDNS, you may need to update your DNS records for other services such as email. In this article, we’ll show you how to manage DNS records inside PressDNS.
Note: Keep in mind that these DNS records only apply if you’re using PressDNS by pointing your domain name to Pagely nameservers. For more information on pointing your nameservers, take a look at our article on using PressDNS.
If you’re looking for more information on the different DNS records you can set within PressDNS, take a look at our article on DNS record types.
Accessing Your Domain’s DNS Records
To access your DNS records for a domain, follow these steps:
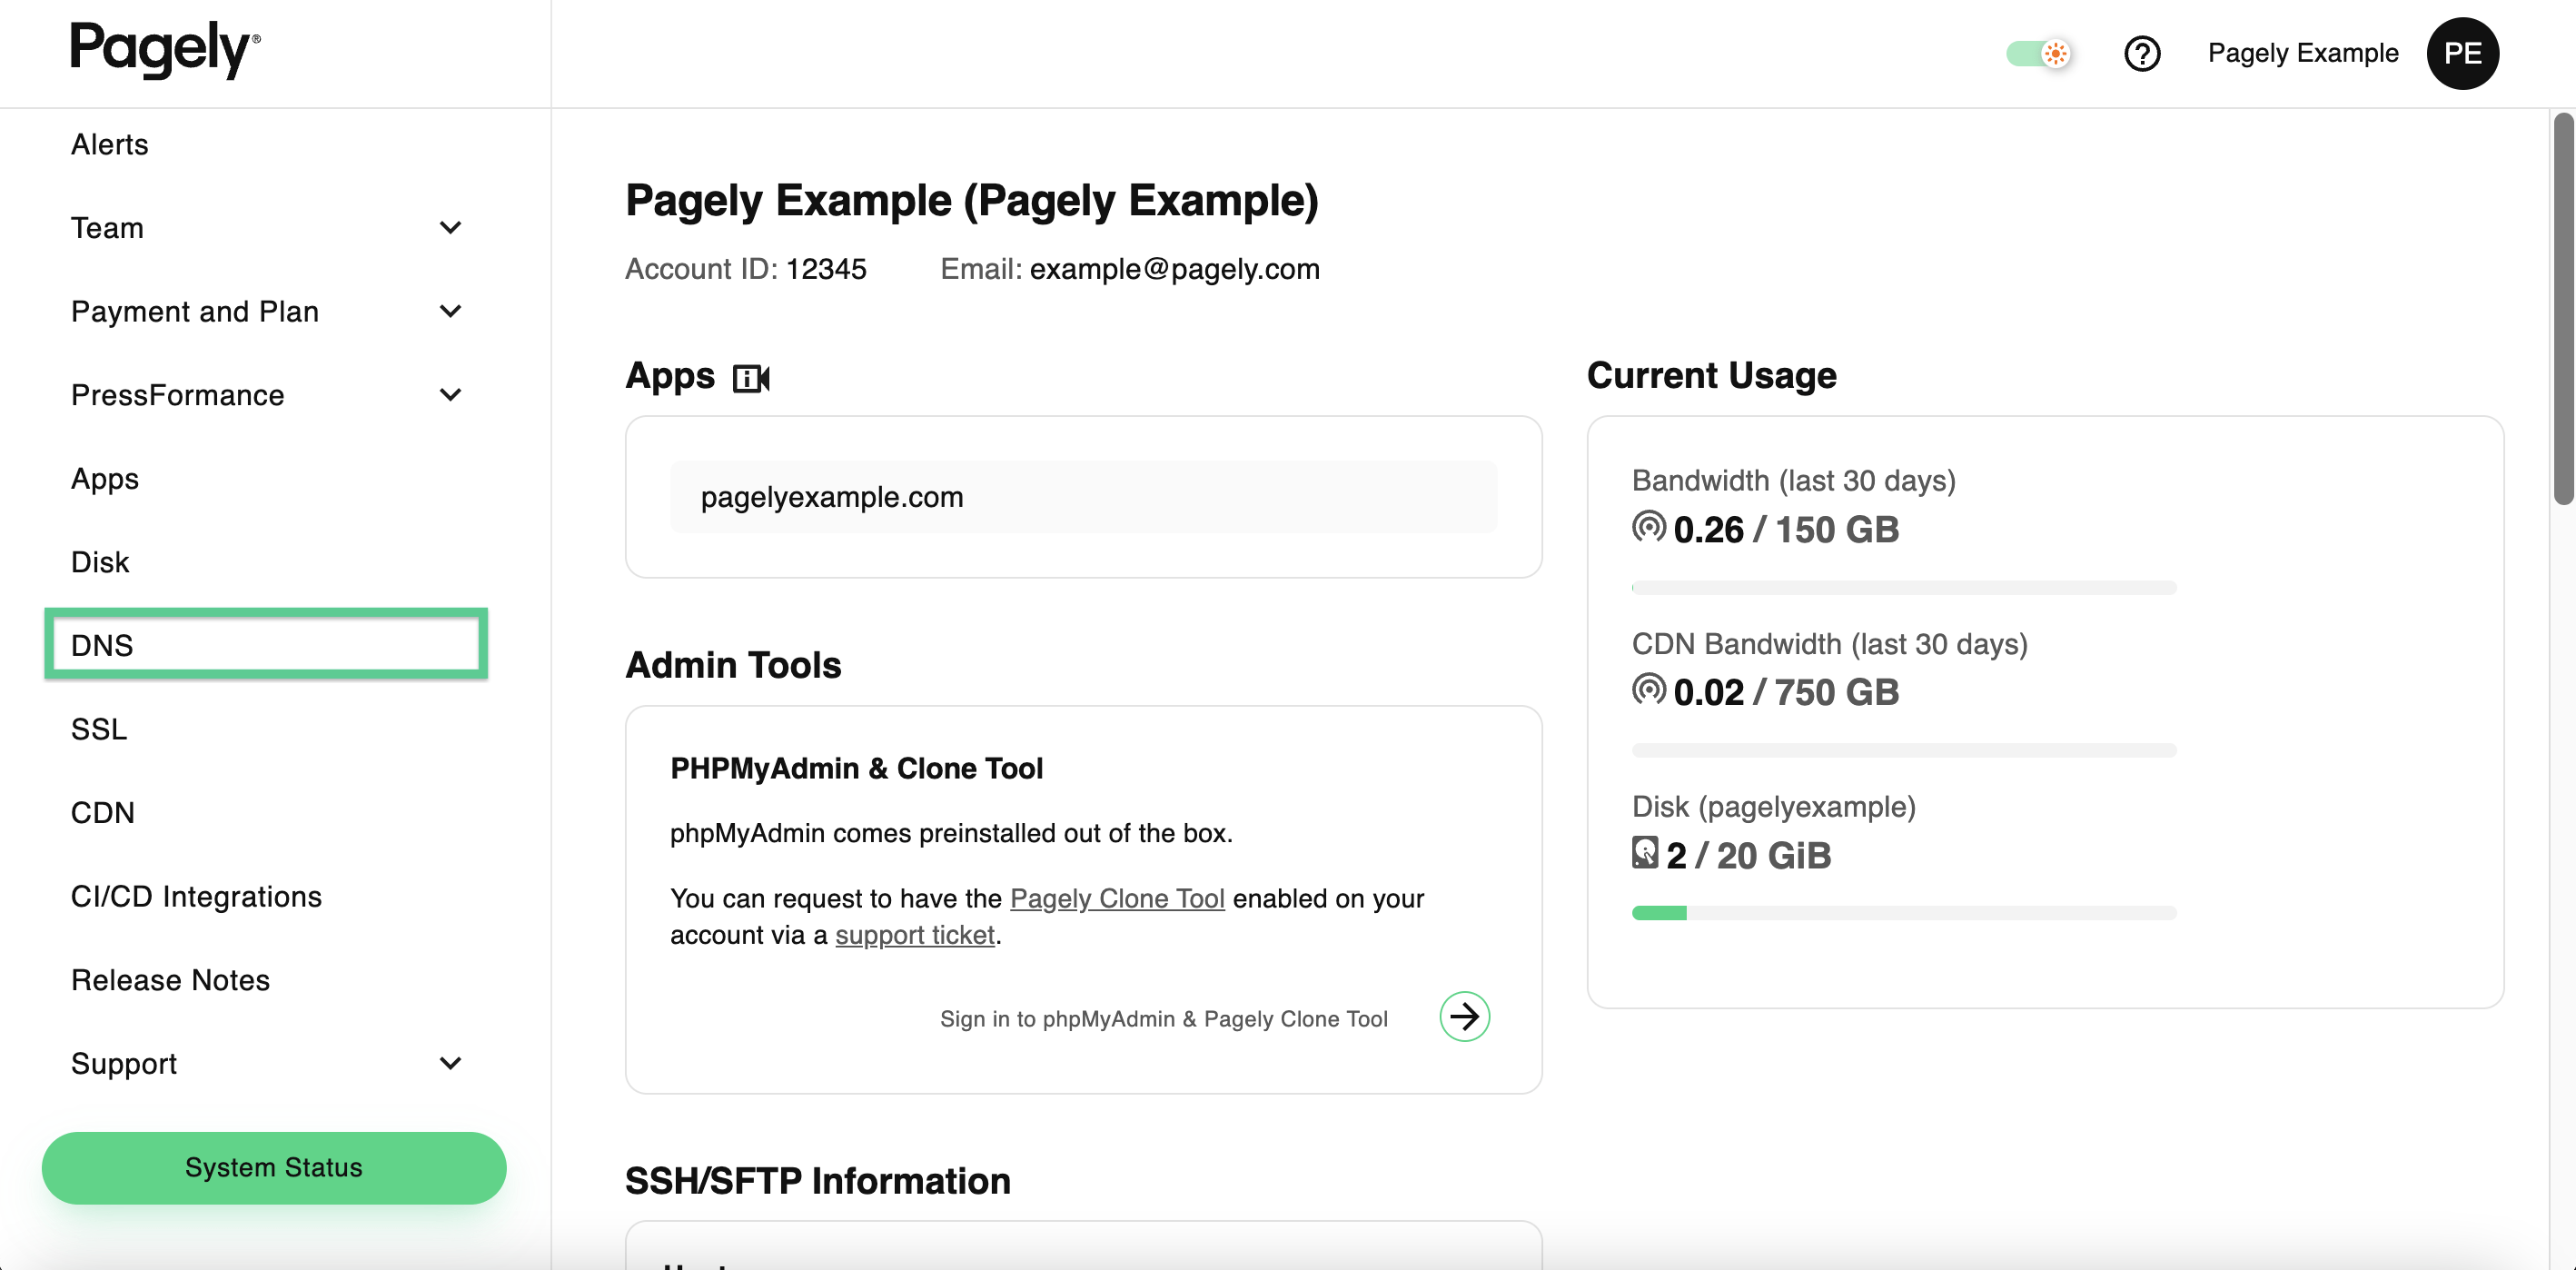
- Log into your account on Pagely’s Atomic control panel.
- Click on DNS from the menu on the left.
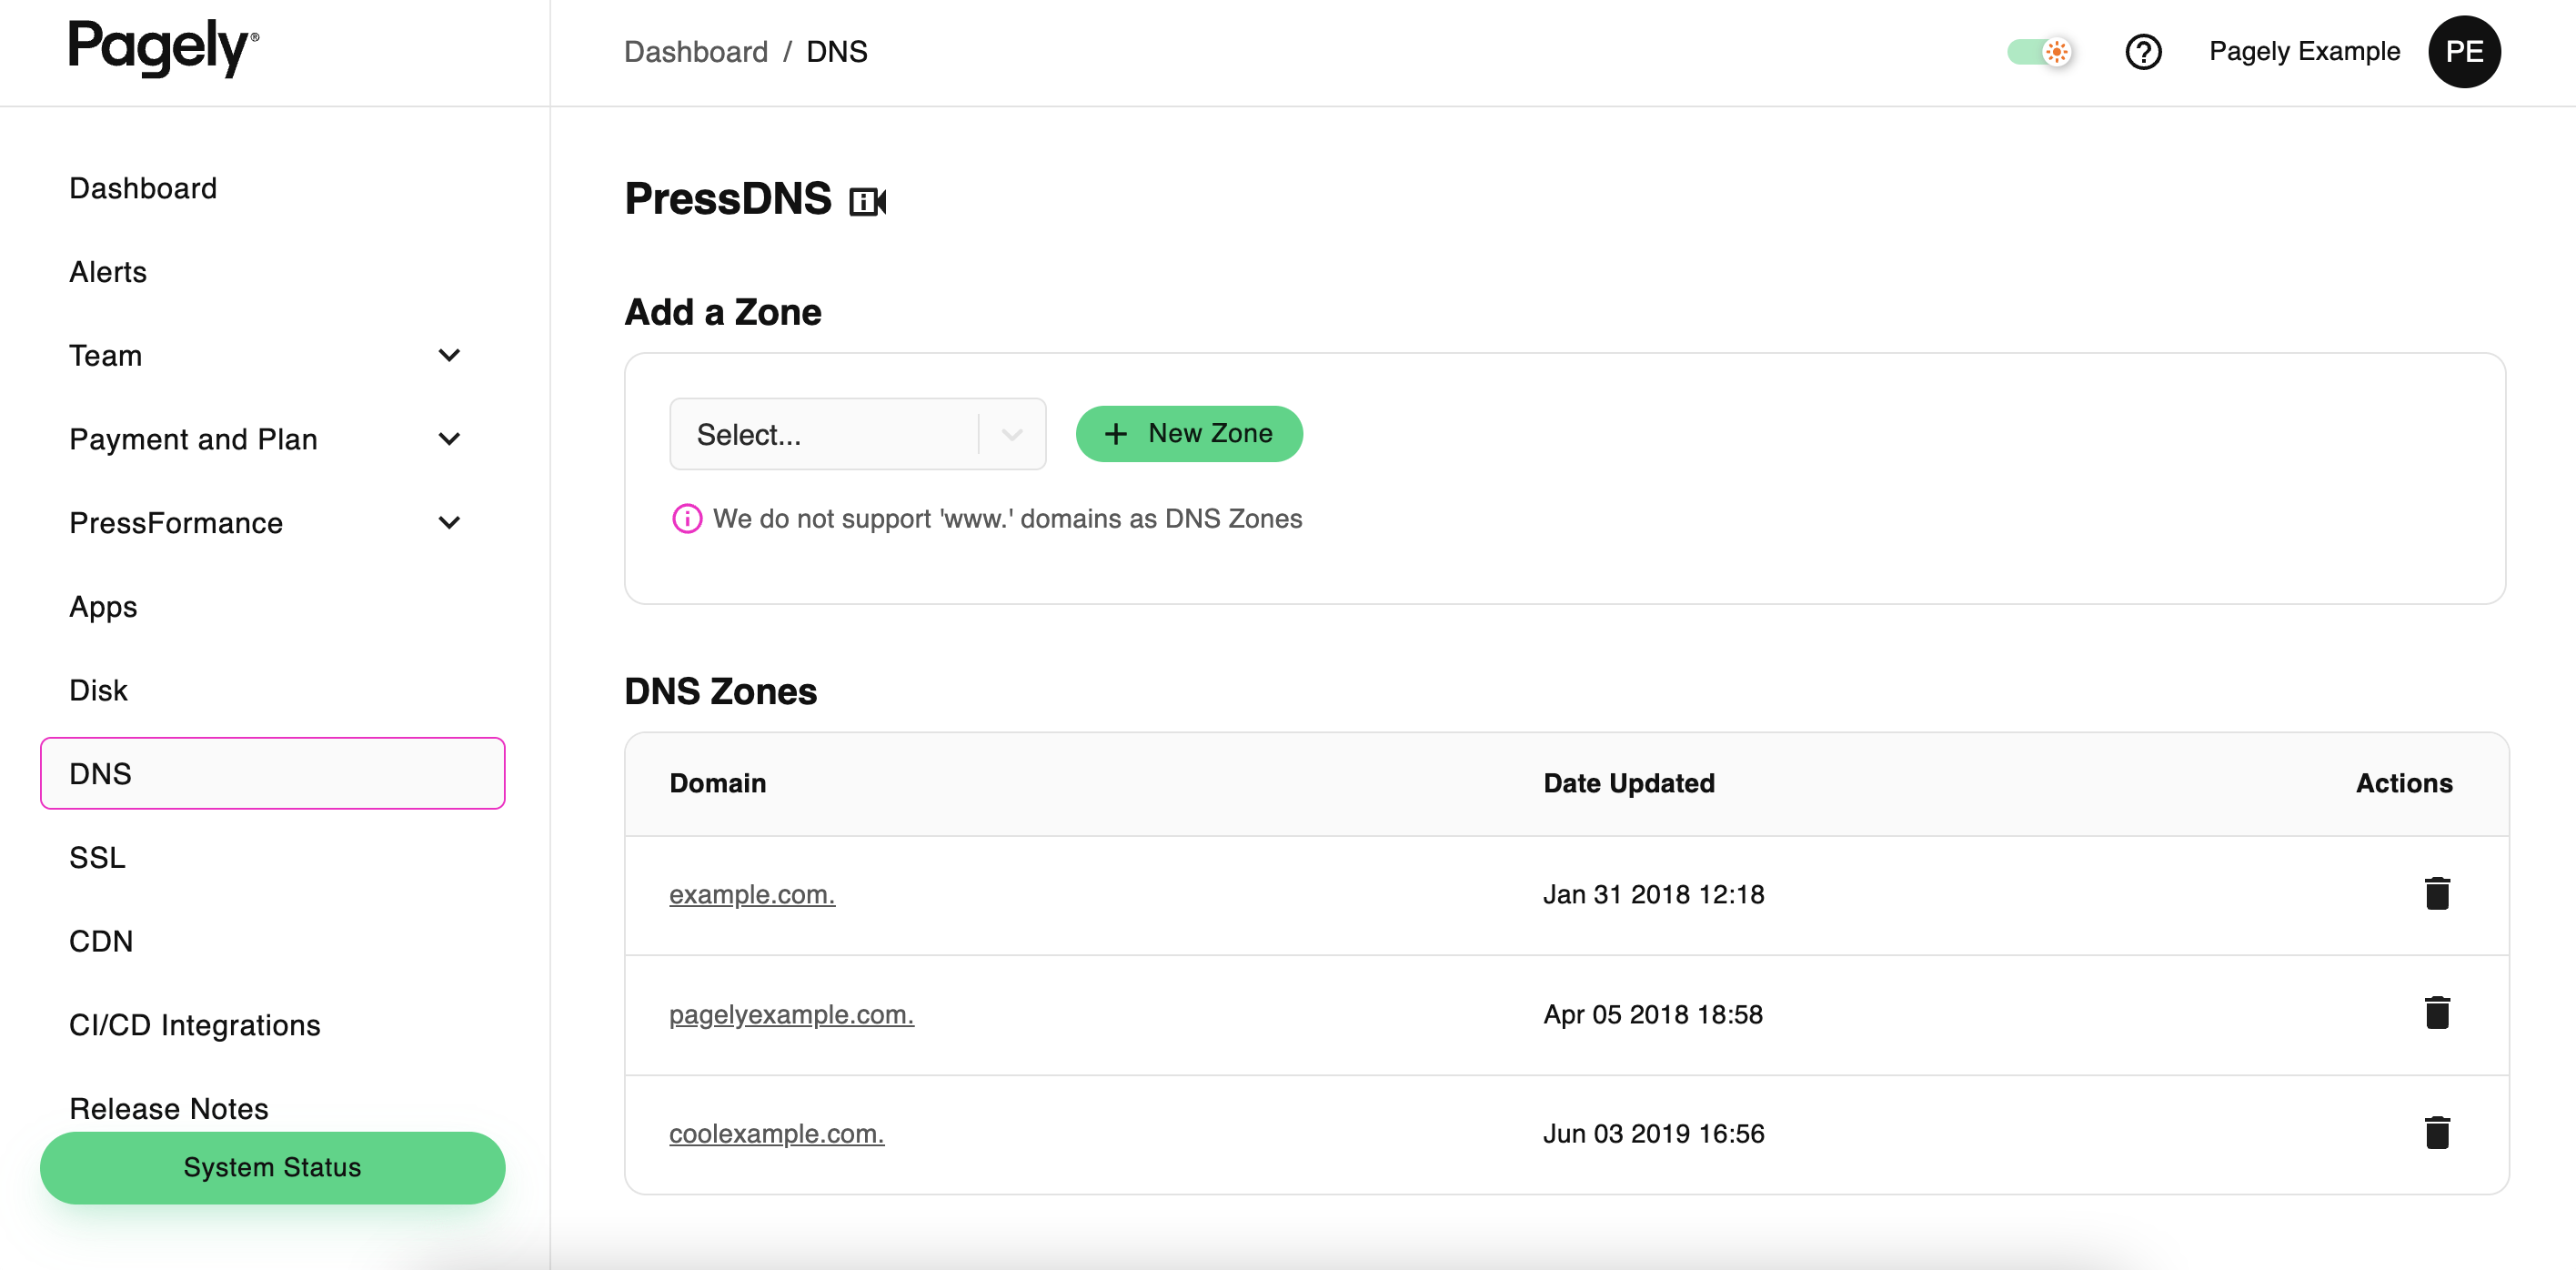
- Within the PressDNS page, click on the domain that you want to manage DNS records for.

Inside this page, you’ll be able to manage any of your DNS records that exist when using PressDNS.
If you need more information on how to add, change, or remove DNS records, see the following sections.
Adding DNS Records
If you need to add a new DNS record, here’s how you do it:
- Go to your domain’s DNS records within the Atomic control panel.
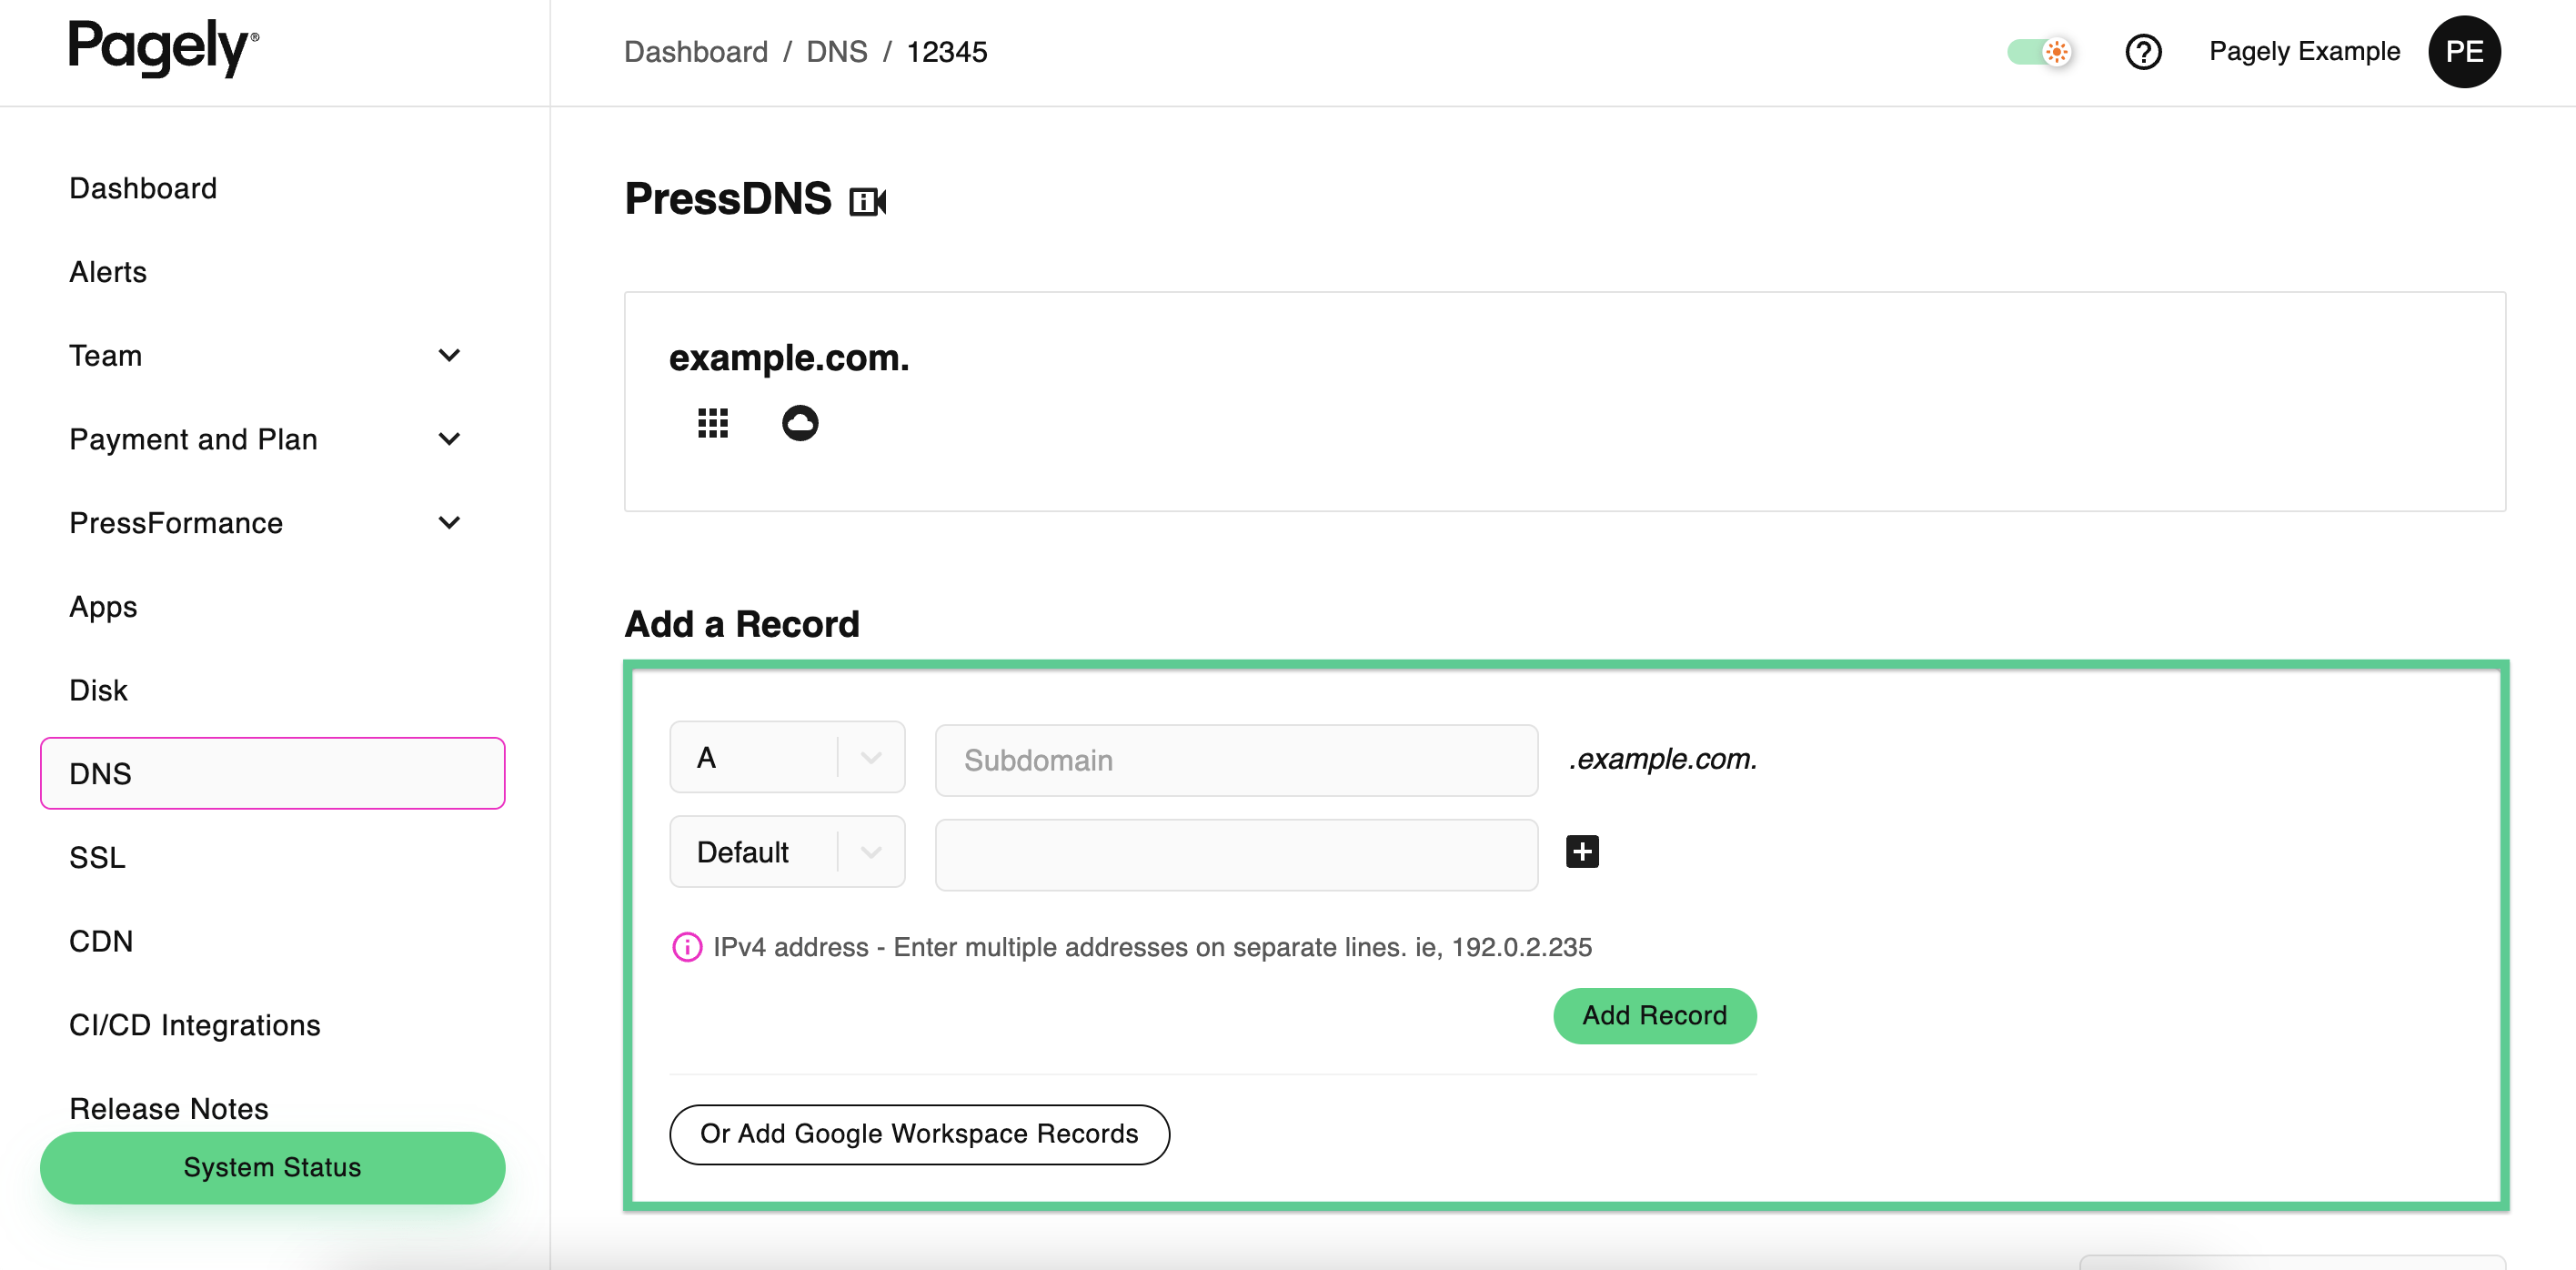
- Inside the Add a Record section, use the left side drop down to select the record type.
- In the next field, enter the Subdomain that you want to point.
For example, if your domain is example.com and you want to point support.example.com, enter support. here. - Inside the next field, you’ll enter the Value that you want to point the record to.
- If you need to define multiple targets for the record and are using a record type that supports multiple targets, such as an A record, click the + button to the right of the target field.
- To the right of the target field is an additional dropdown to set the TTL. This determines how often the record is cached by 3rd parties. Usually, selecting Default is fine, but if you need to manually set a TTL, you can do so here.
- Finally, click the New Record button to add the record to your DNS zone.
Your new record is now added to your DNS zone. Most of the time, DNS propagation happens within a couple of hours, but can take up to 24 hours for changes to take effect worldwide.
Changing DNS Records
If you need to edit an existing DNS record, here’s how to do it:
- Access your the DNS records for your domain within the Atomic control panel.
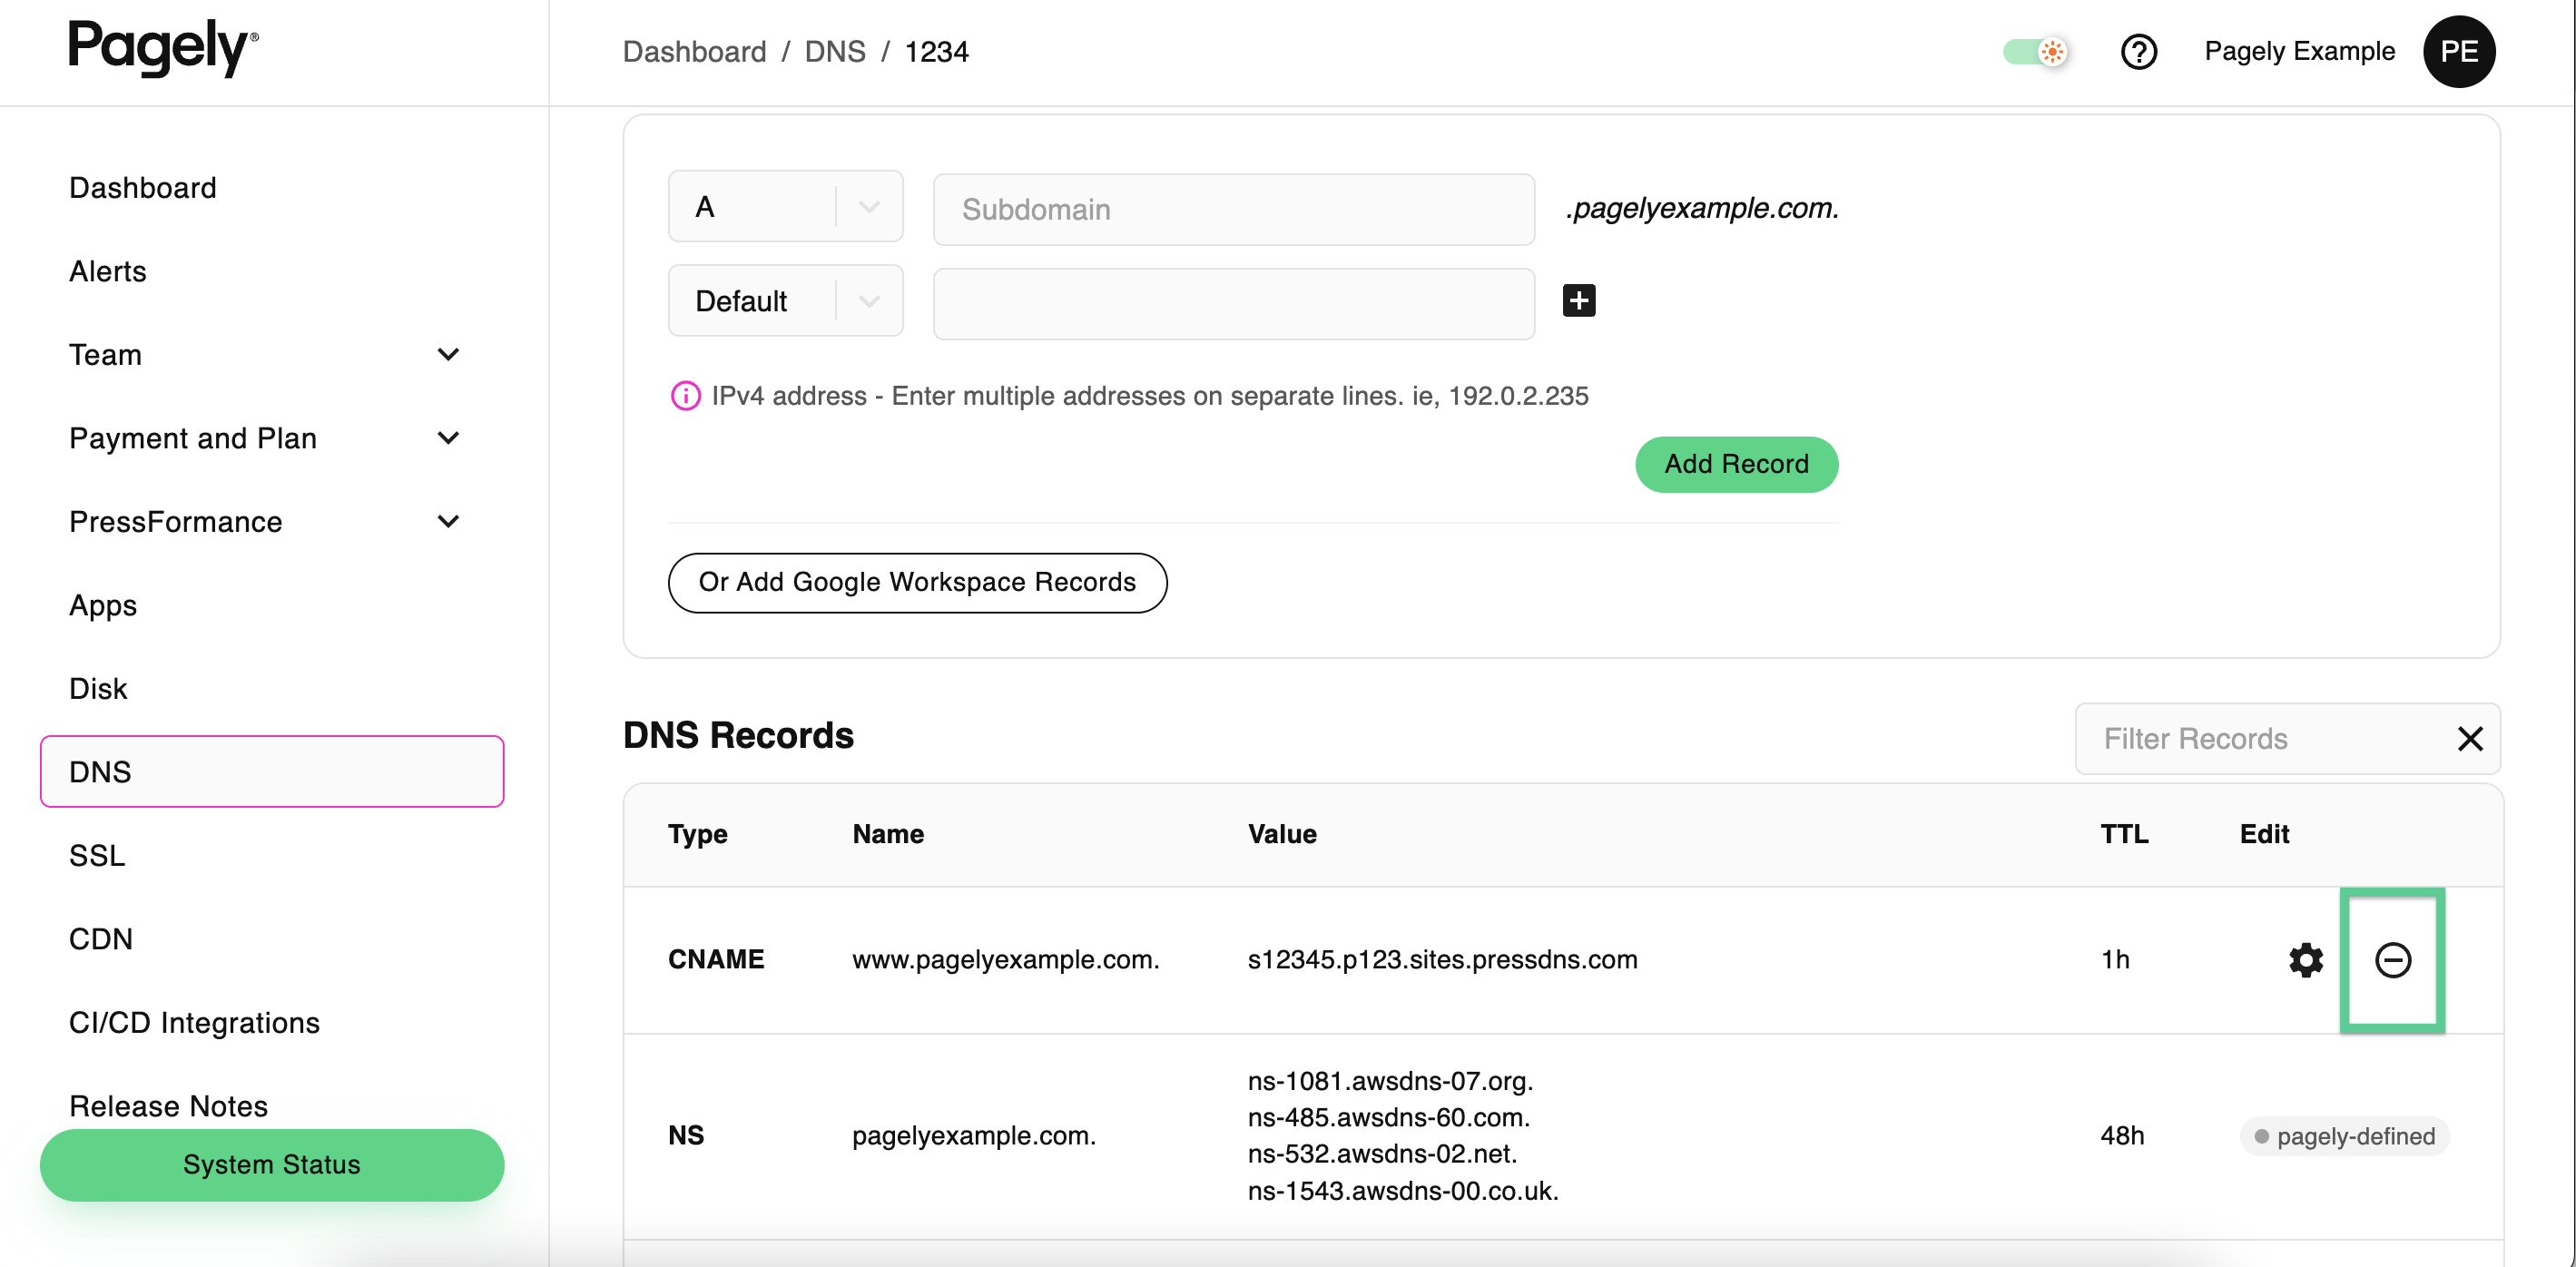
- Inside the DNS Records section, click on the gear icon next to the record that you want to edit.
- The Value and TTL field will now become editable. Make your changes, then click the save icon to save them.

Your DNS record has now been changed. Of course, be sure to give enough time for propagation. Typically, propagation completes within a couple of hours, but can be up to 24 hours to take effect worldwide.
Removing DNS Records
If you need to delete a DNS record from PressDNS, follow these steps:
- Go to your DNS records for the domain via the Atomic control panel.
- To the right of the record that you want to remove, click on the - icon.
- Click the red - icon to confirm the removal of the DNS record.
Your DNS record has now been removed. As always, be sure to allow up to 24 hours for DNS propagation.