
As mentioned in our introduction to Press3 article, you can configure your own Amazon S3 bucket to store your static WordPress assets. In this article, we'll show you how to create a new Amazon S3 bucket.
Creating an Amazon S3 Bucket
- Begin by logging into your AWS account and accessing Amazon S3.
- On this page, you should see a listing of any existing Amazon S3 buckets. To create a new S3 bucket, click on the Create Bucket button.
- You’ll now be presented with in a new modal window for creating the bucket. Fill in the Bucket Name field and select the region of your Pagely VPS within the Region field.

Note: It’s very important that you select the appropriate region. If the wrong region is selected, it may cause you to incur additional bandwidth costs when your bucket’s contents are changed or accessed. If you have any questions about this, feel free to reach out to the support team at any time.
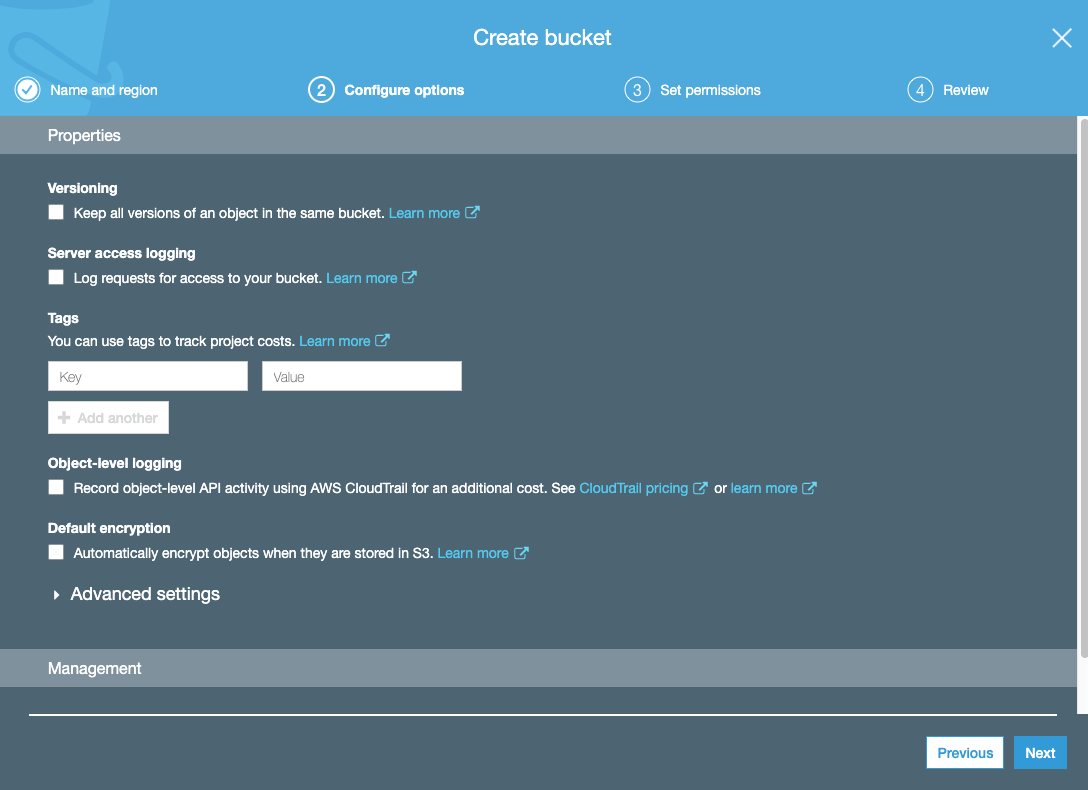
When you’re finished with selecting your new bucket’s name and region, click the Next button to continue on to the next screen. - Next, you’ll be presented with additional options to configure for your bucket. For the purposes on this article, we won’t be making any changes on this screen, but feel free to make any changes here that you might need to make.
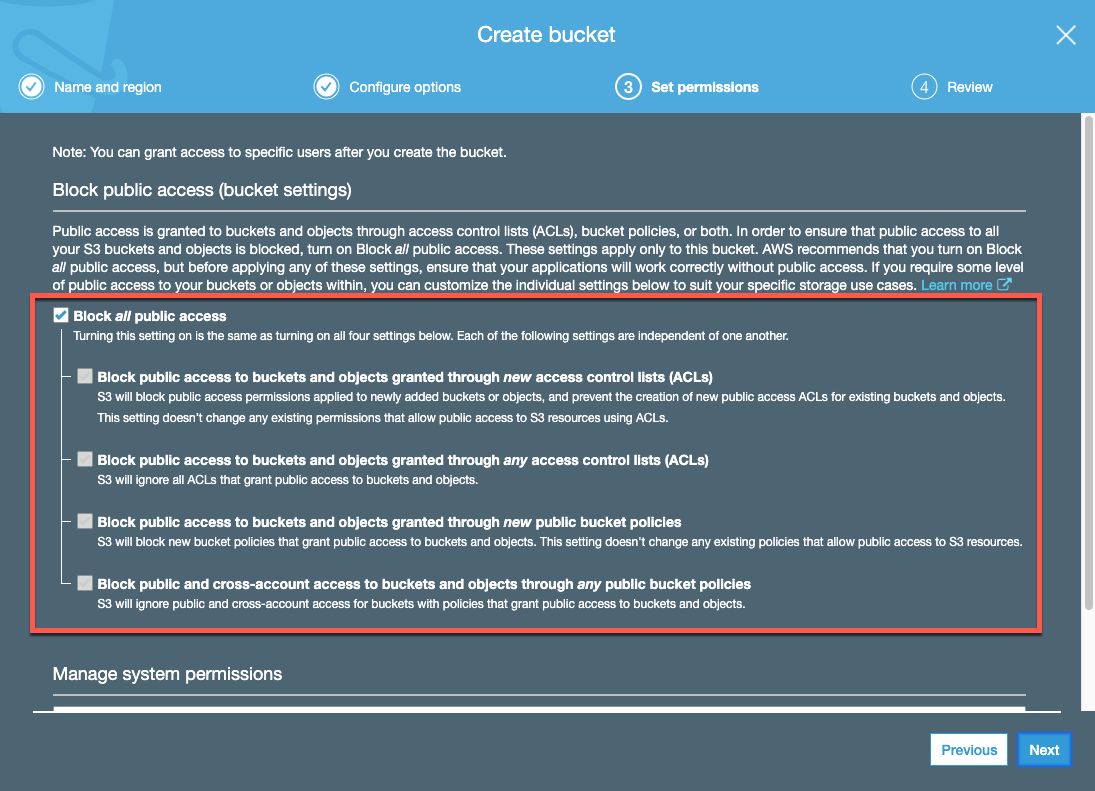
- On the third screen, you’ll be asked if you want to change the bucket’s default permissions of disallowing all public access to the bucket. We recommend leaving the default of block all public access.
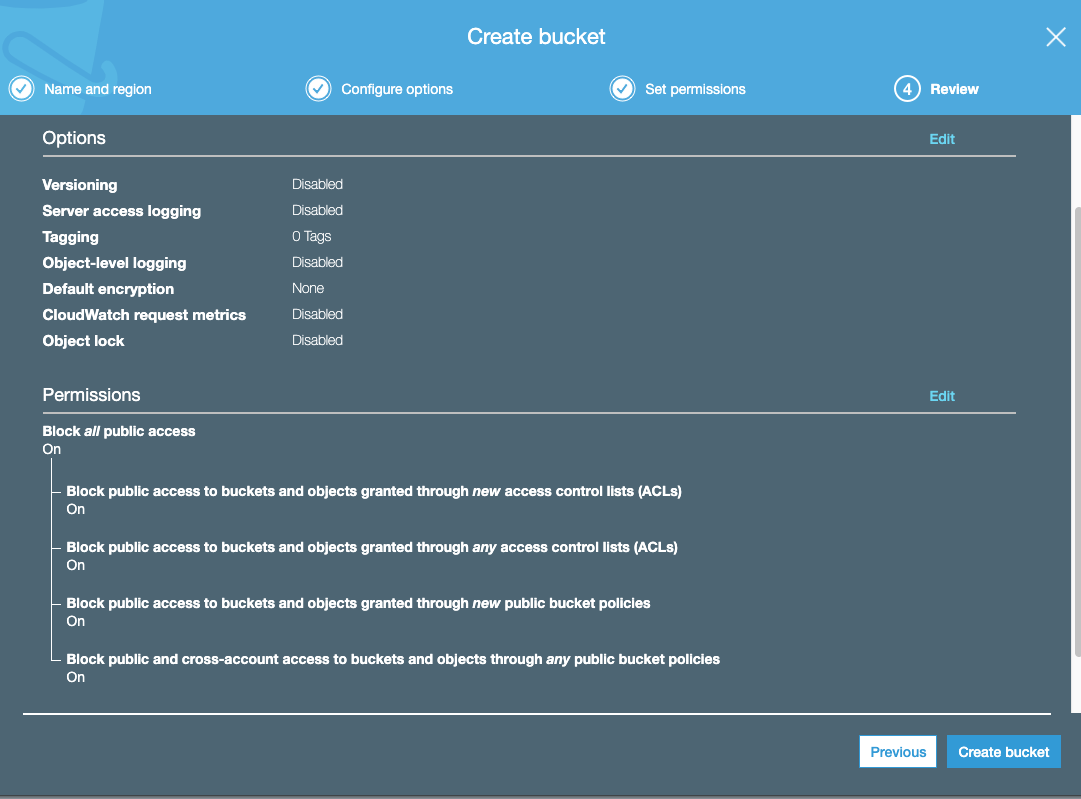
- Finally, you’ll be presented with a listing of your bucket’s settings. If everything looks right, click the Create Bucket button to finish creating your new Amazon S3 bucket.
Setting Up a Bucket Permission Policy for Press3
If you're creating the Amazon S3 bucket for use with Press3, you'll also want to set your bucket permissions and create a user with access to your bucket. For more information on setting bucket policies and creating users, see the following articles: