
The PHP version on your WordPress site can be changed on a per-app basis. This allows you to easily test out new PHP releases, beta versions, or maintain an older PHP version if your site isn't quite ready for it.
In this article, we'll show you how to change your WordPress site's PHP version.
Requirements
Depending on your account, you may not have the PHP version switcher enabled. If you're unable to find the PHP version switcher using our instructions below, please contact our support team to have it enabled for you.
Note: At this time, this feature cannot be enabled for legacy shared customers.
Toggling PHP Versions in Atomic
To toggle between PHP versions in your Atomic control panel, perform the following:
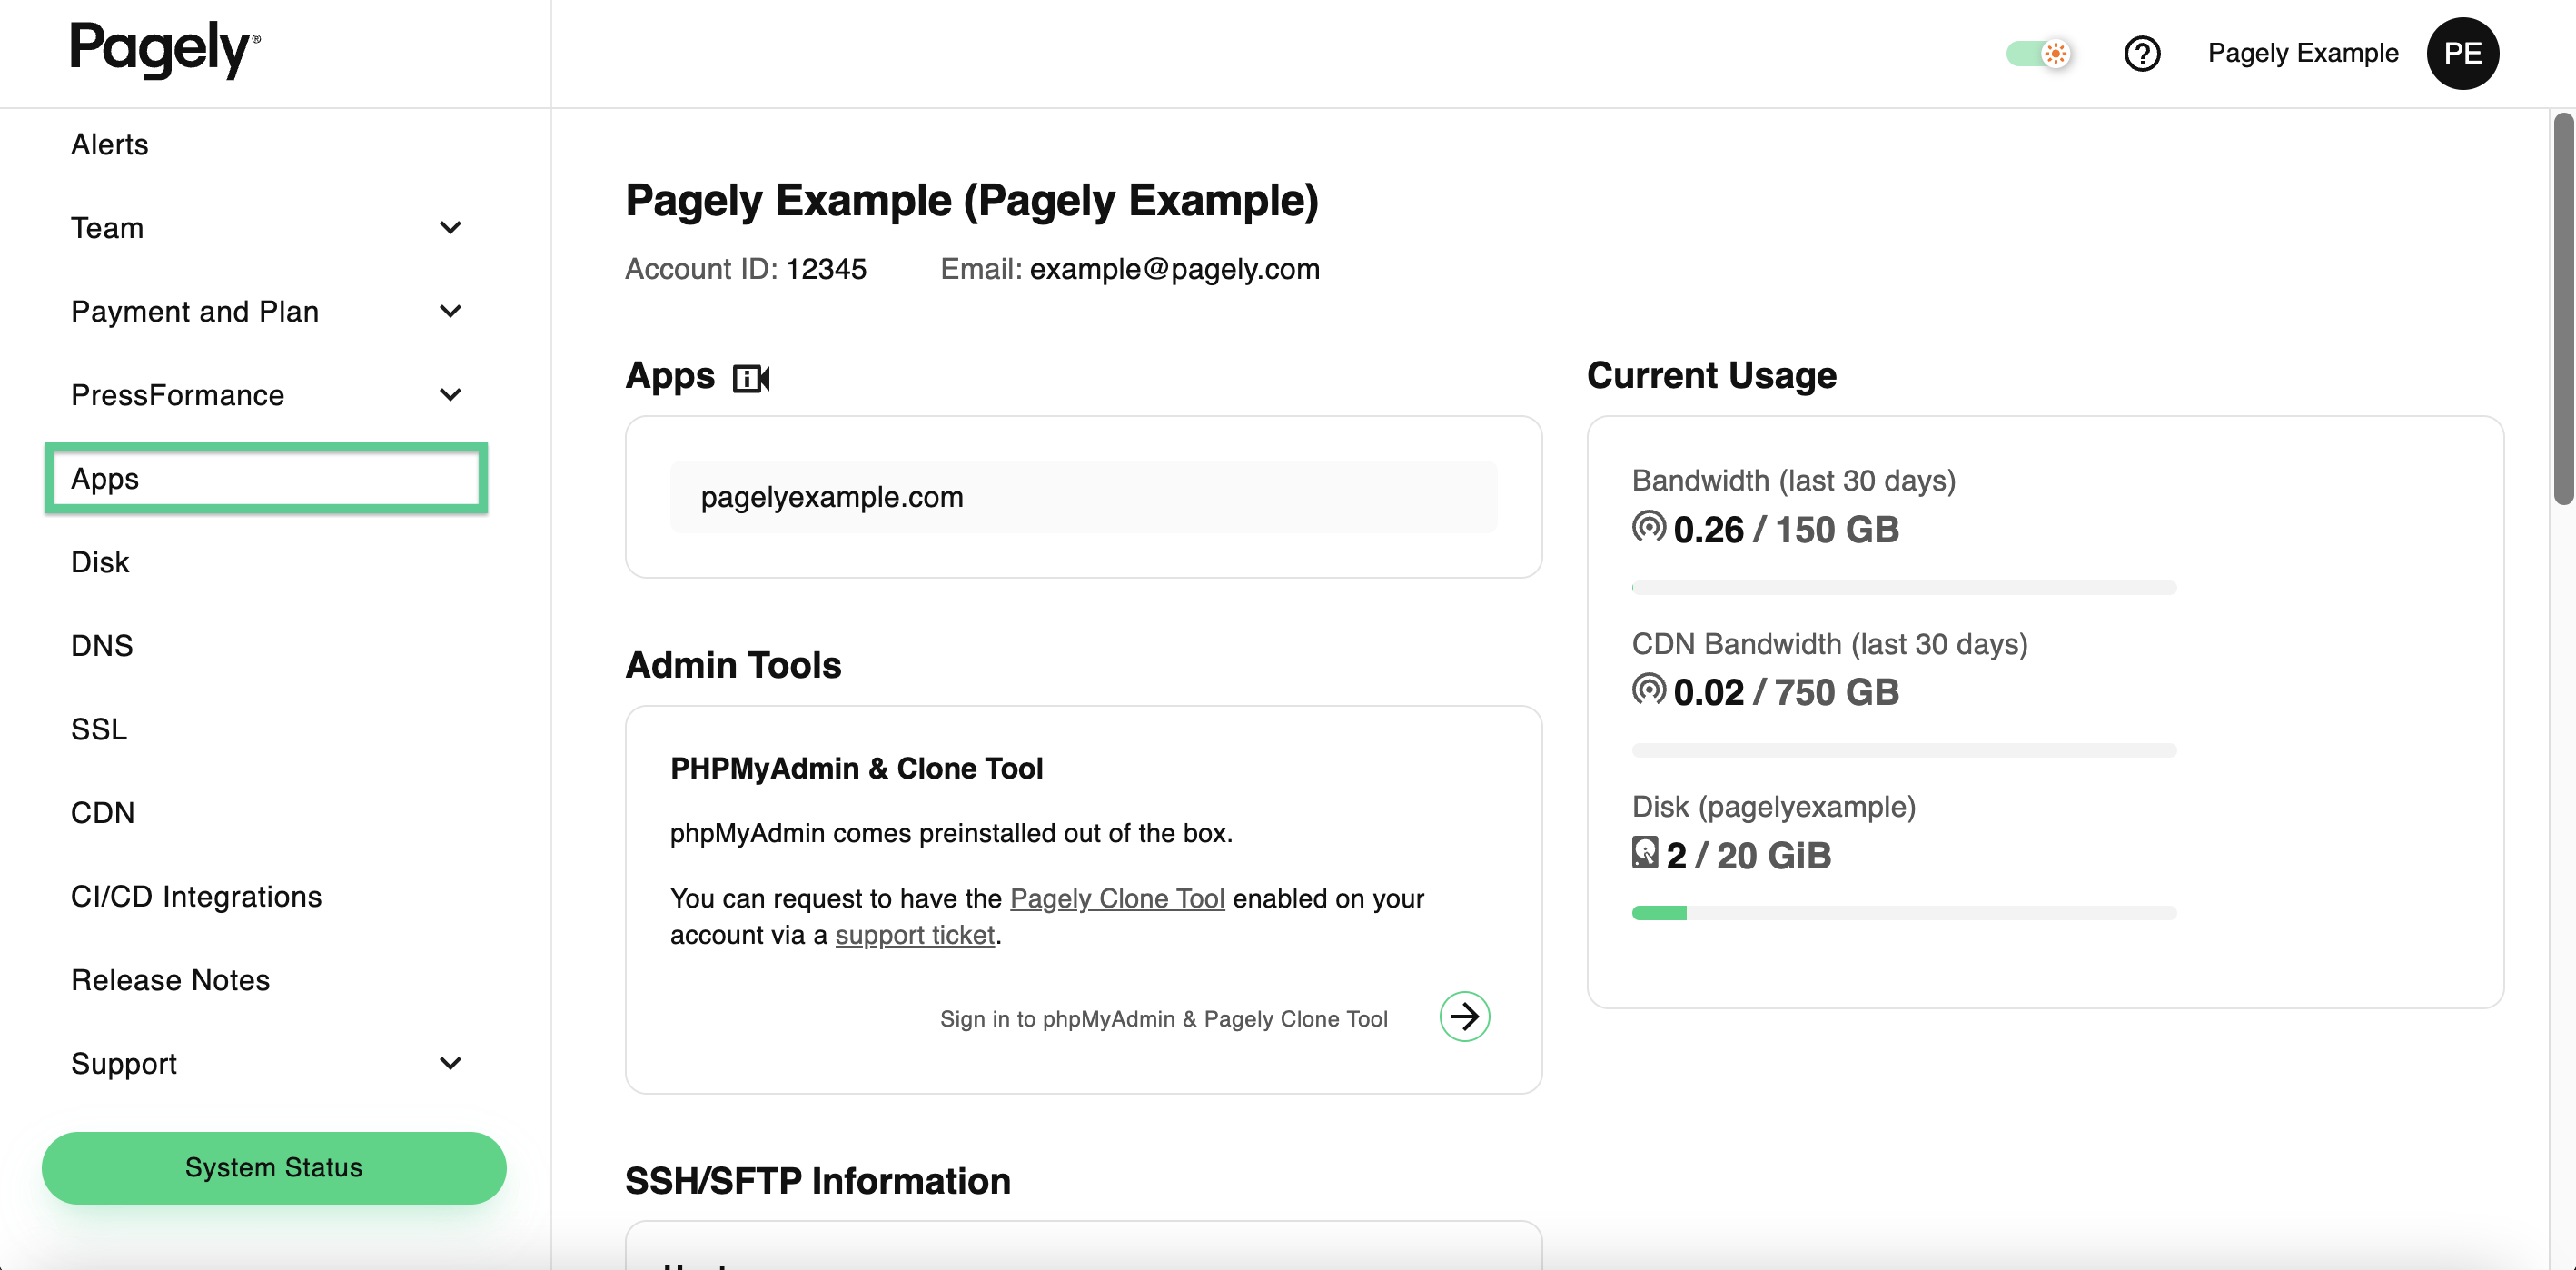
- Start by logging into the Atomic control panel.
- On the main menu at the left side of the screen, click on Apps.
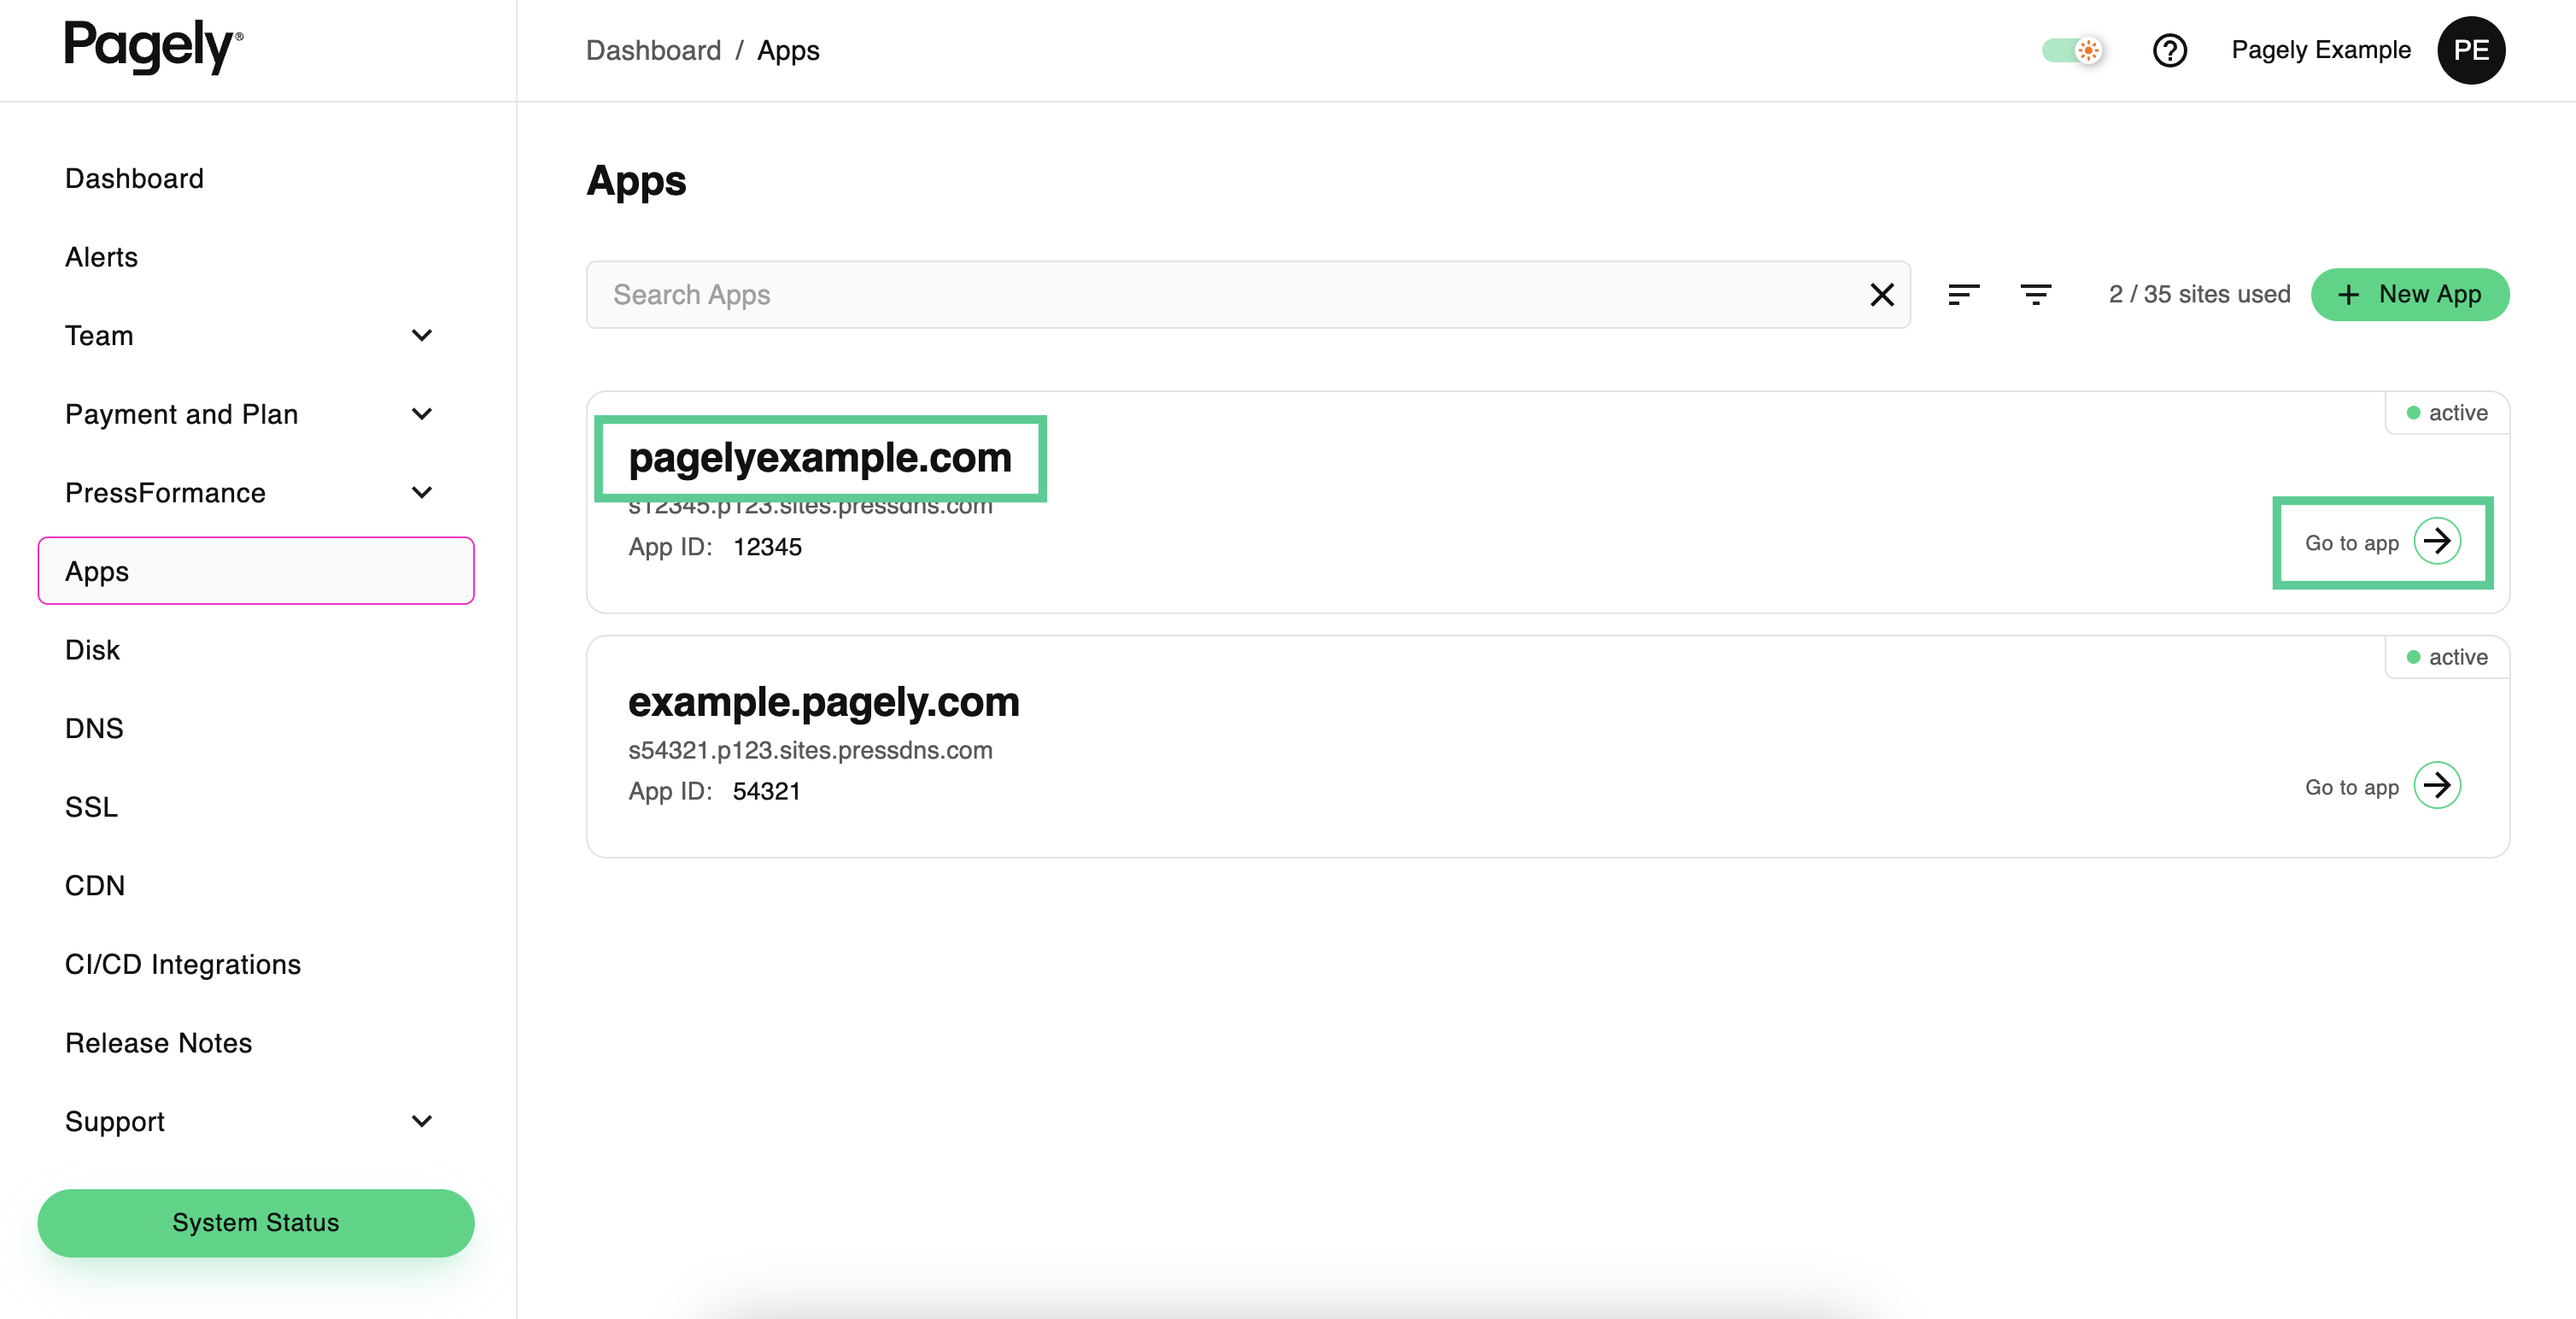
- Locate the app that you want to change the PHP version on and click on the gear icon to the right of the app name.
- Next, scroll down past the app's details and expand the PHP Version area.

- From here, you can select the PHP version that you would like your app to run, then click on the Update Version button.
You're all set! Your PHP version has now been changed. We recommend always keeping up to date by using the latest PHP stable version available. By using the latest version of PHP, not only will your site be more secure, but you'll also be able to take advantage of the incredible performance improvements that occur with each new version.
Checking PHP Version Compatibility
If you are concerned about the compatibility of a plugin or theme with PHP 8 we recommend testing things on a staging site first. For more information on testing your WordPress site and debugging issues with PHP 8, take a look at our article on debugging WordPress sites and viewing logs.